top of page

BEFORE & AFTER
The Transformation
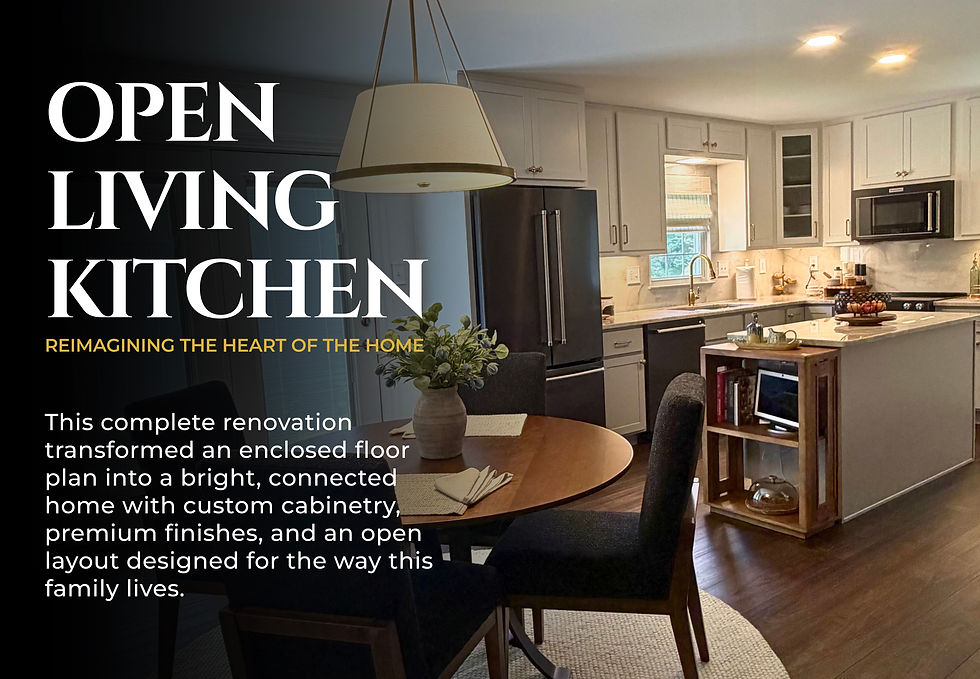
From a closed, dated layout to a bright, open-concept kitchen, this complete renovation transformed the heart of the home.
Open Living Kitchen Remodel


BEFORE
AFTER
The Renovation Journey
Follow the transformation from demolition to completion showcasing the precision and attention to detail behind every stage of the remodel.

01
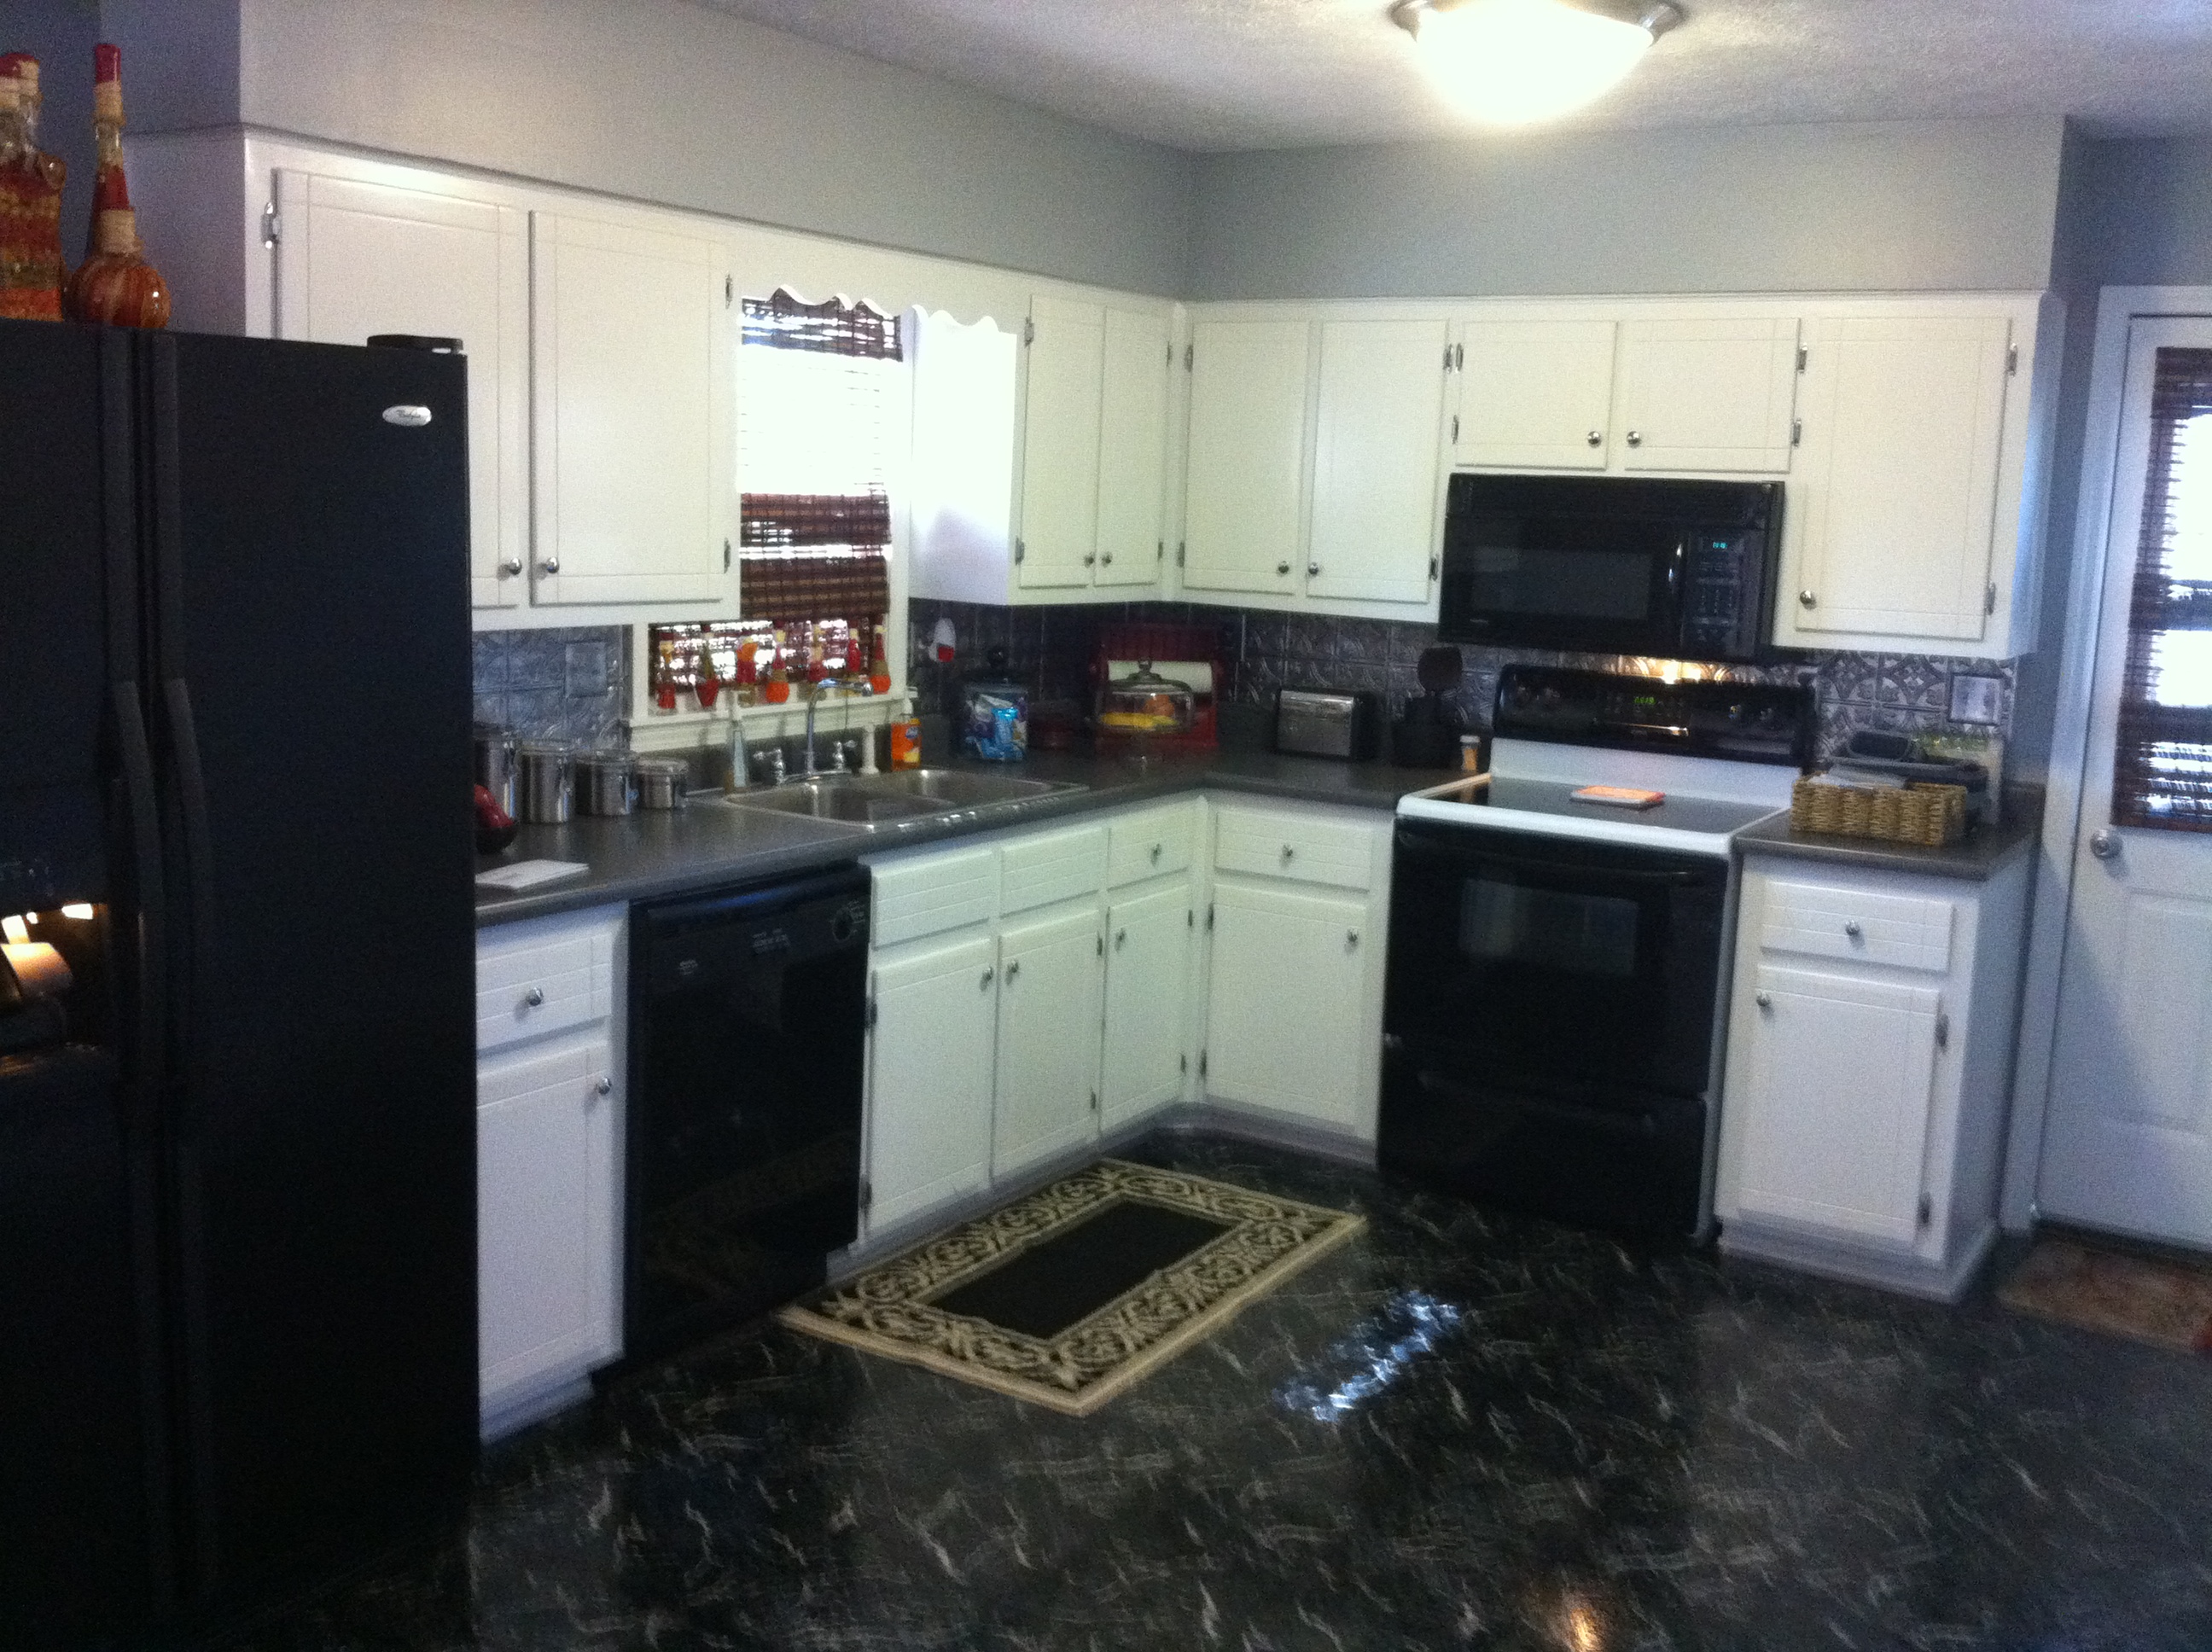
Original Kitchen
The original kitchen featured a closed layout with limited workspace, dated finishes and an inefficient floor plan that no longer met the homeowners' needs.
02
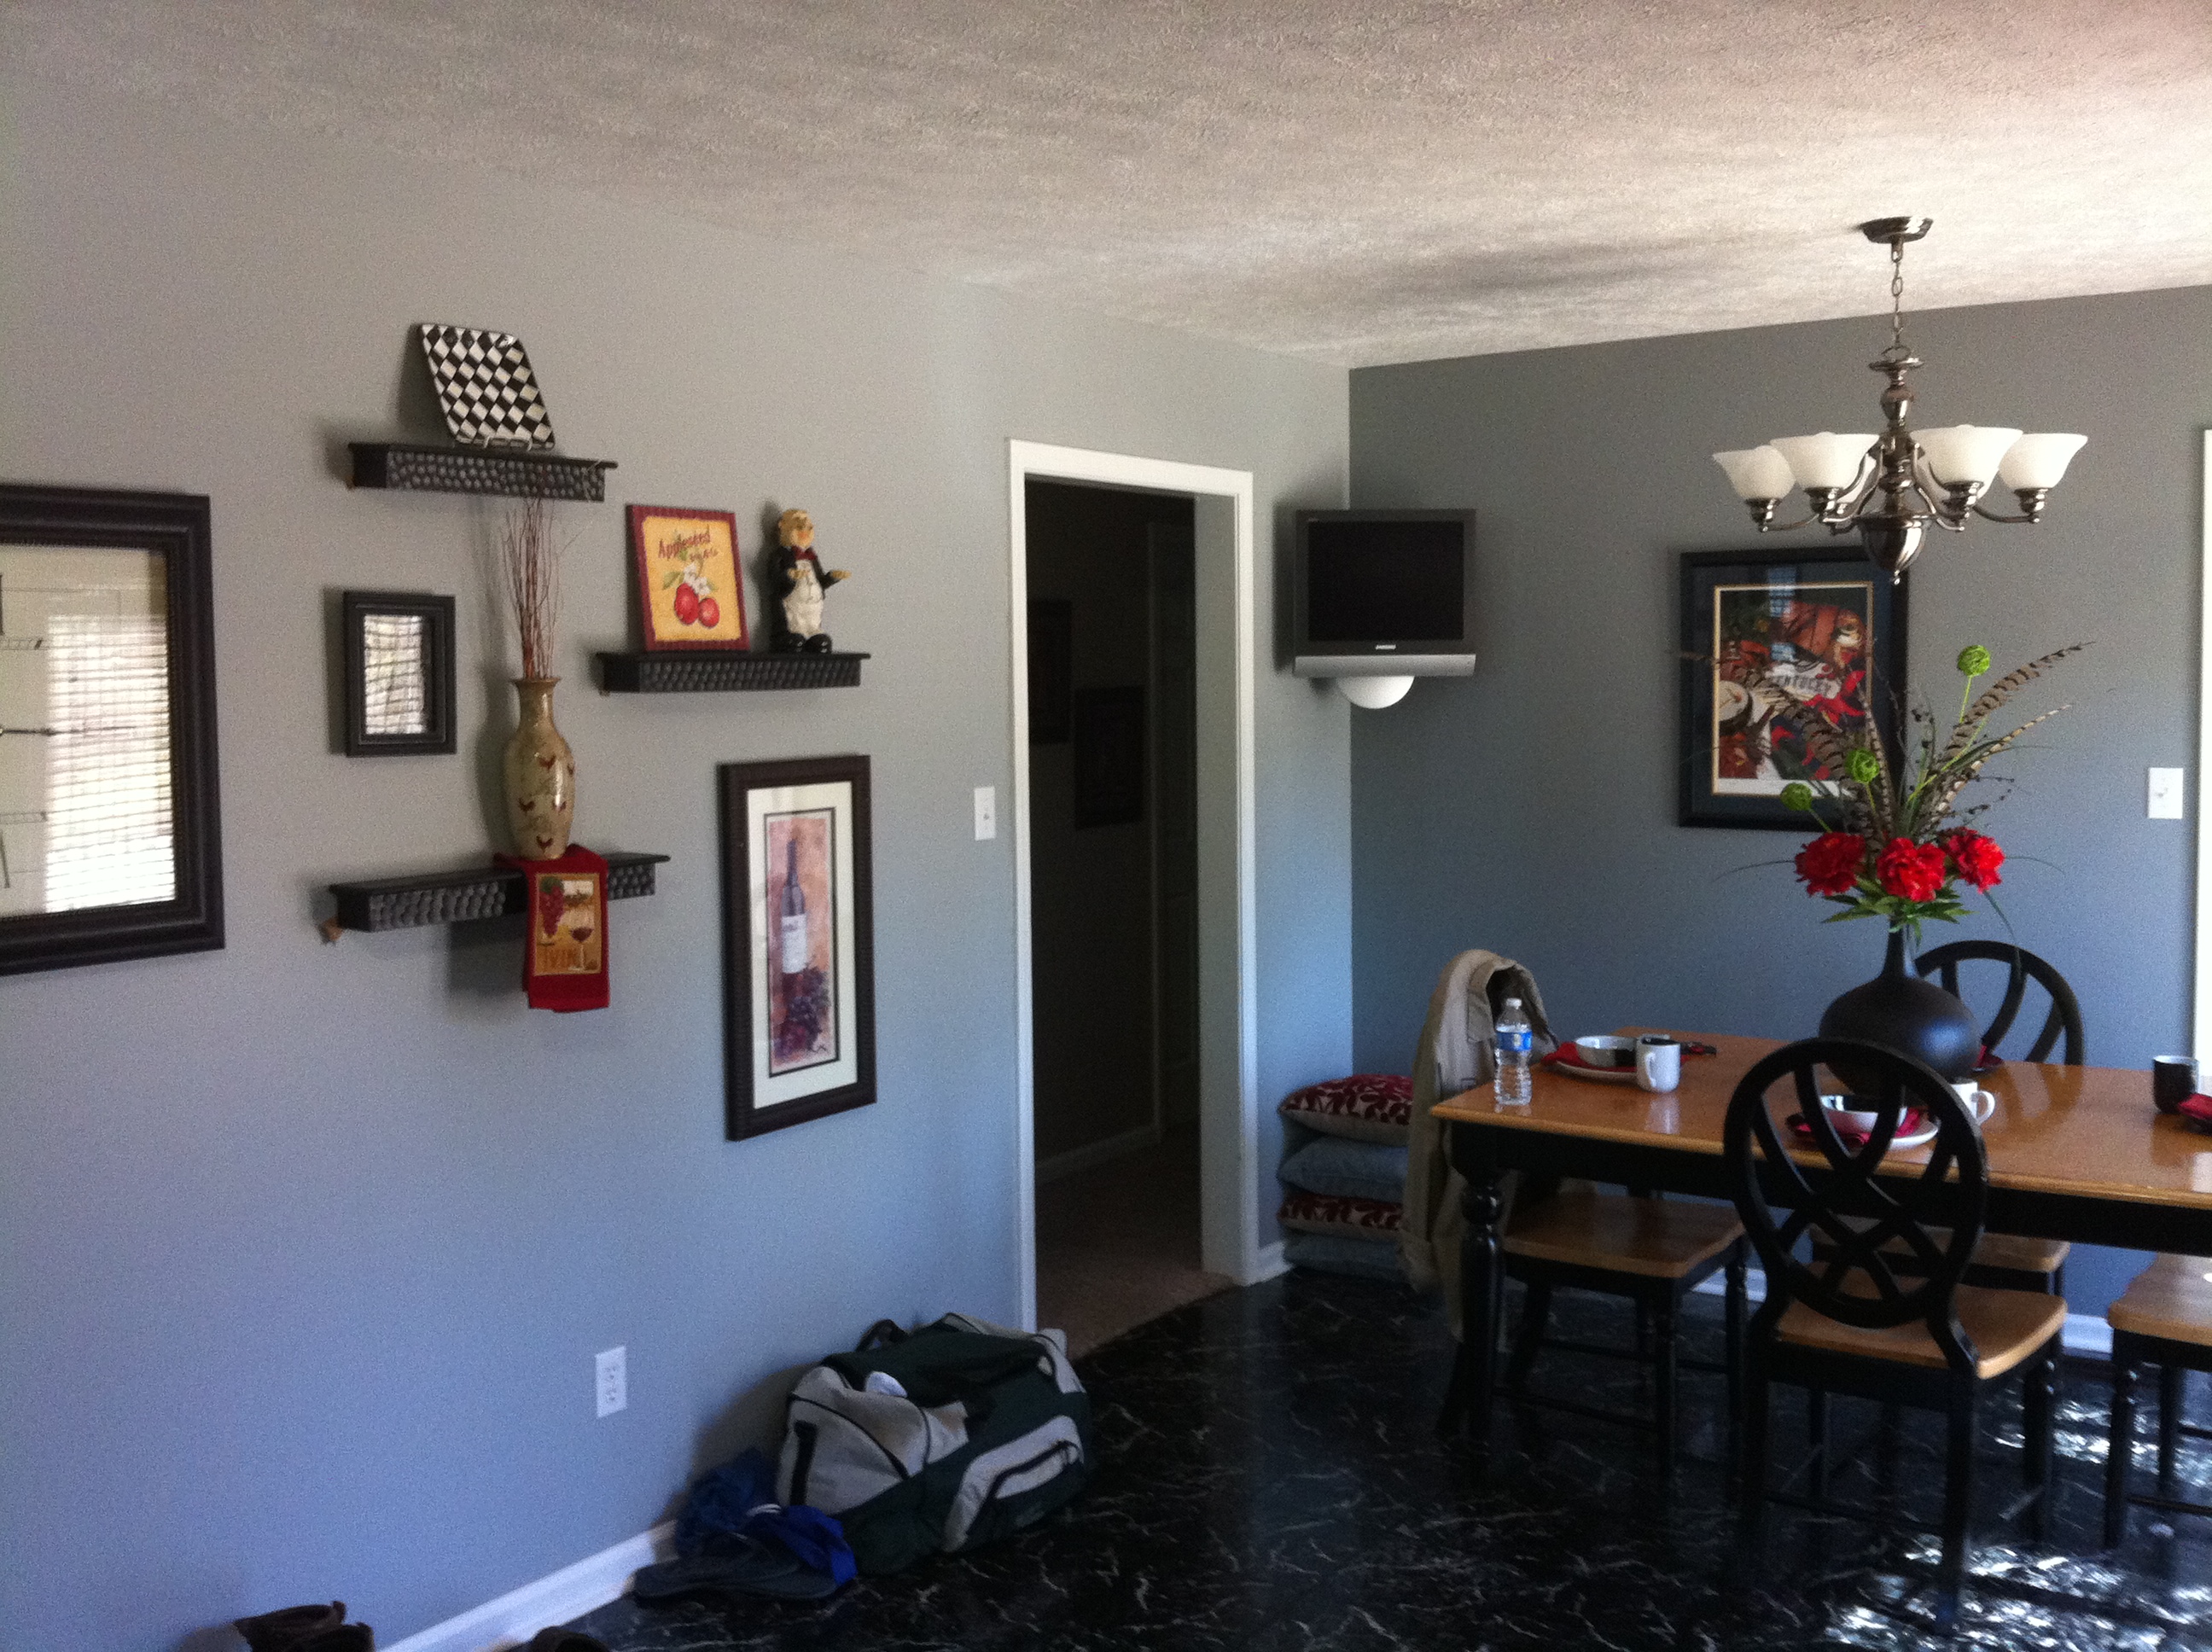
Existing Dining Area
The dining area adjoined the kitchen, while the living room remained separated by a wall, limiting the home's overall openness and sight lines.

03
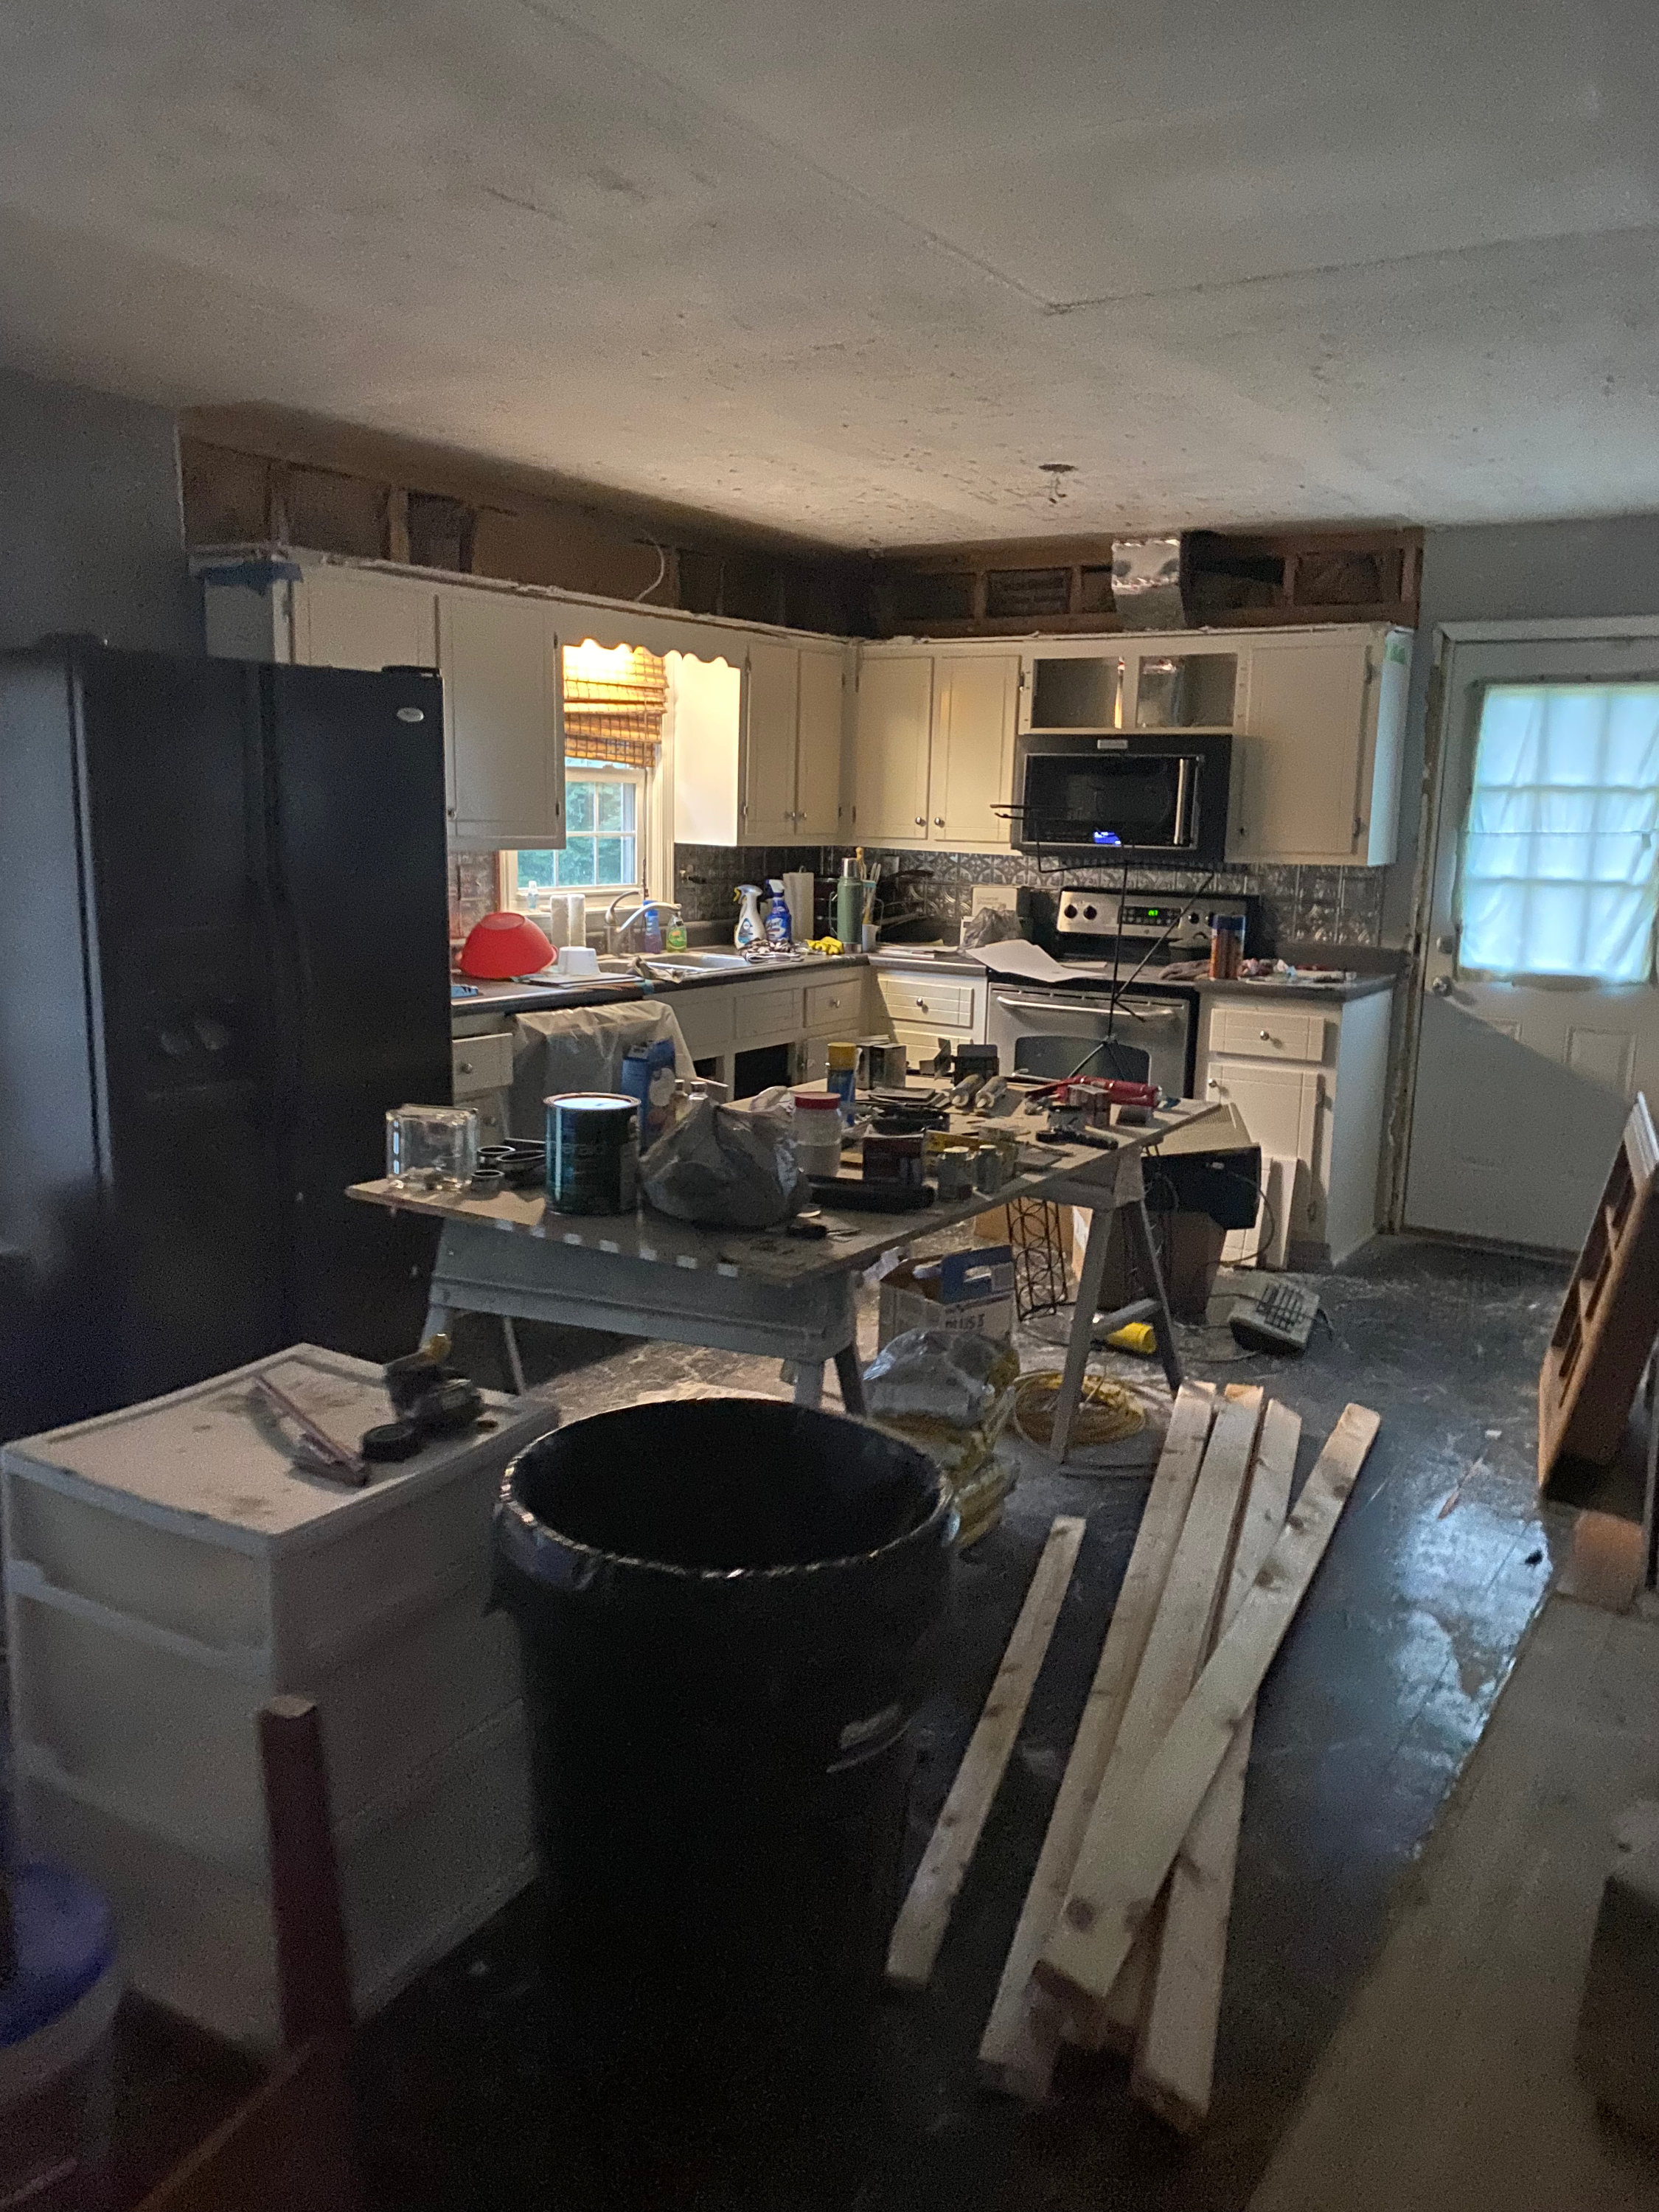
Preparing for Demolition
Cabinet removal and demolition preparations were underway as the existing kitchen was readied for its complete transformation.

04
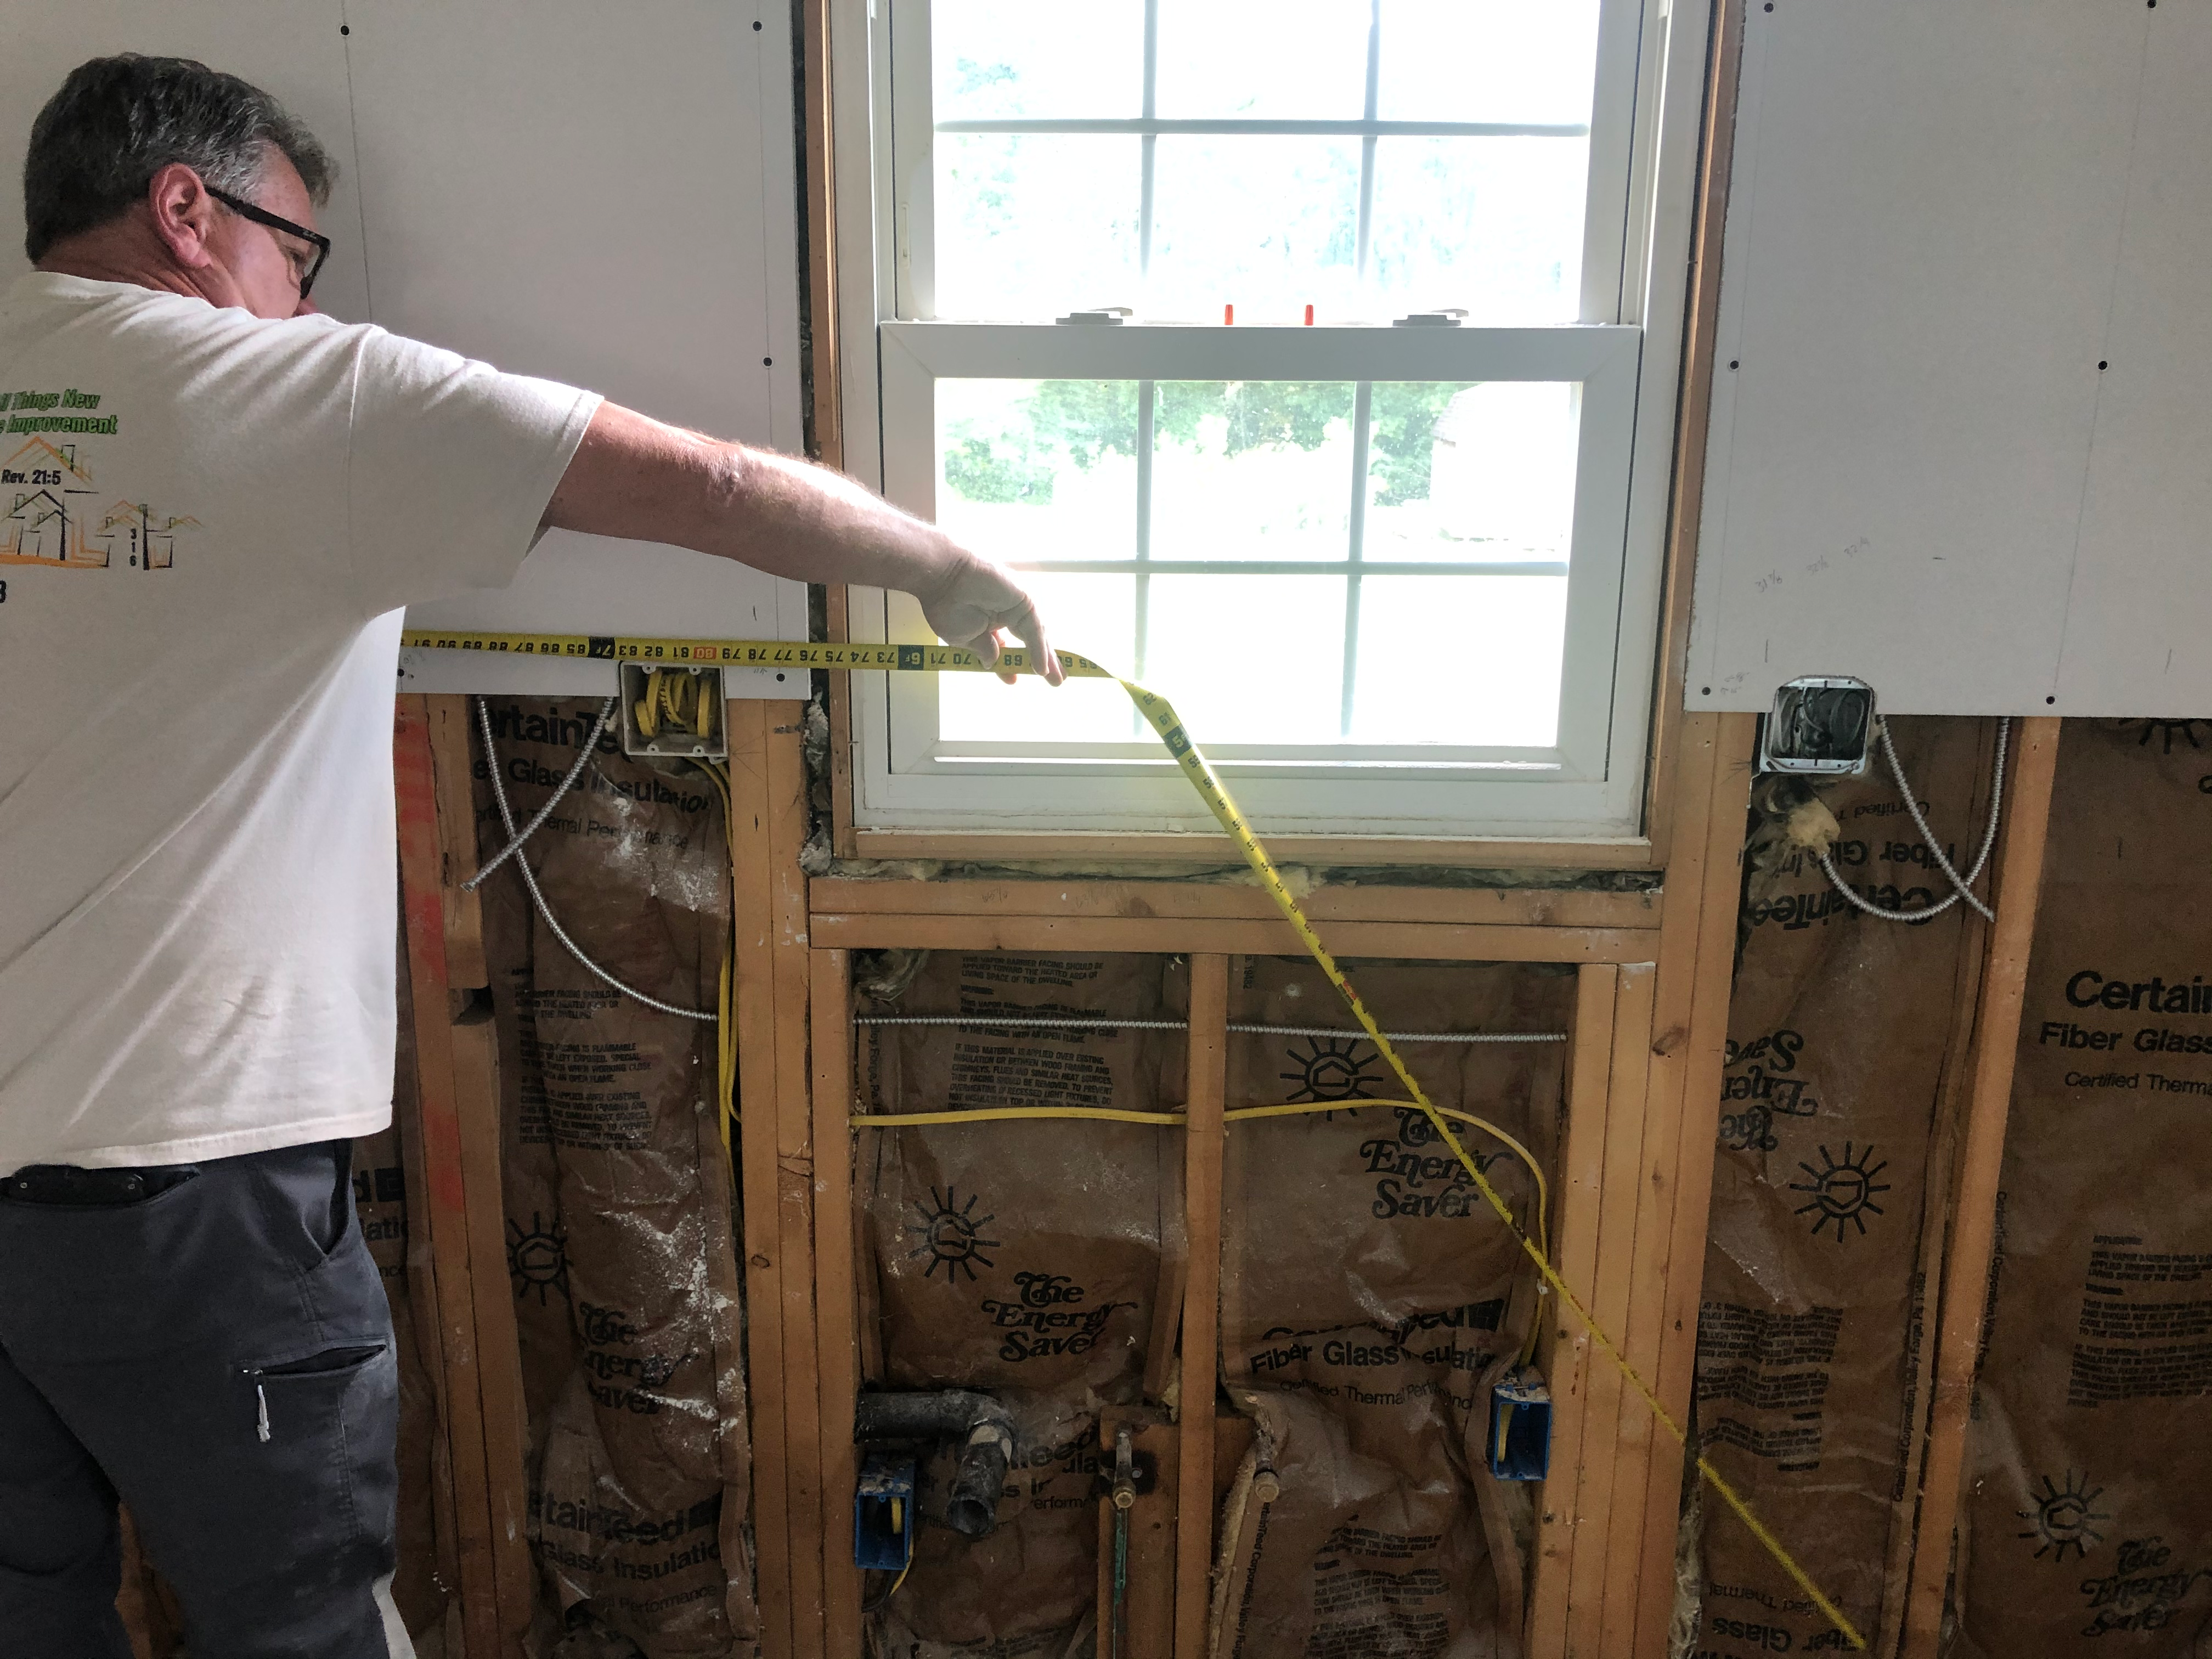
Rough-In Measurements
Careful measurements ensured plumbing, electrical and cabinetry would be precisely positioned before reconstruction began.

05
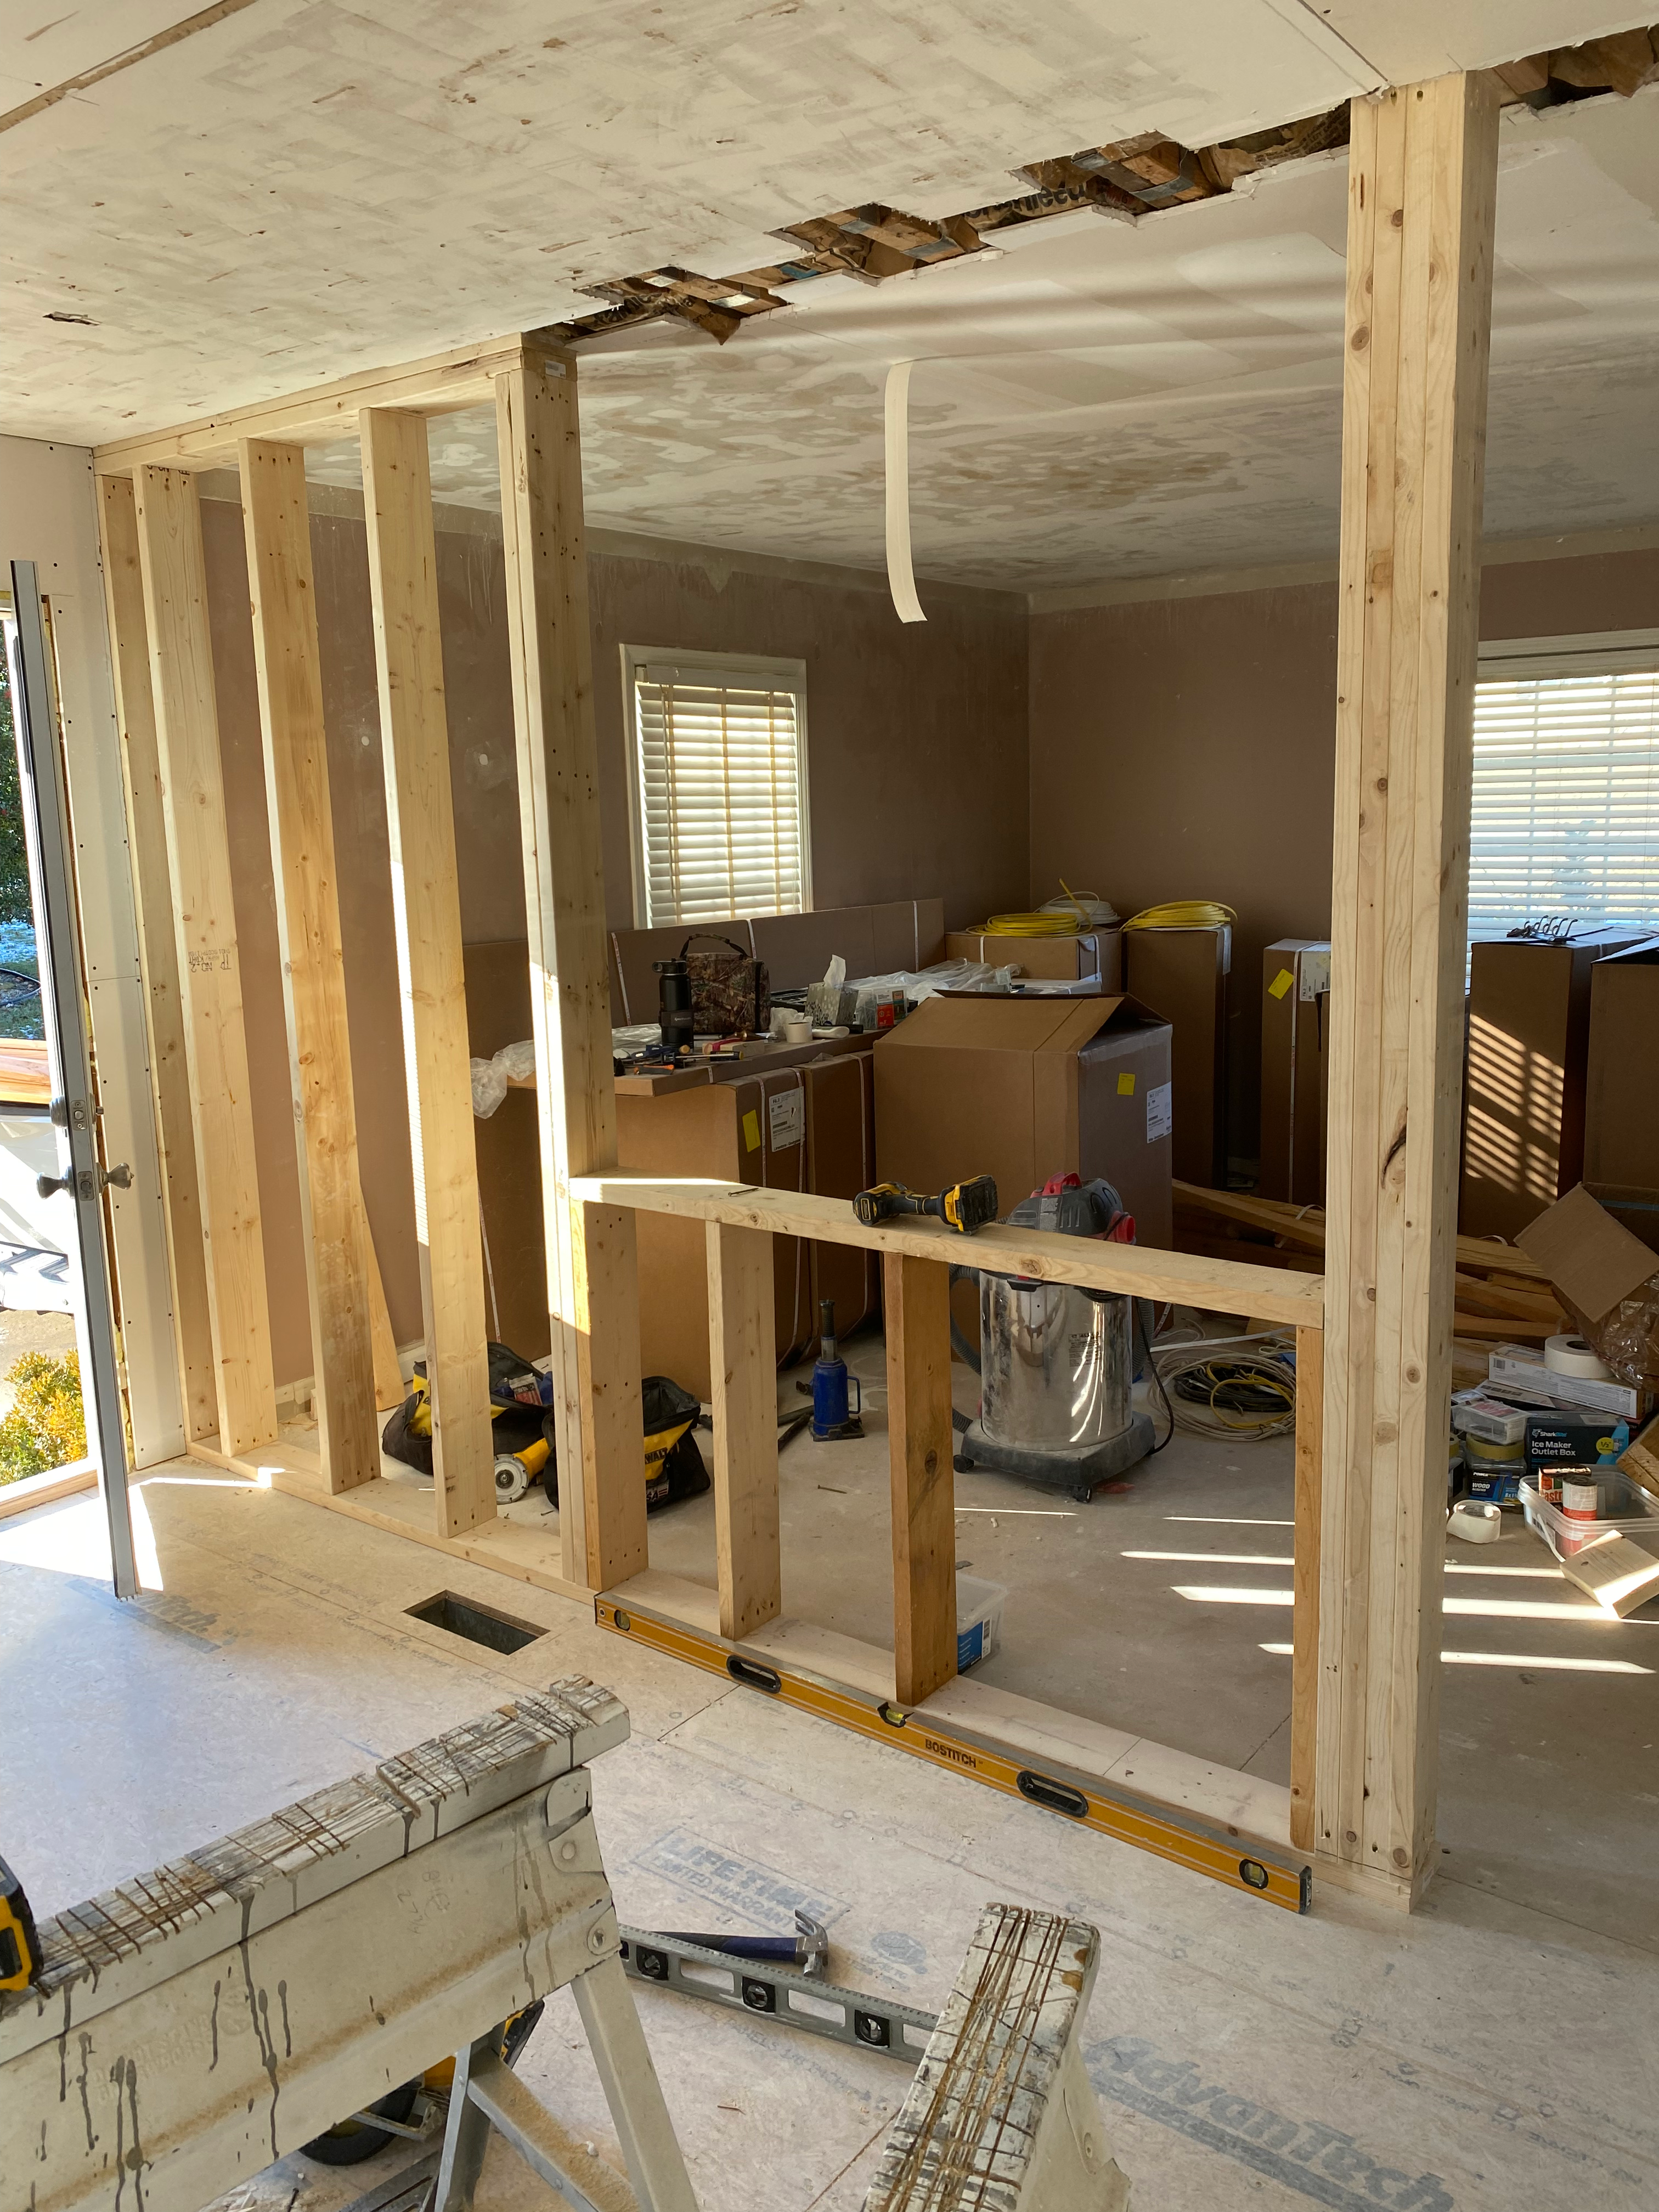
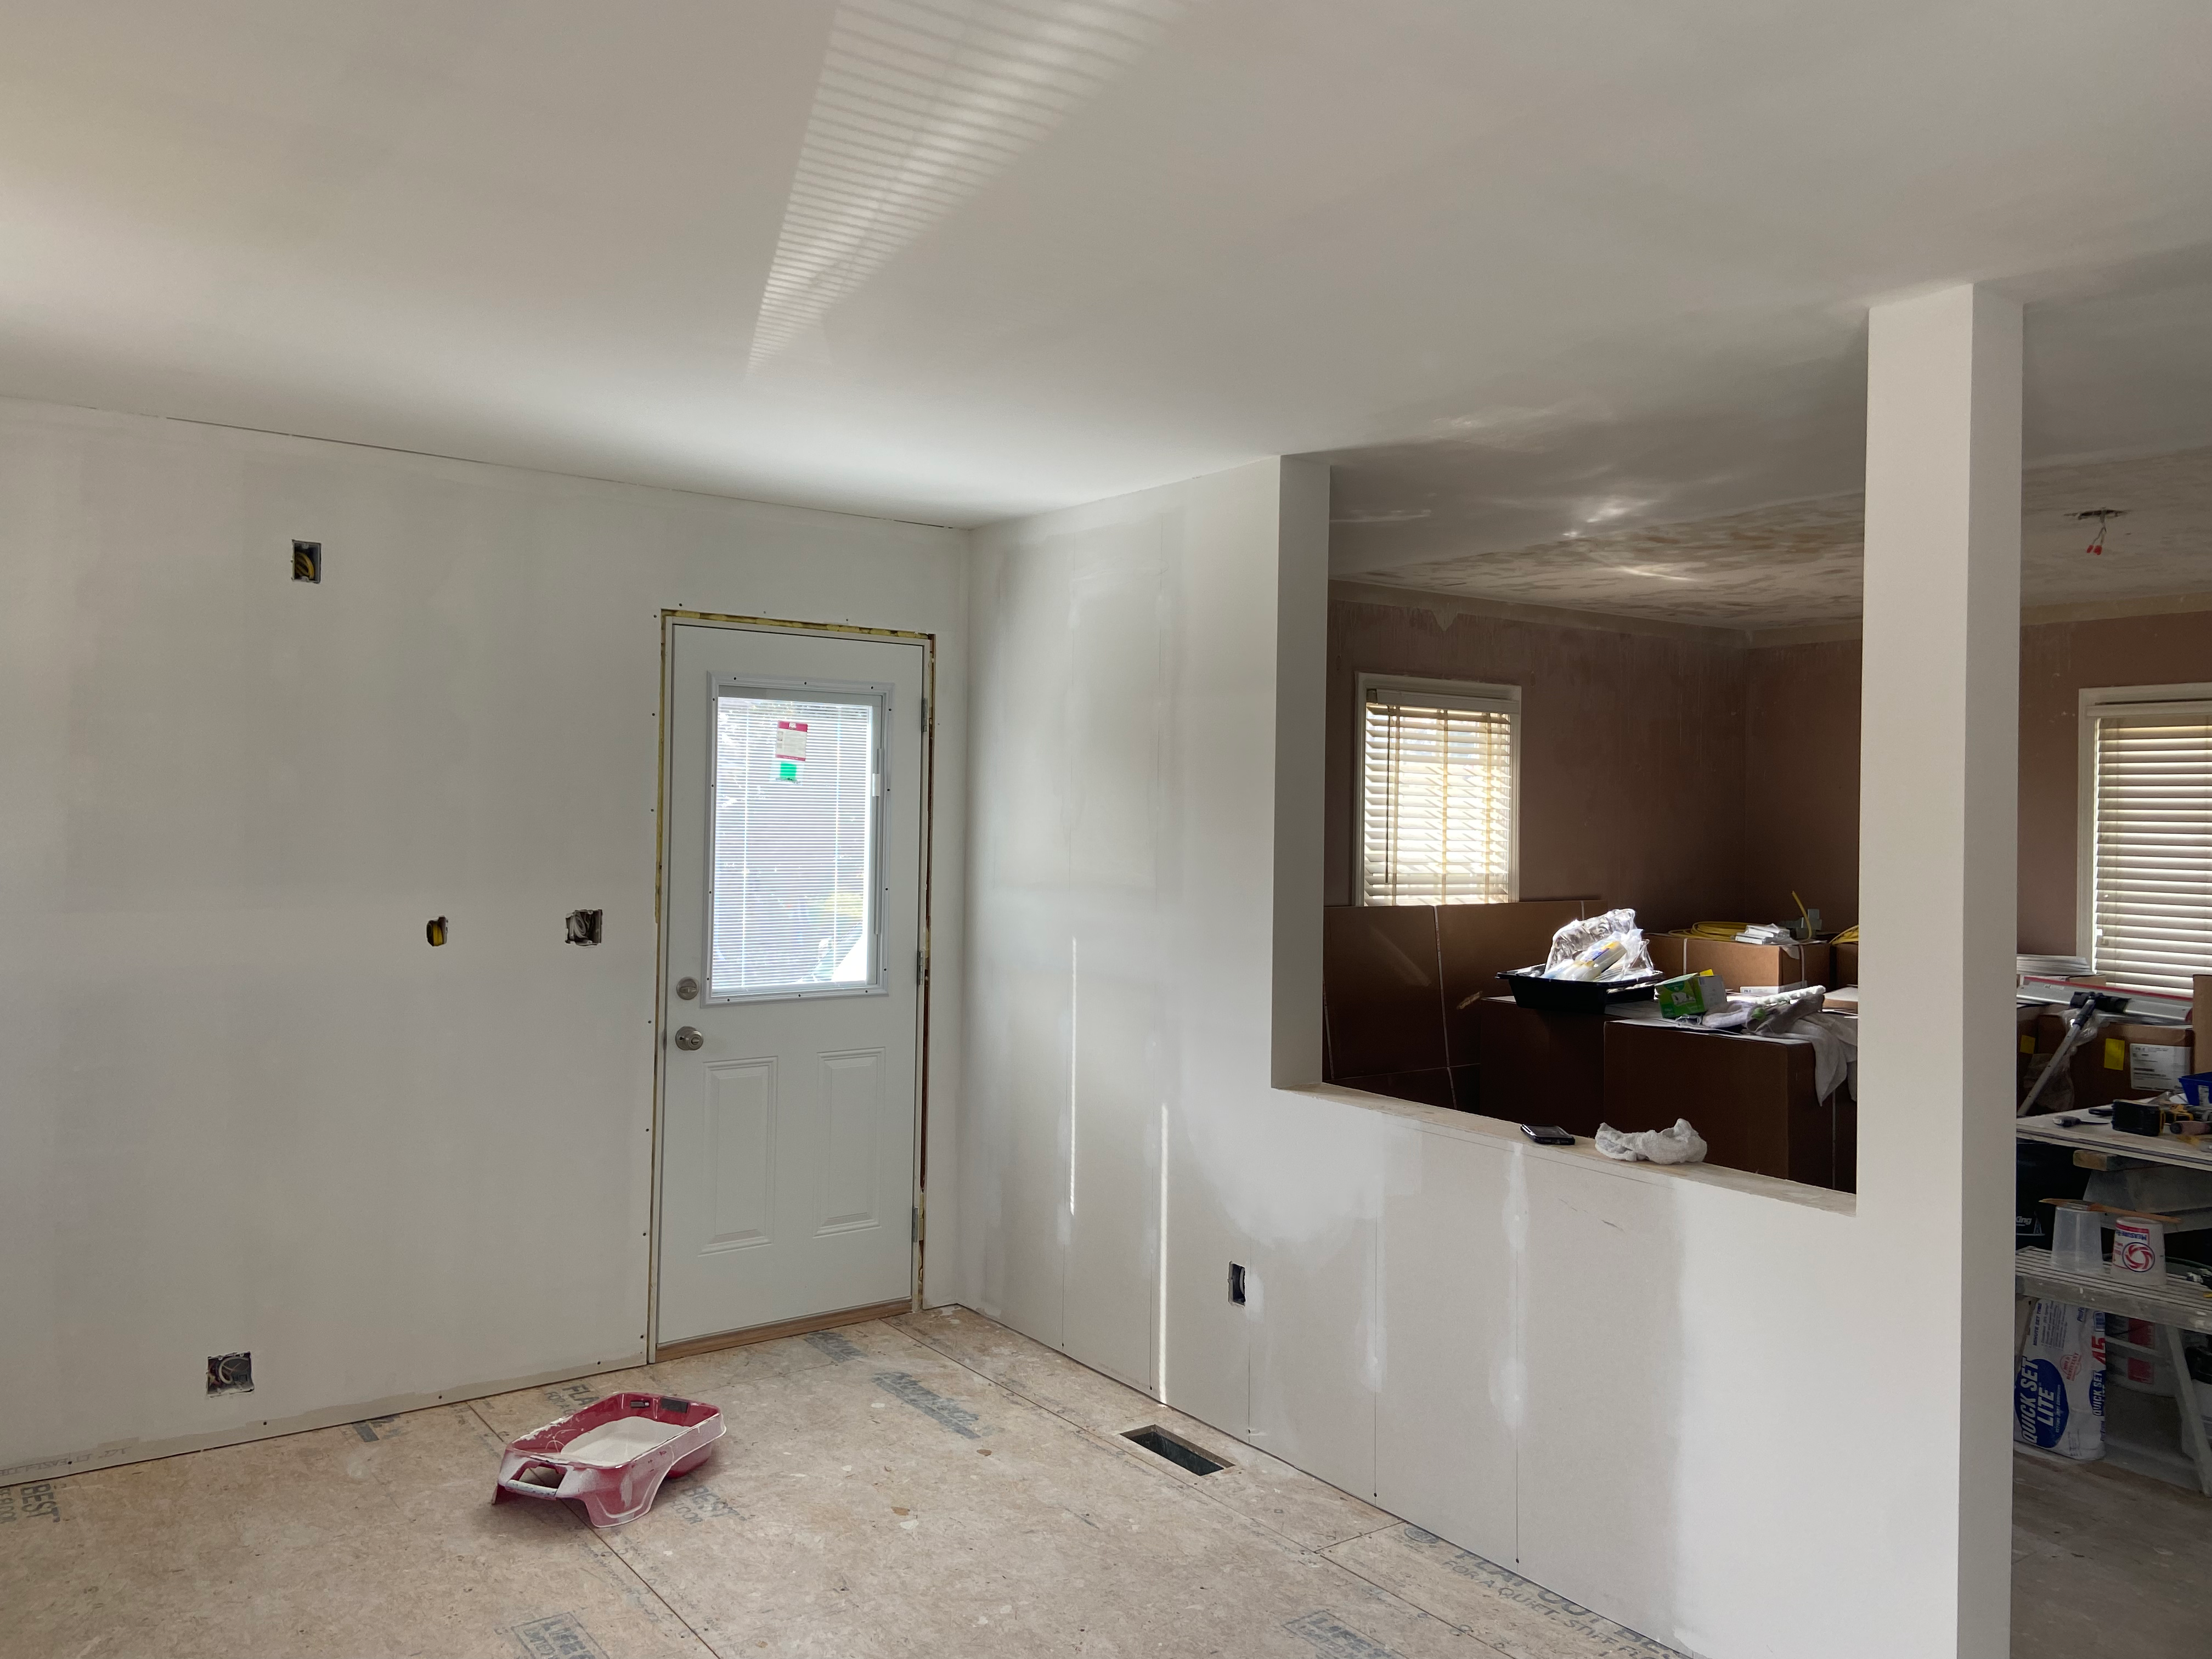
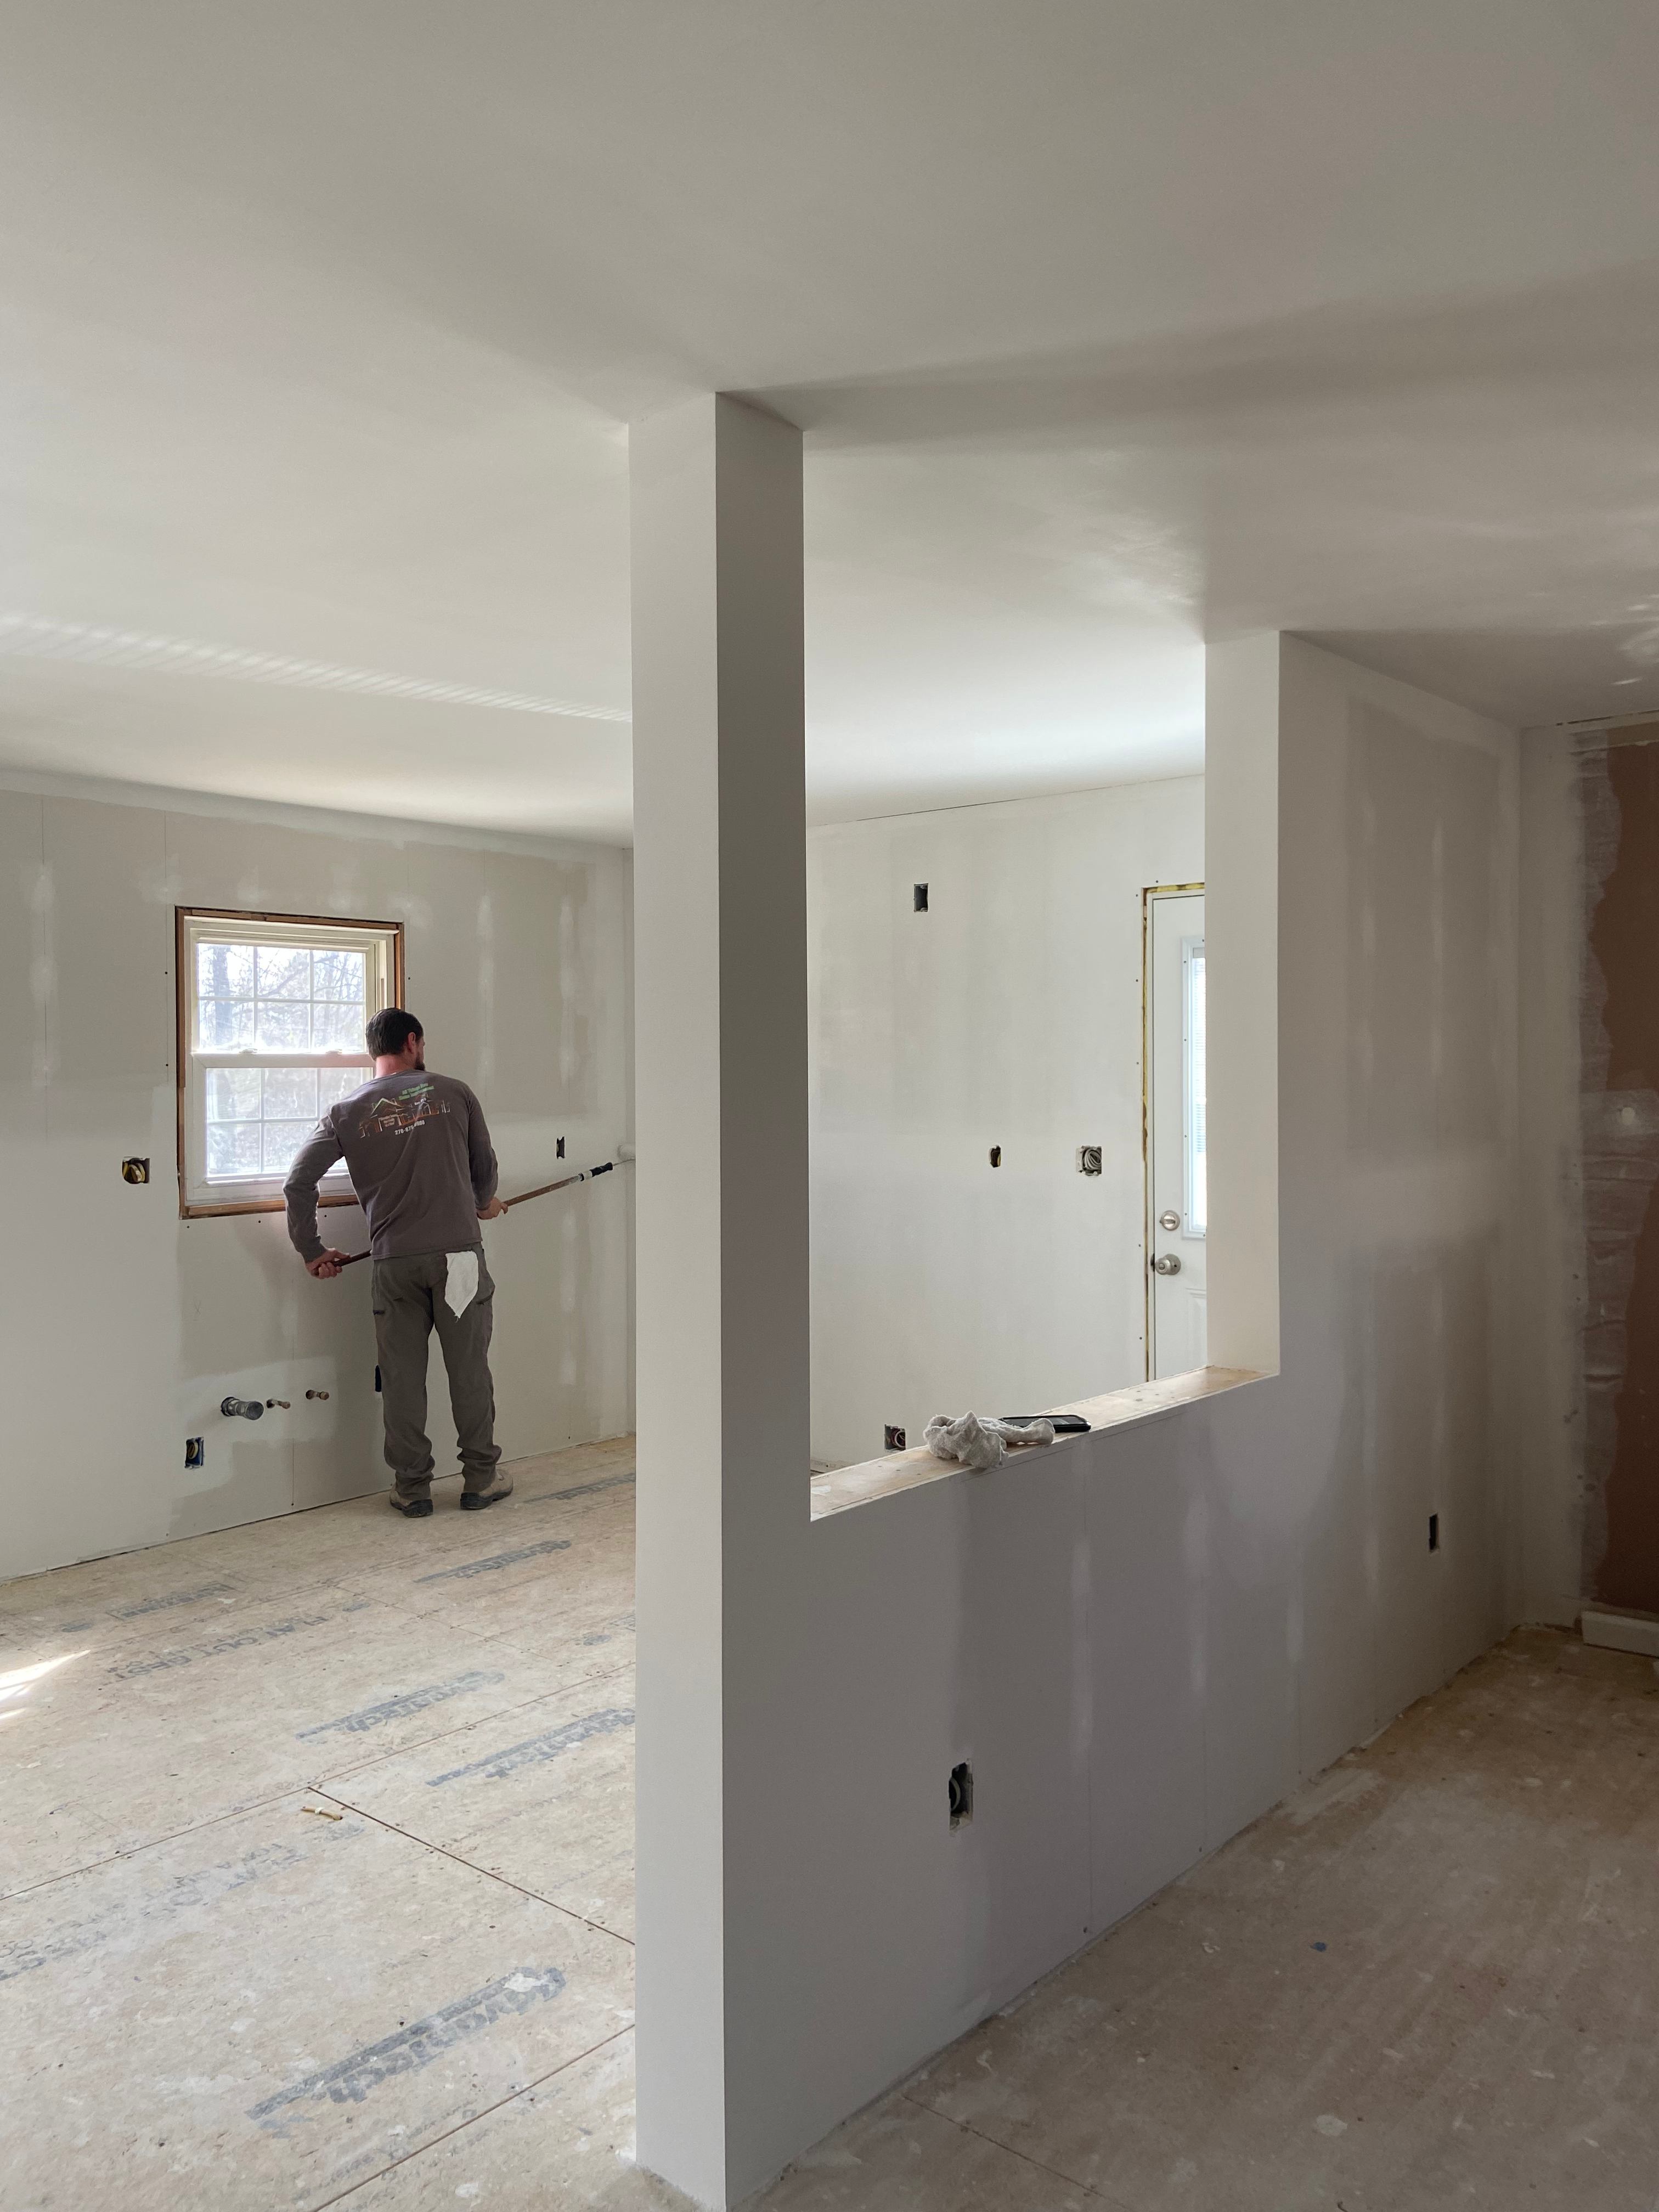
Opening the Floor Plan
Structural framing established the new open-concept layout, creating a seamless connection between the kitchen and living space.

06
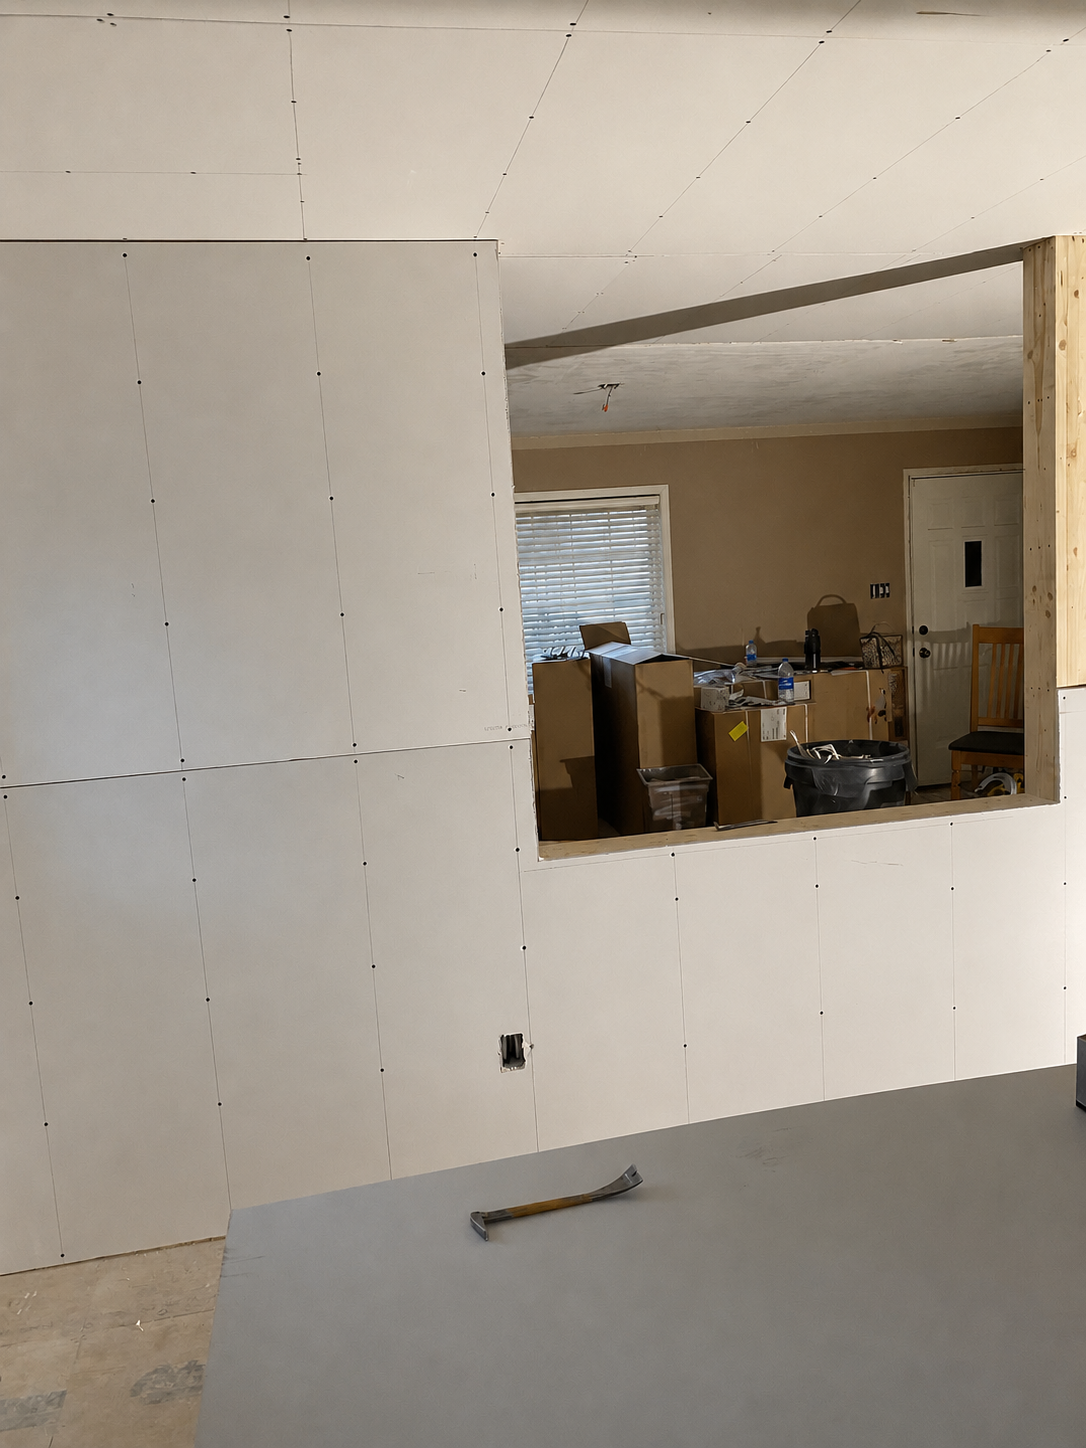
Drywall & Pass-Through Framing
Drywall installation and framing defined the new serving opening, giving the space its updated architectural character.

07
Shaping the New Layout
Wall's openings and finishes continue taking shape as the redesigned floor plan came together.

08
Preparing for Finish Work
With drywall complete, the space was ready for cabinetry trim flooring in the next phase of construction.

09
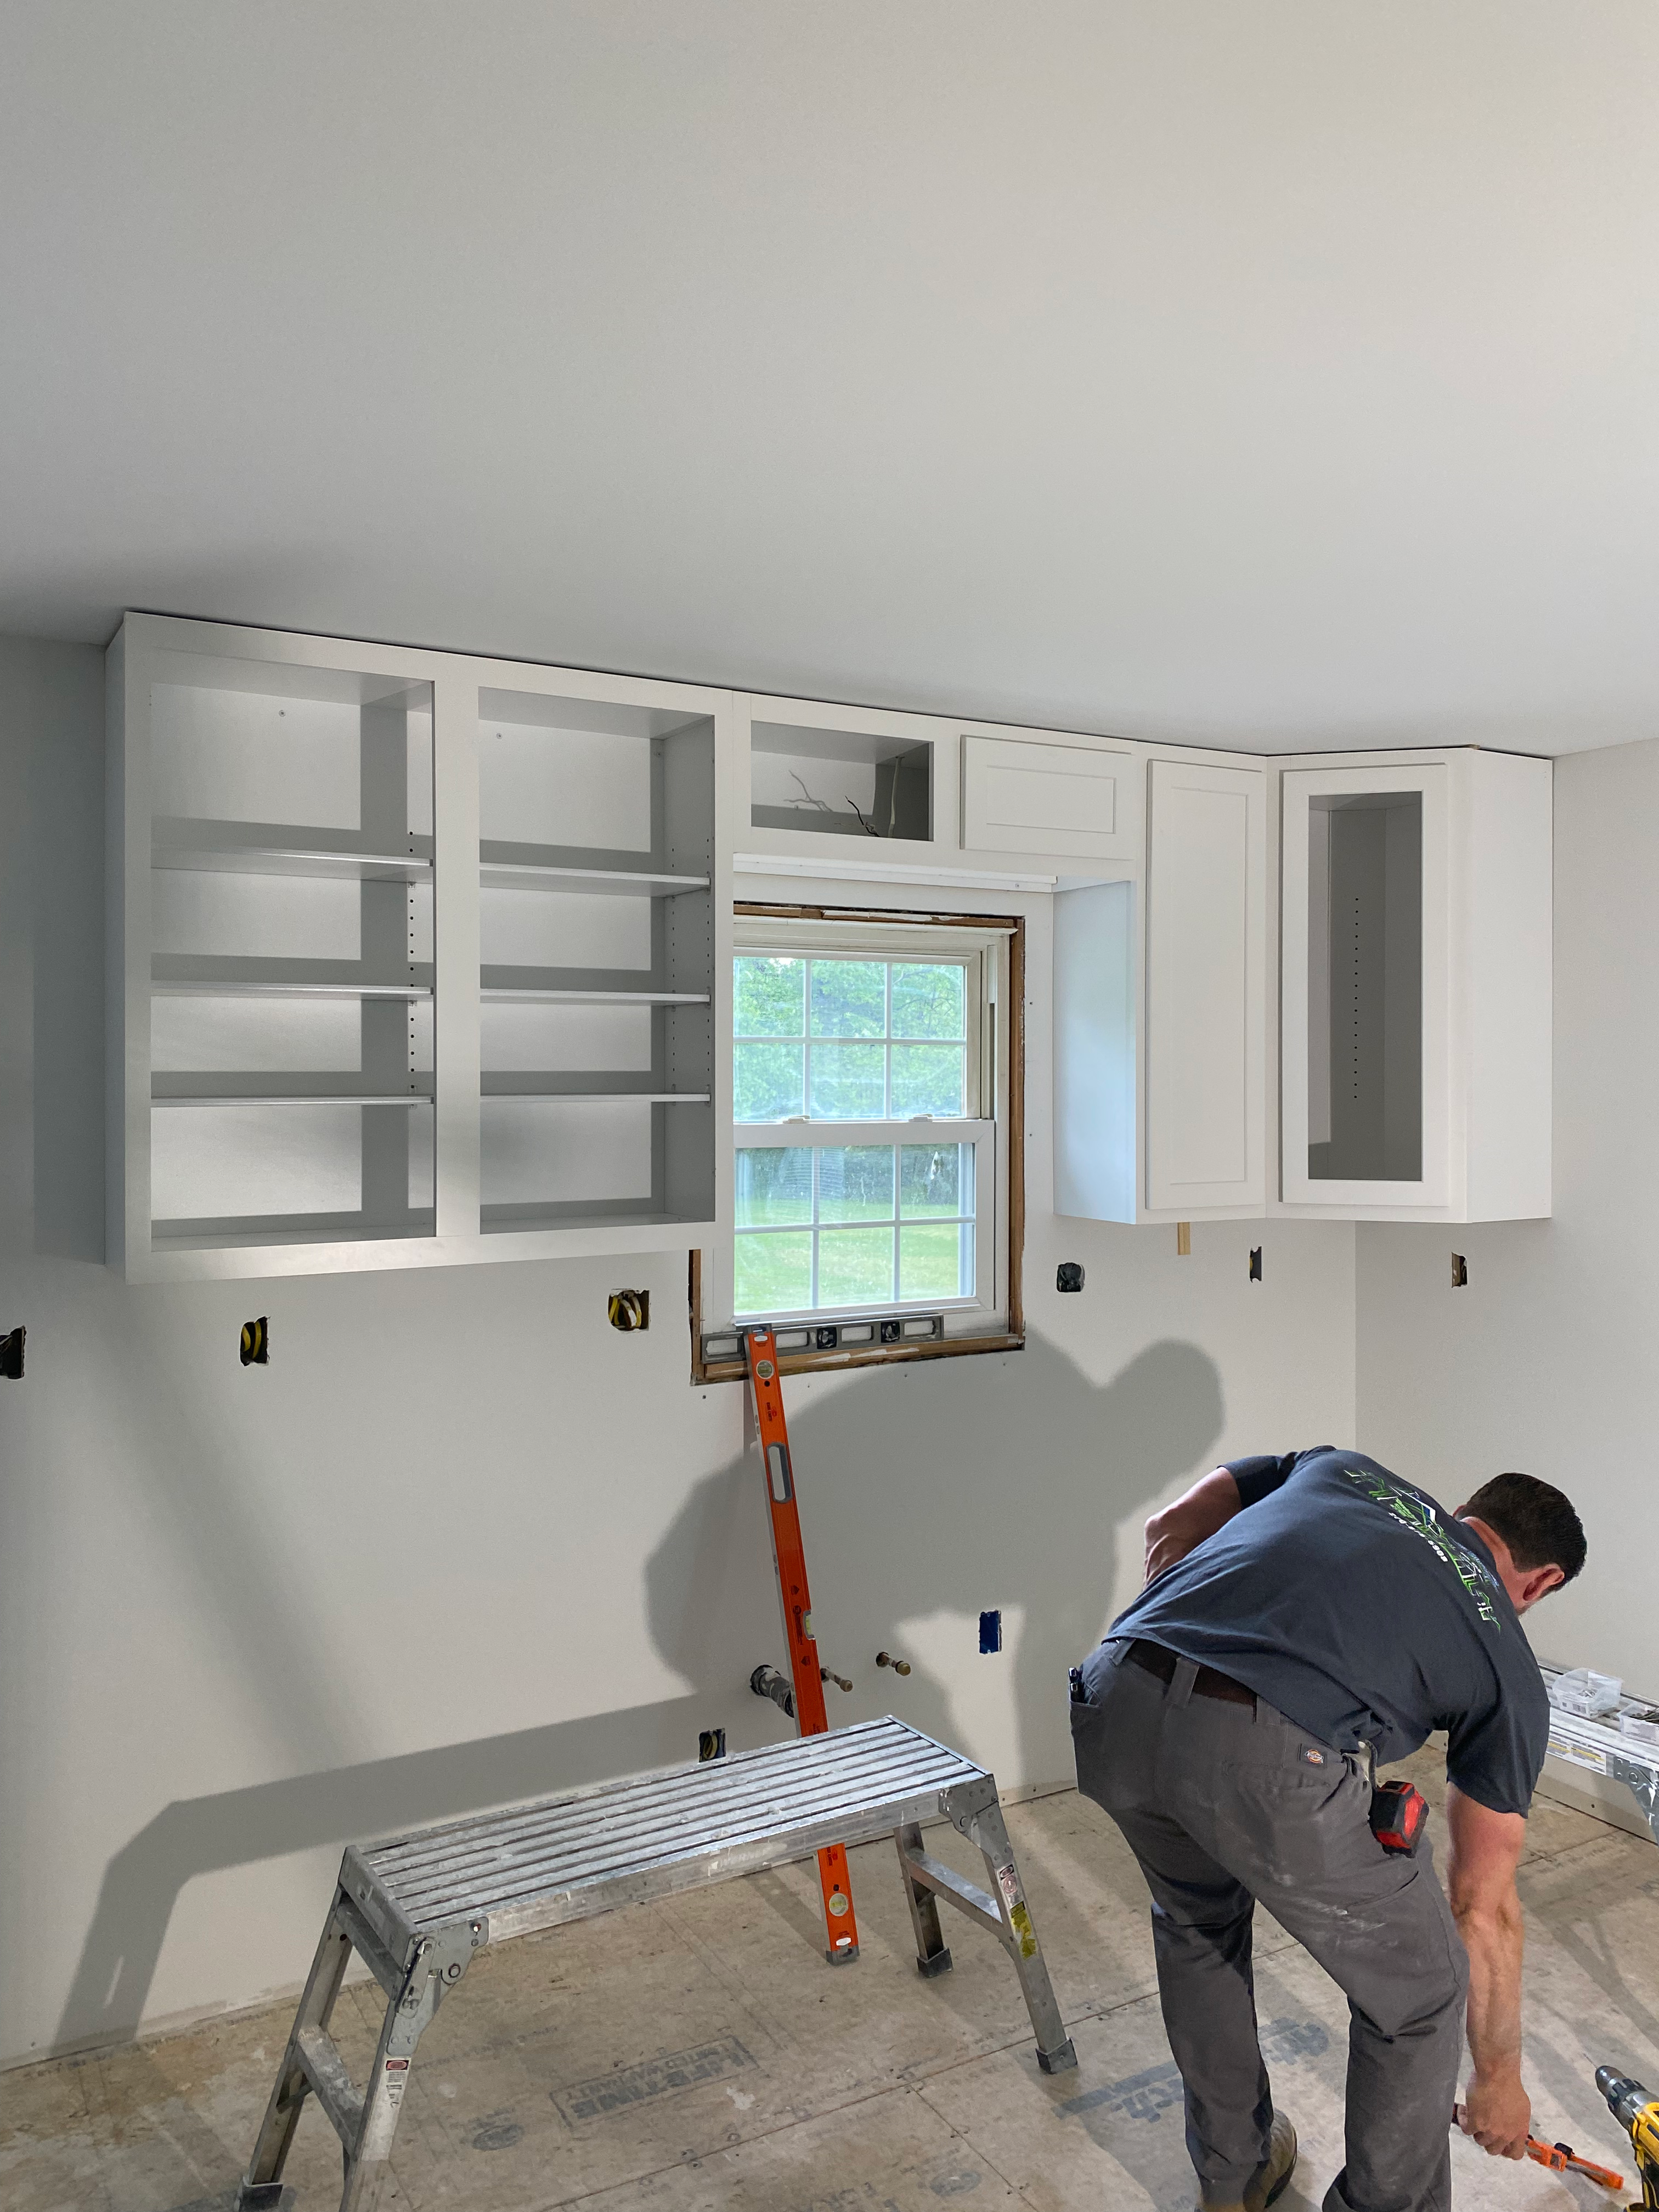
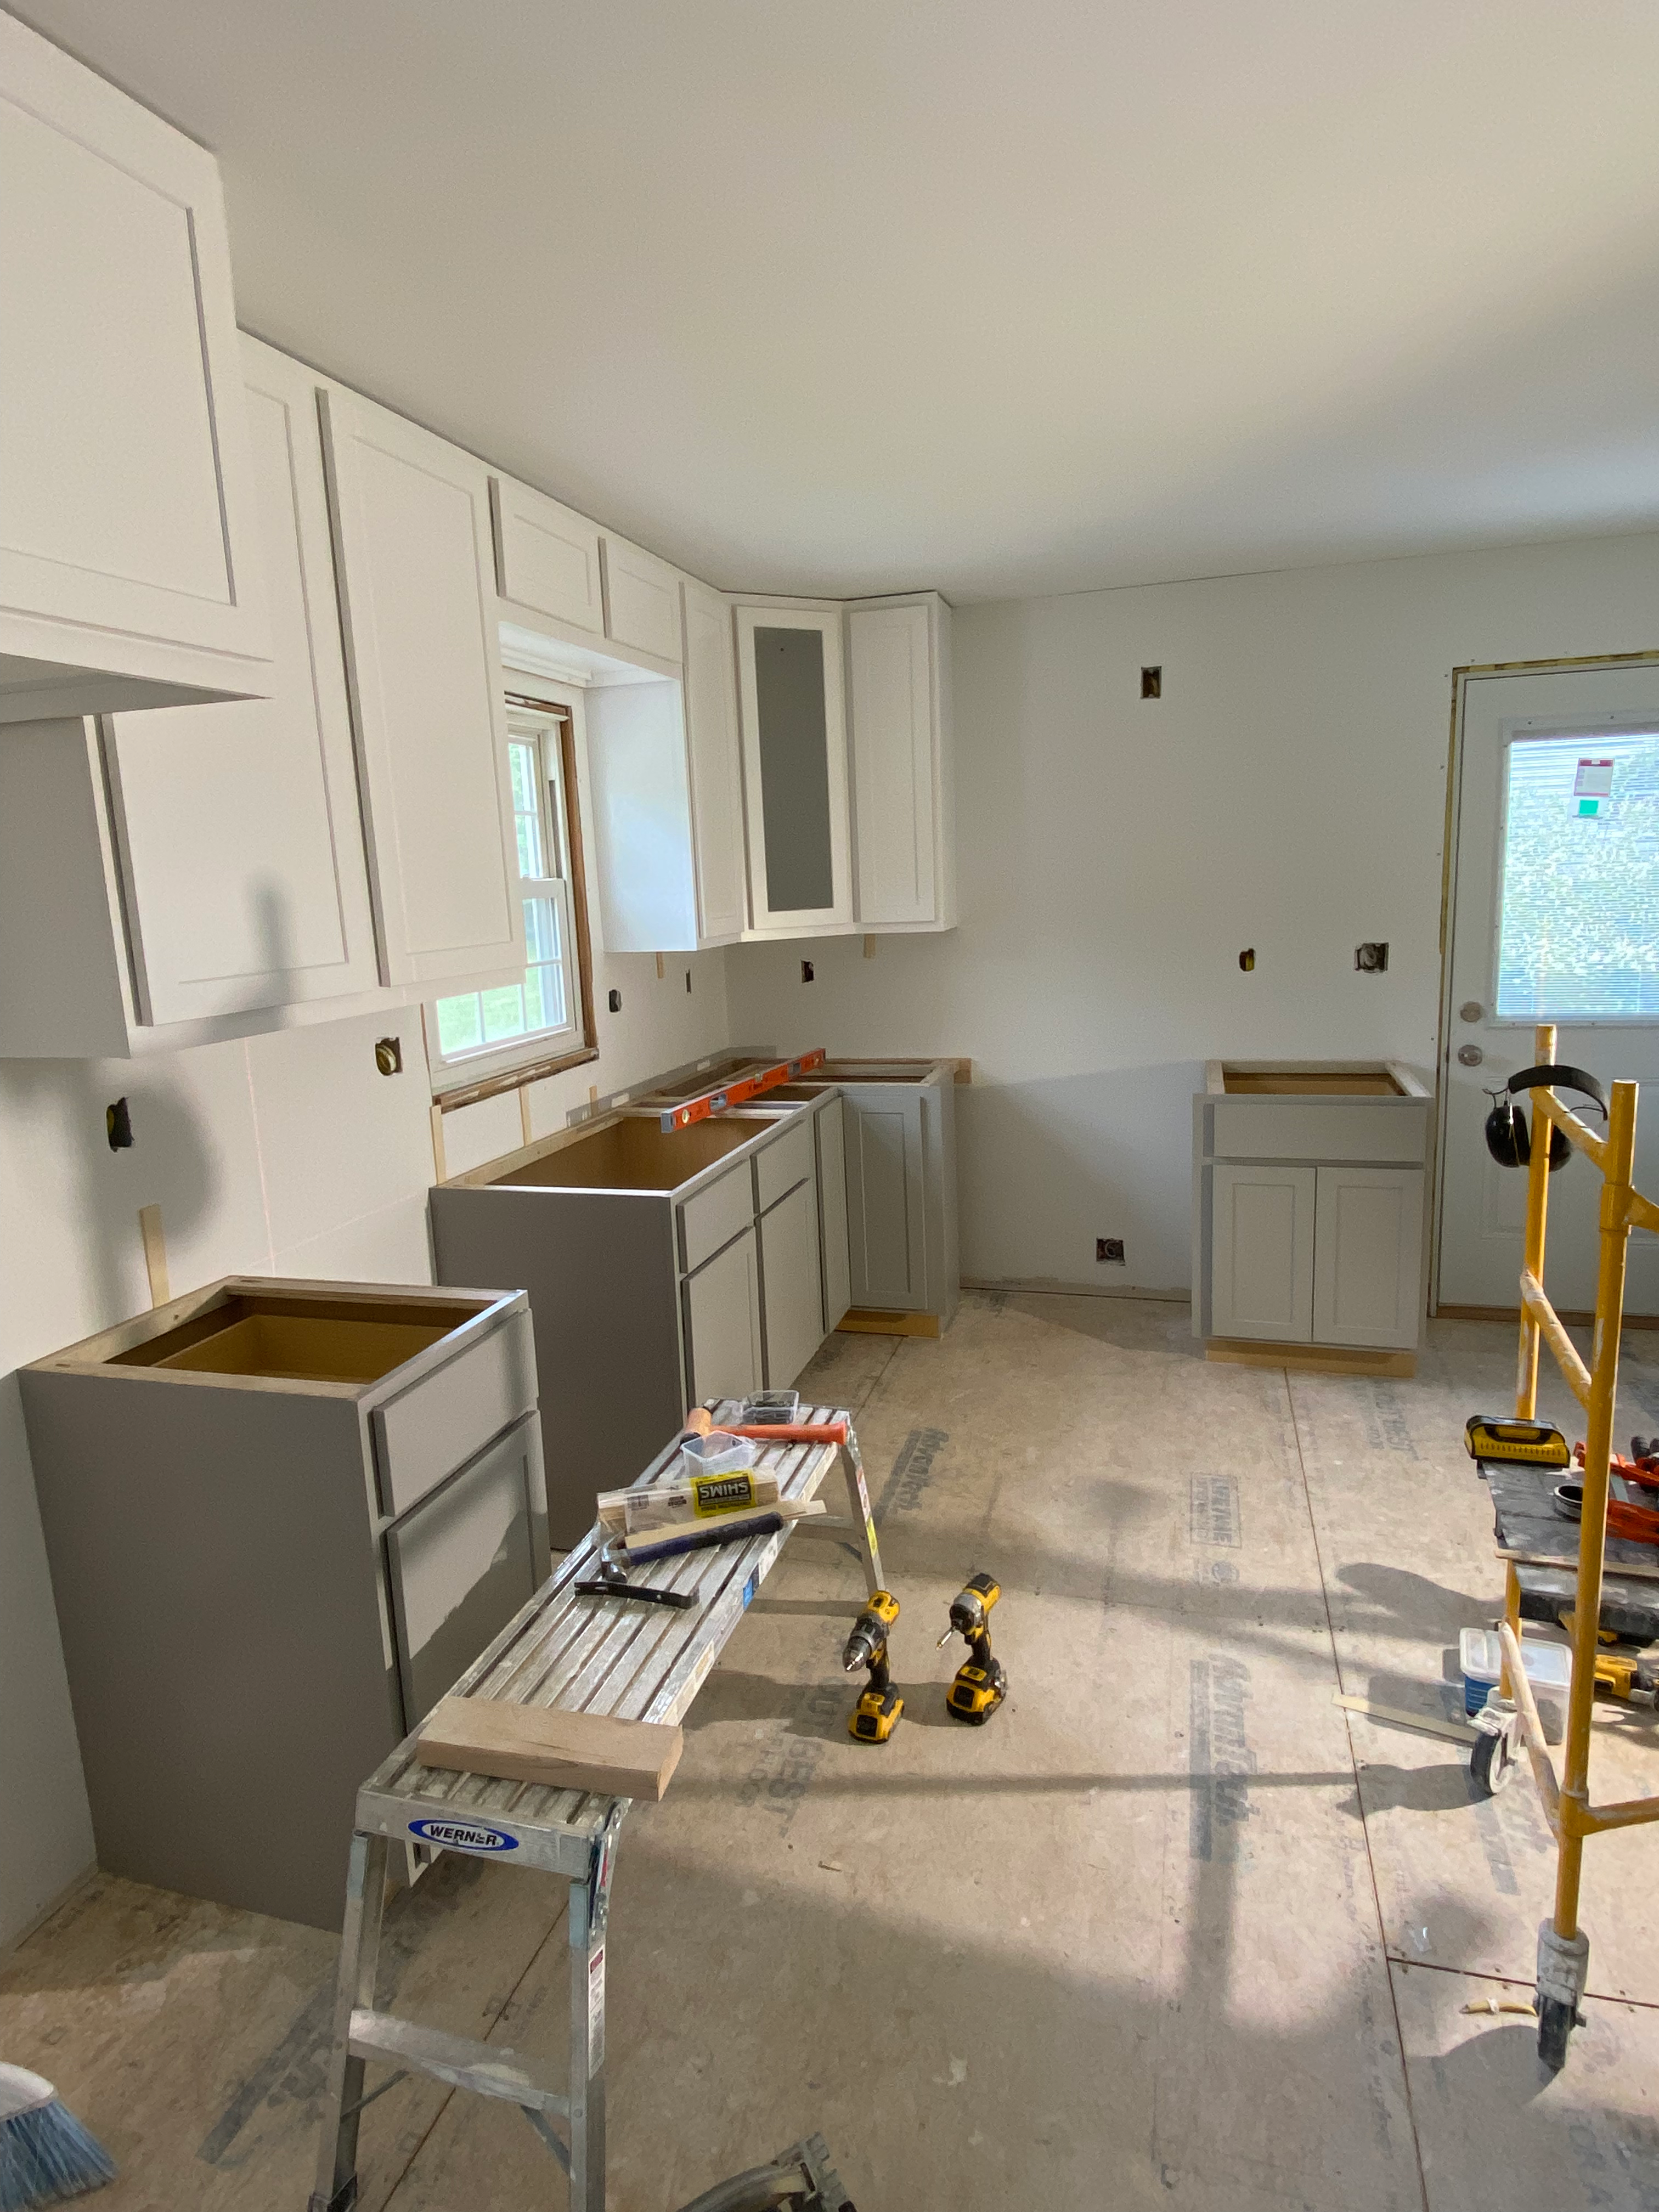
Cabinet Installation Begins
Cabinet installation gets underway as the new kitchen layout starts to take shape.

10
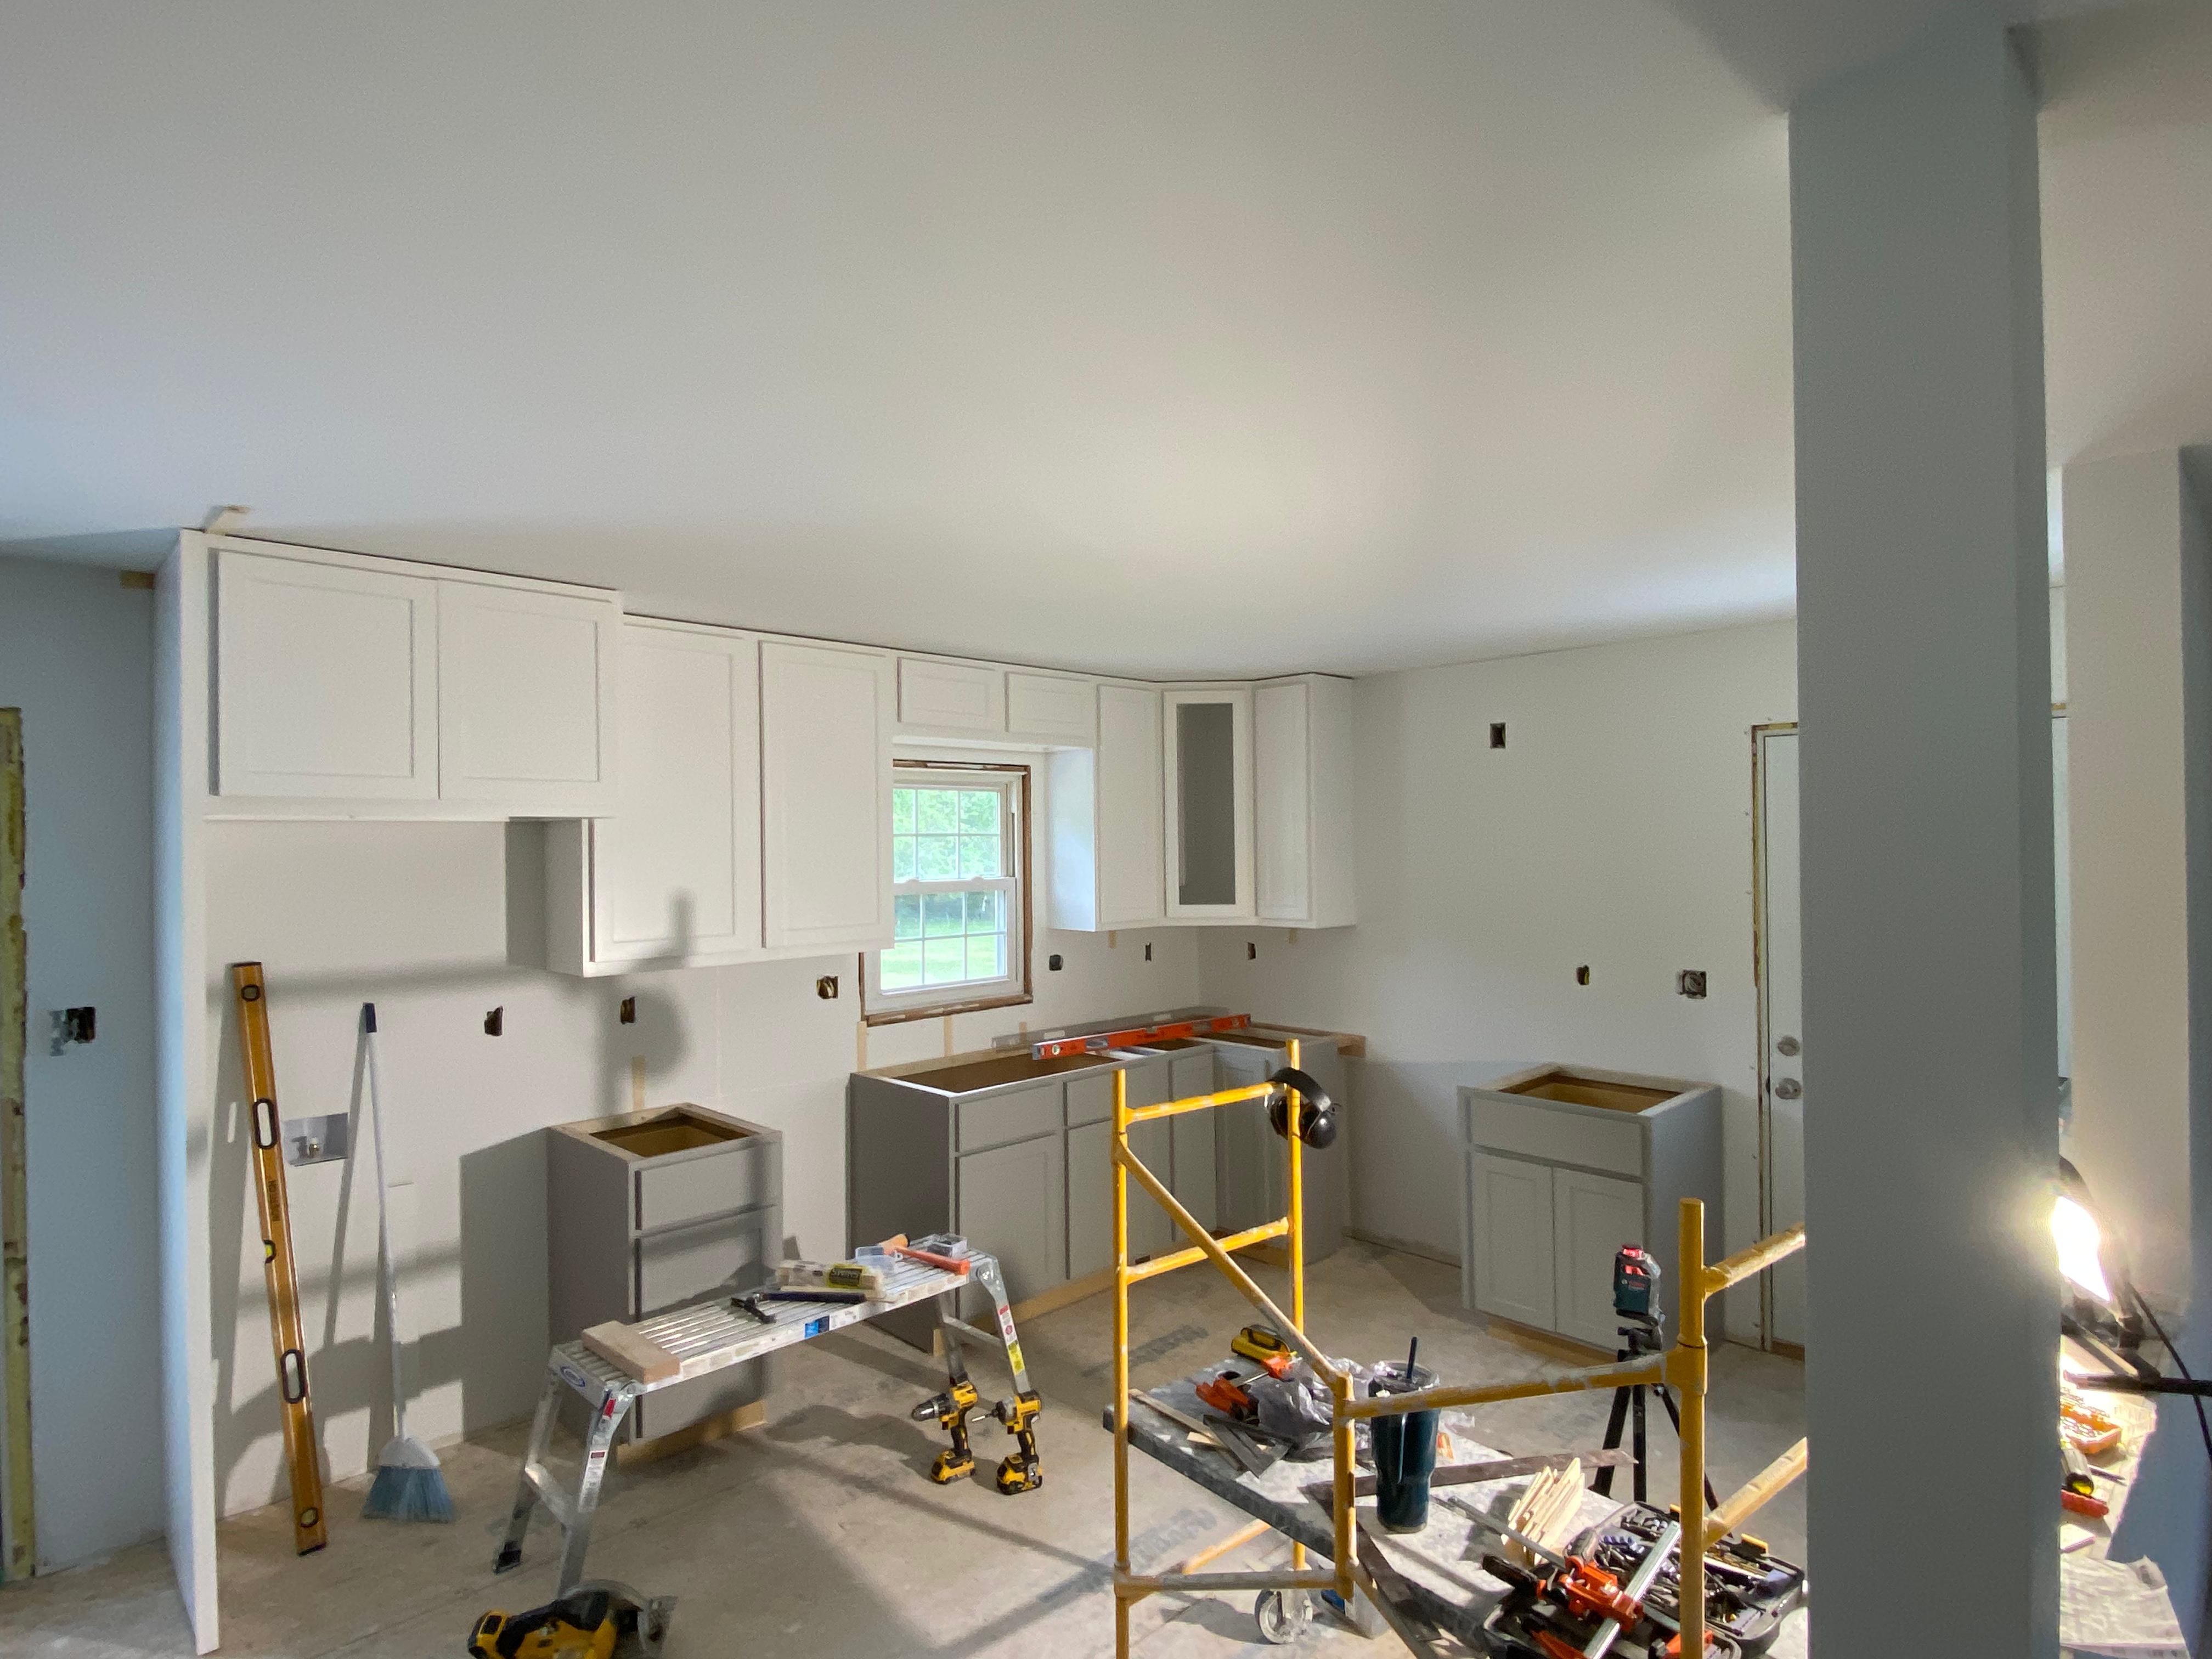
Cabinetry Installation Progress
Upper and lower cabinetry come together to establish the kitchen's new footprint, revealing the custom layout that will anchor the completed space.

11
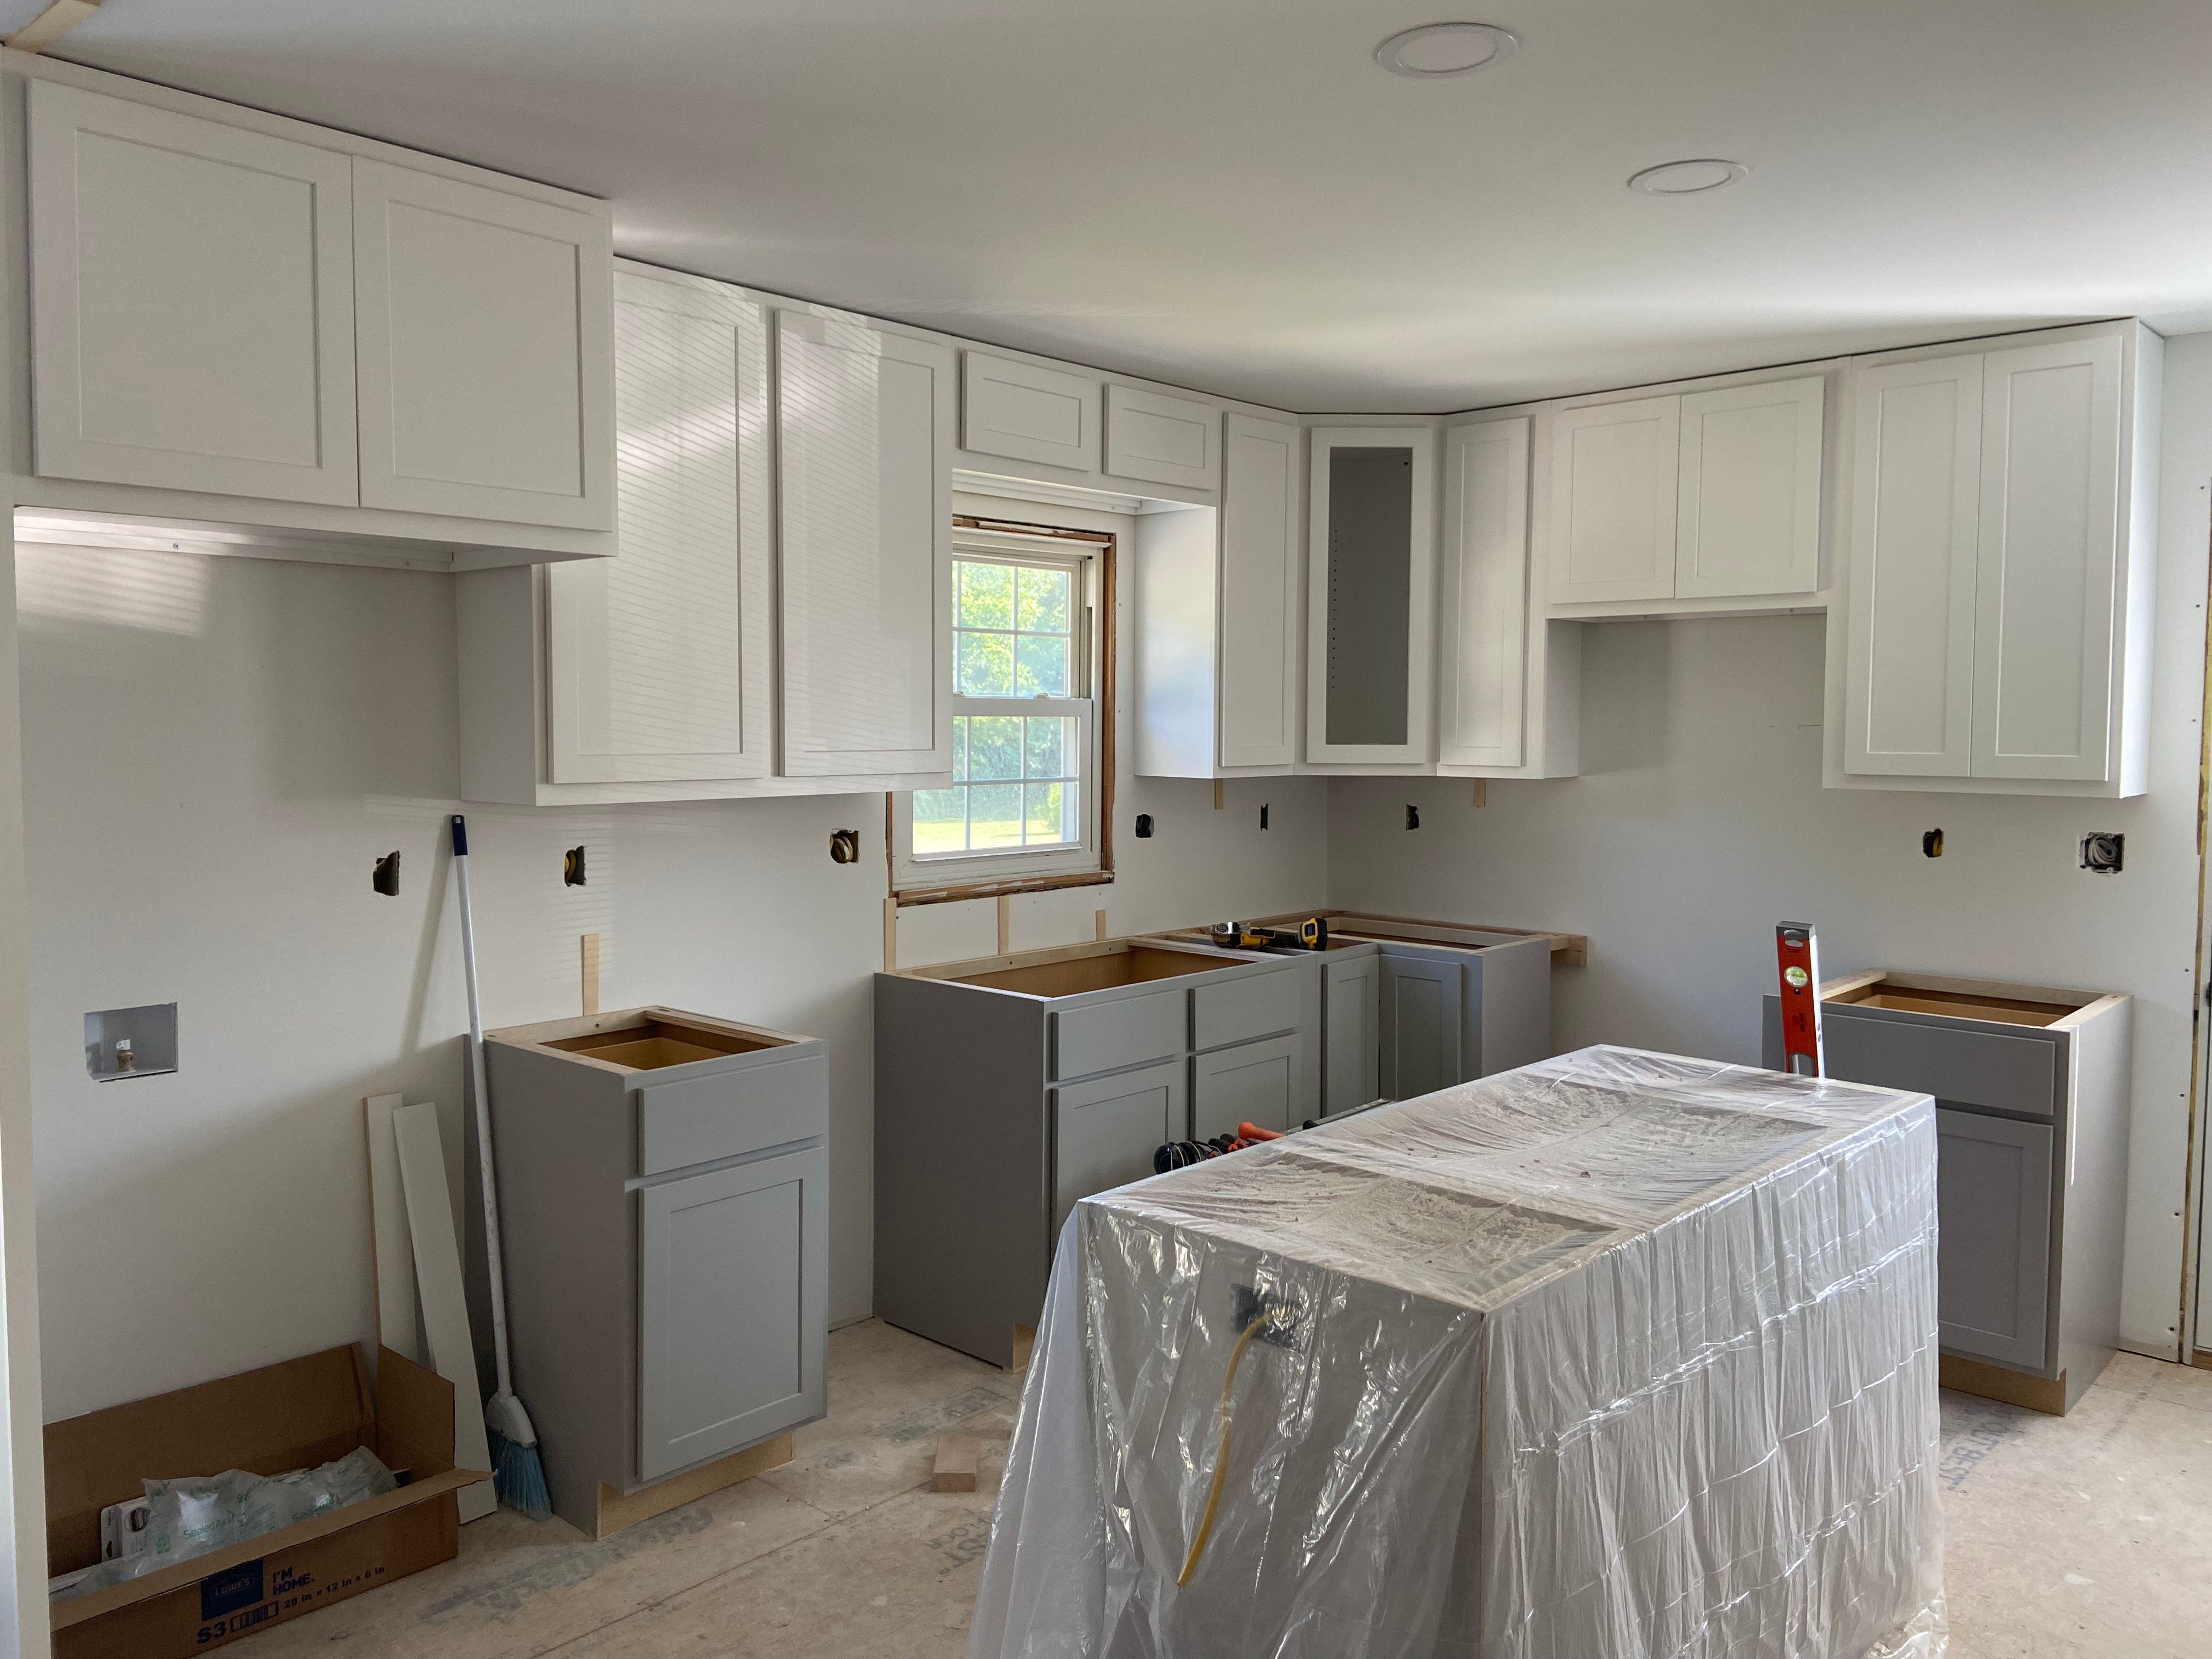
Defining the New Kitchen
With the majority of the cabinetry installed, the redesigned kitchen begins to reveal its final proportions, showcasing the improved layout, increased storage and enhanced functionality.

12
Island Installed
The custom kitchen island is set in place, establishing the centerpiece of the new open-concept layout while adding valuable storage, workspace and seating.

13
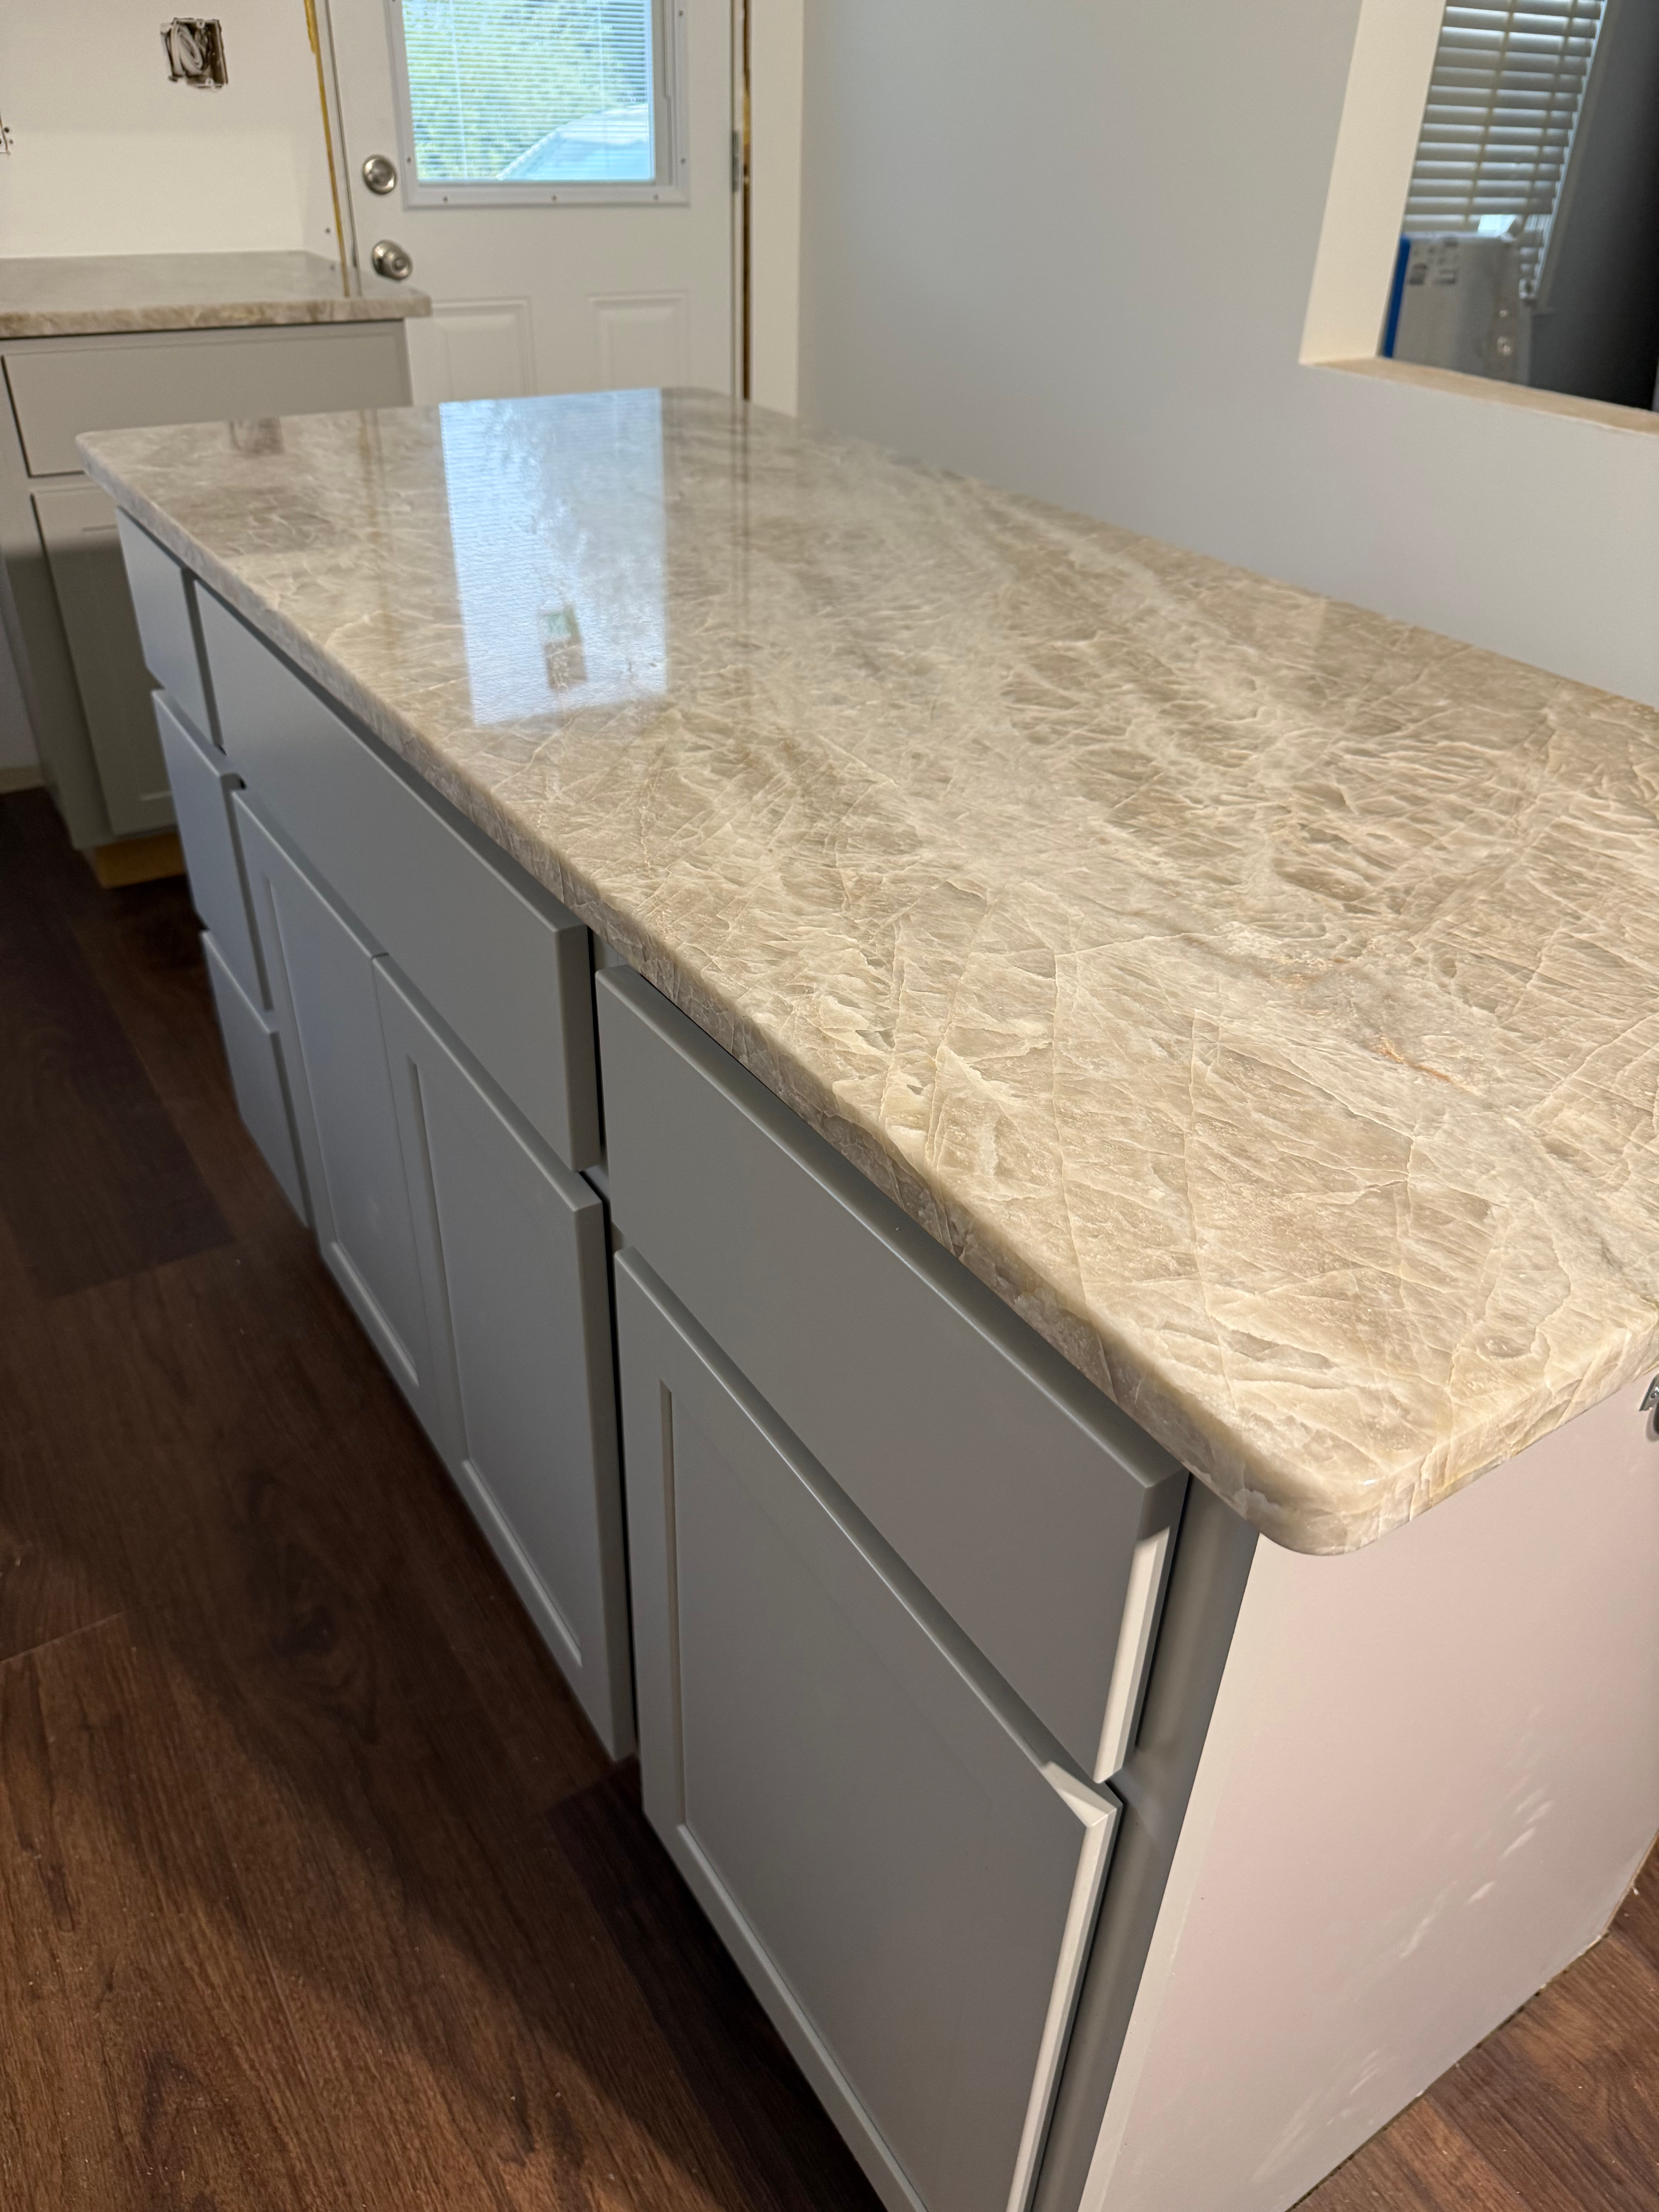
Statement Island
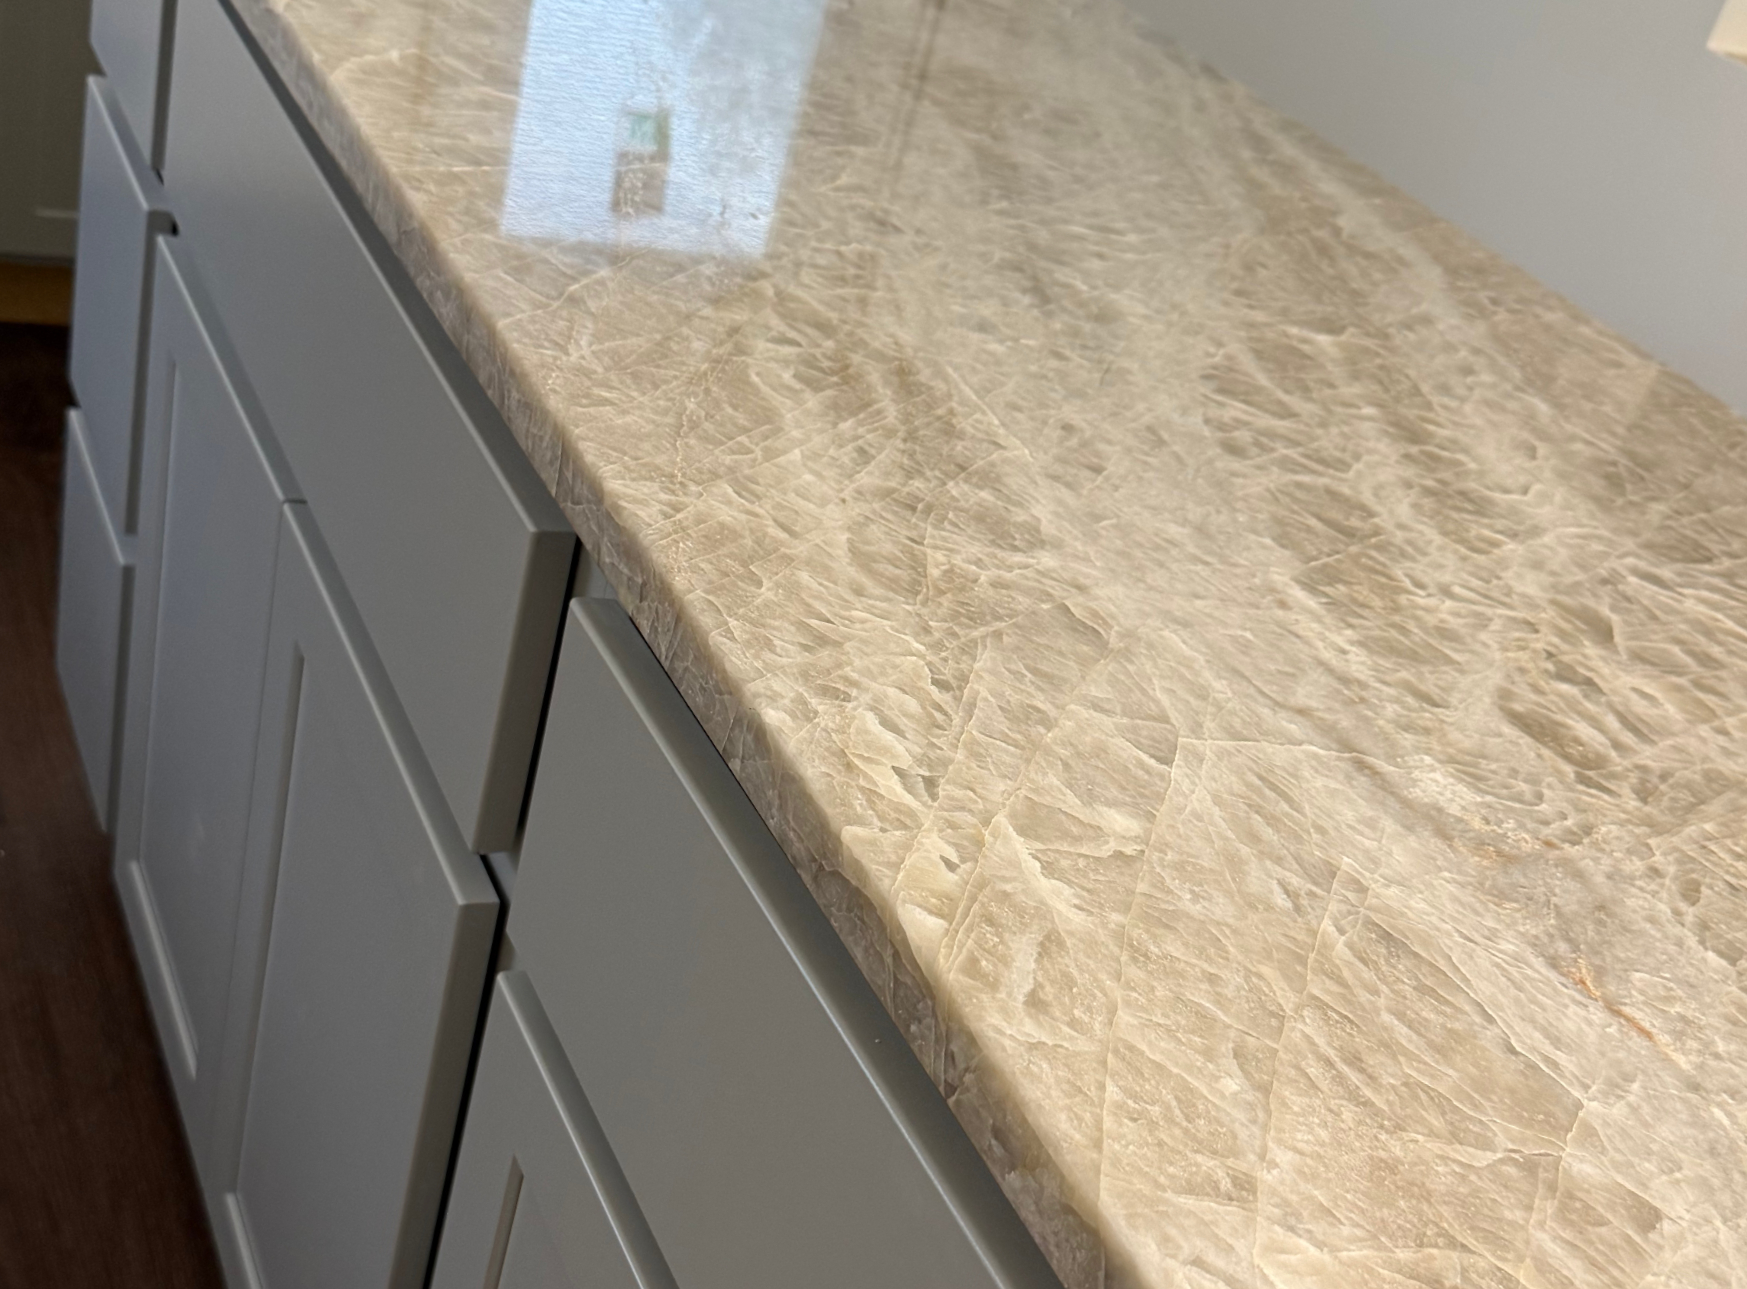
The newly installed countertop transforms the island into a stunning focal point, combining generous workspace with timeless style and everyday functionality.

14
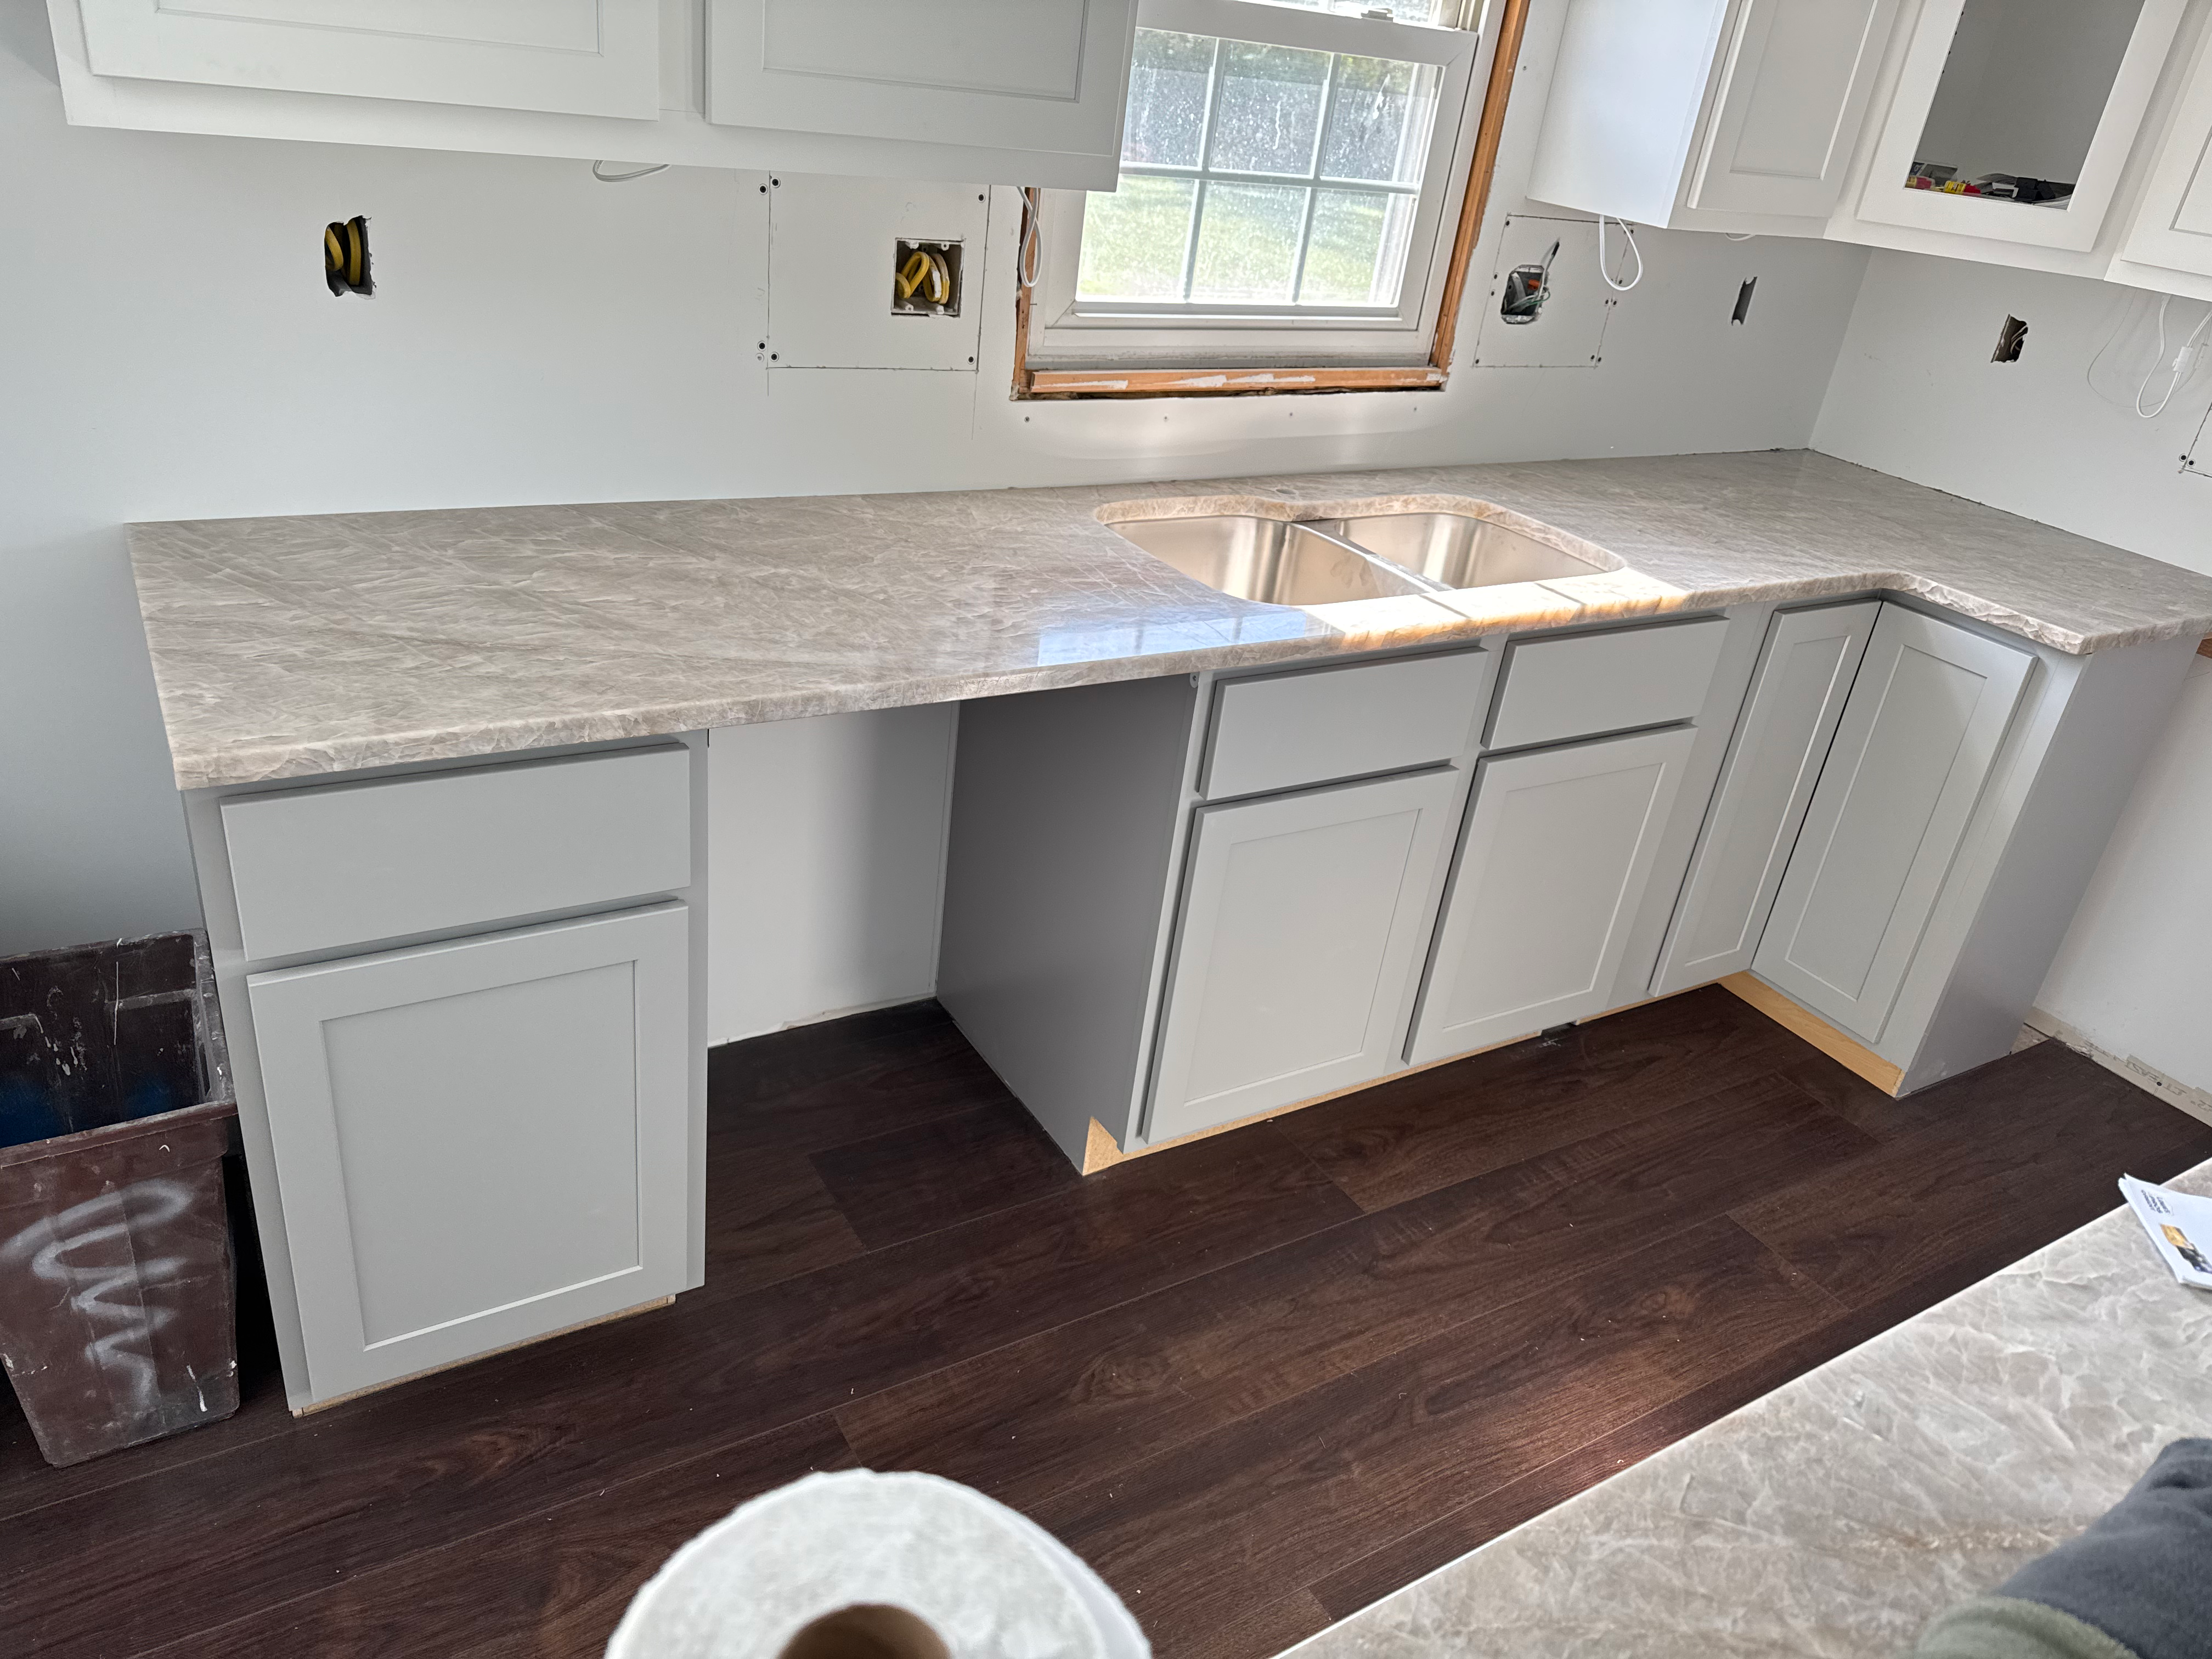
Kitchen Workspace Coming Together
With the counter tops installed and the undermount sink in place, the primary workspace begins to take shape, combining generous prep space with a highly functional layout.

15
Prep Zone Comes Together
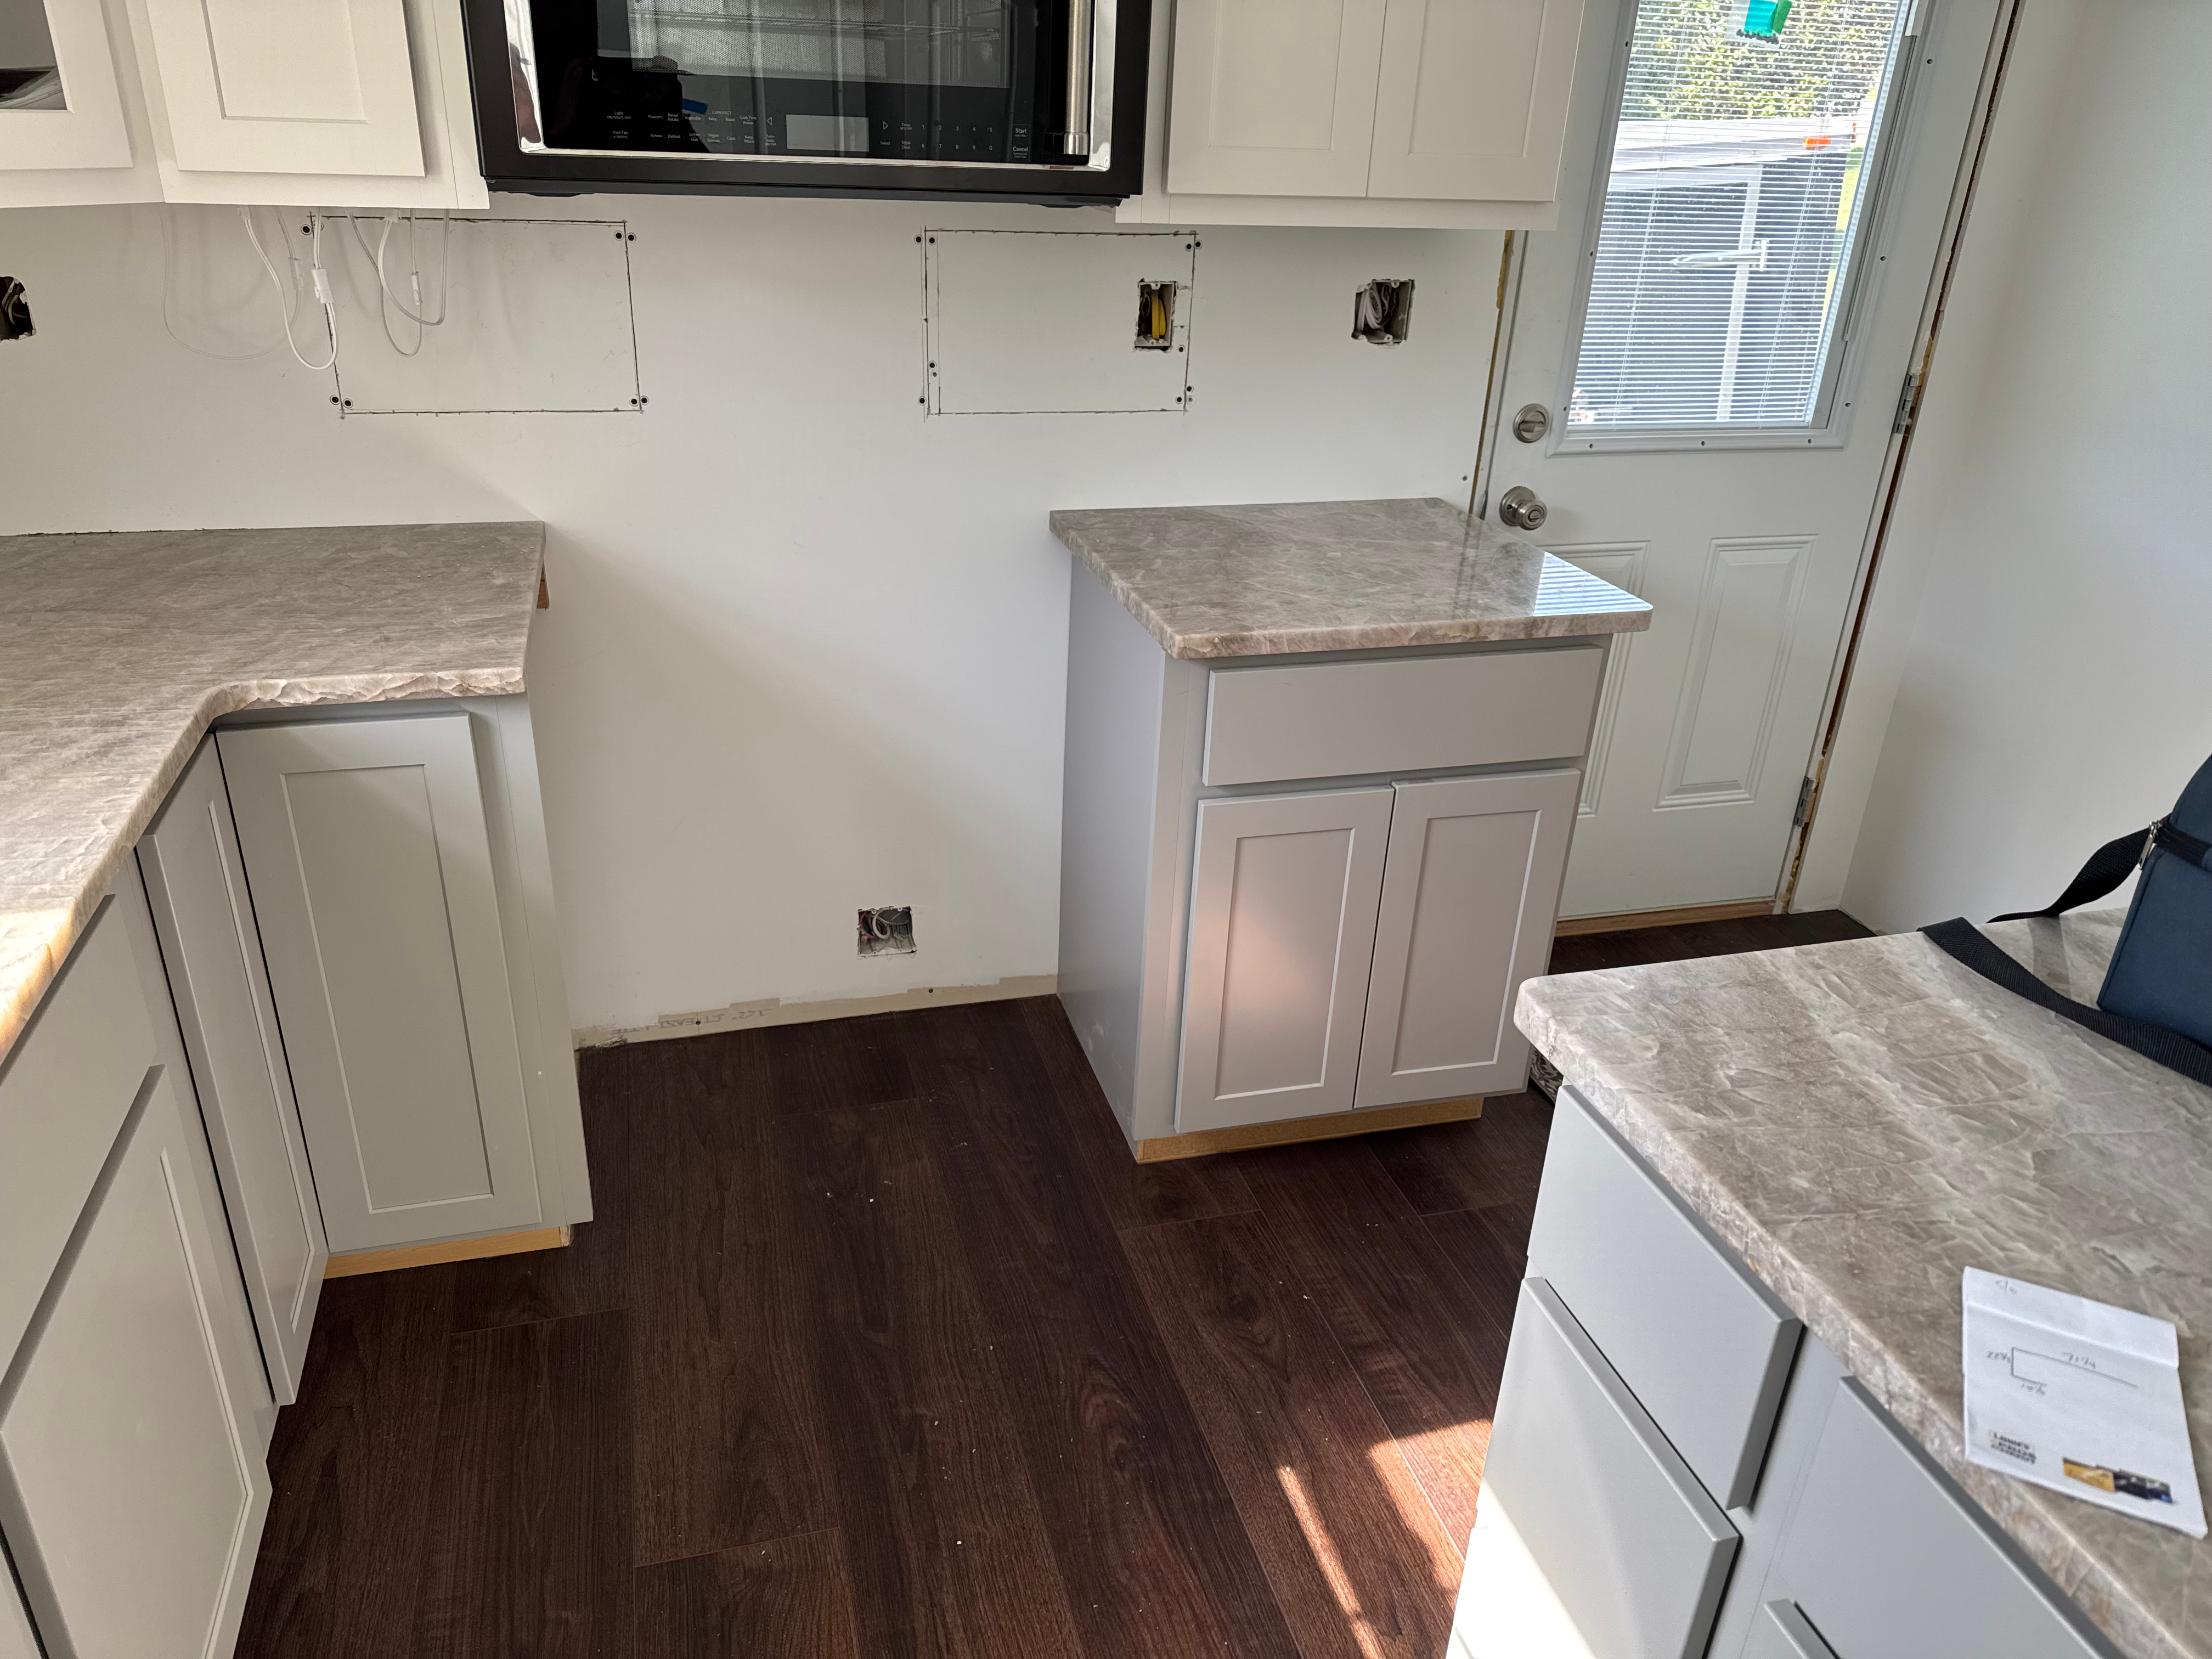
Countertops continue throughout the kitchen as the appliance wall and dedicated prep area come together, highlighting the thoughtful layout and functional workflow before the final backsplash and finishing touches.

16
Farmhouse Sink & Brushed Bronze Faucet
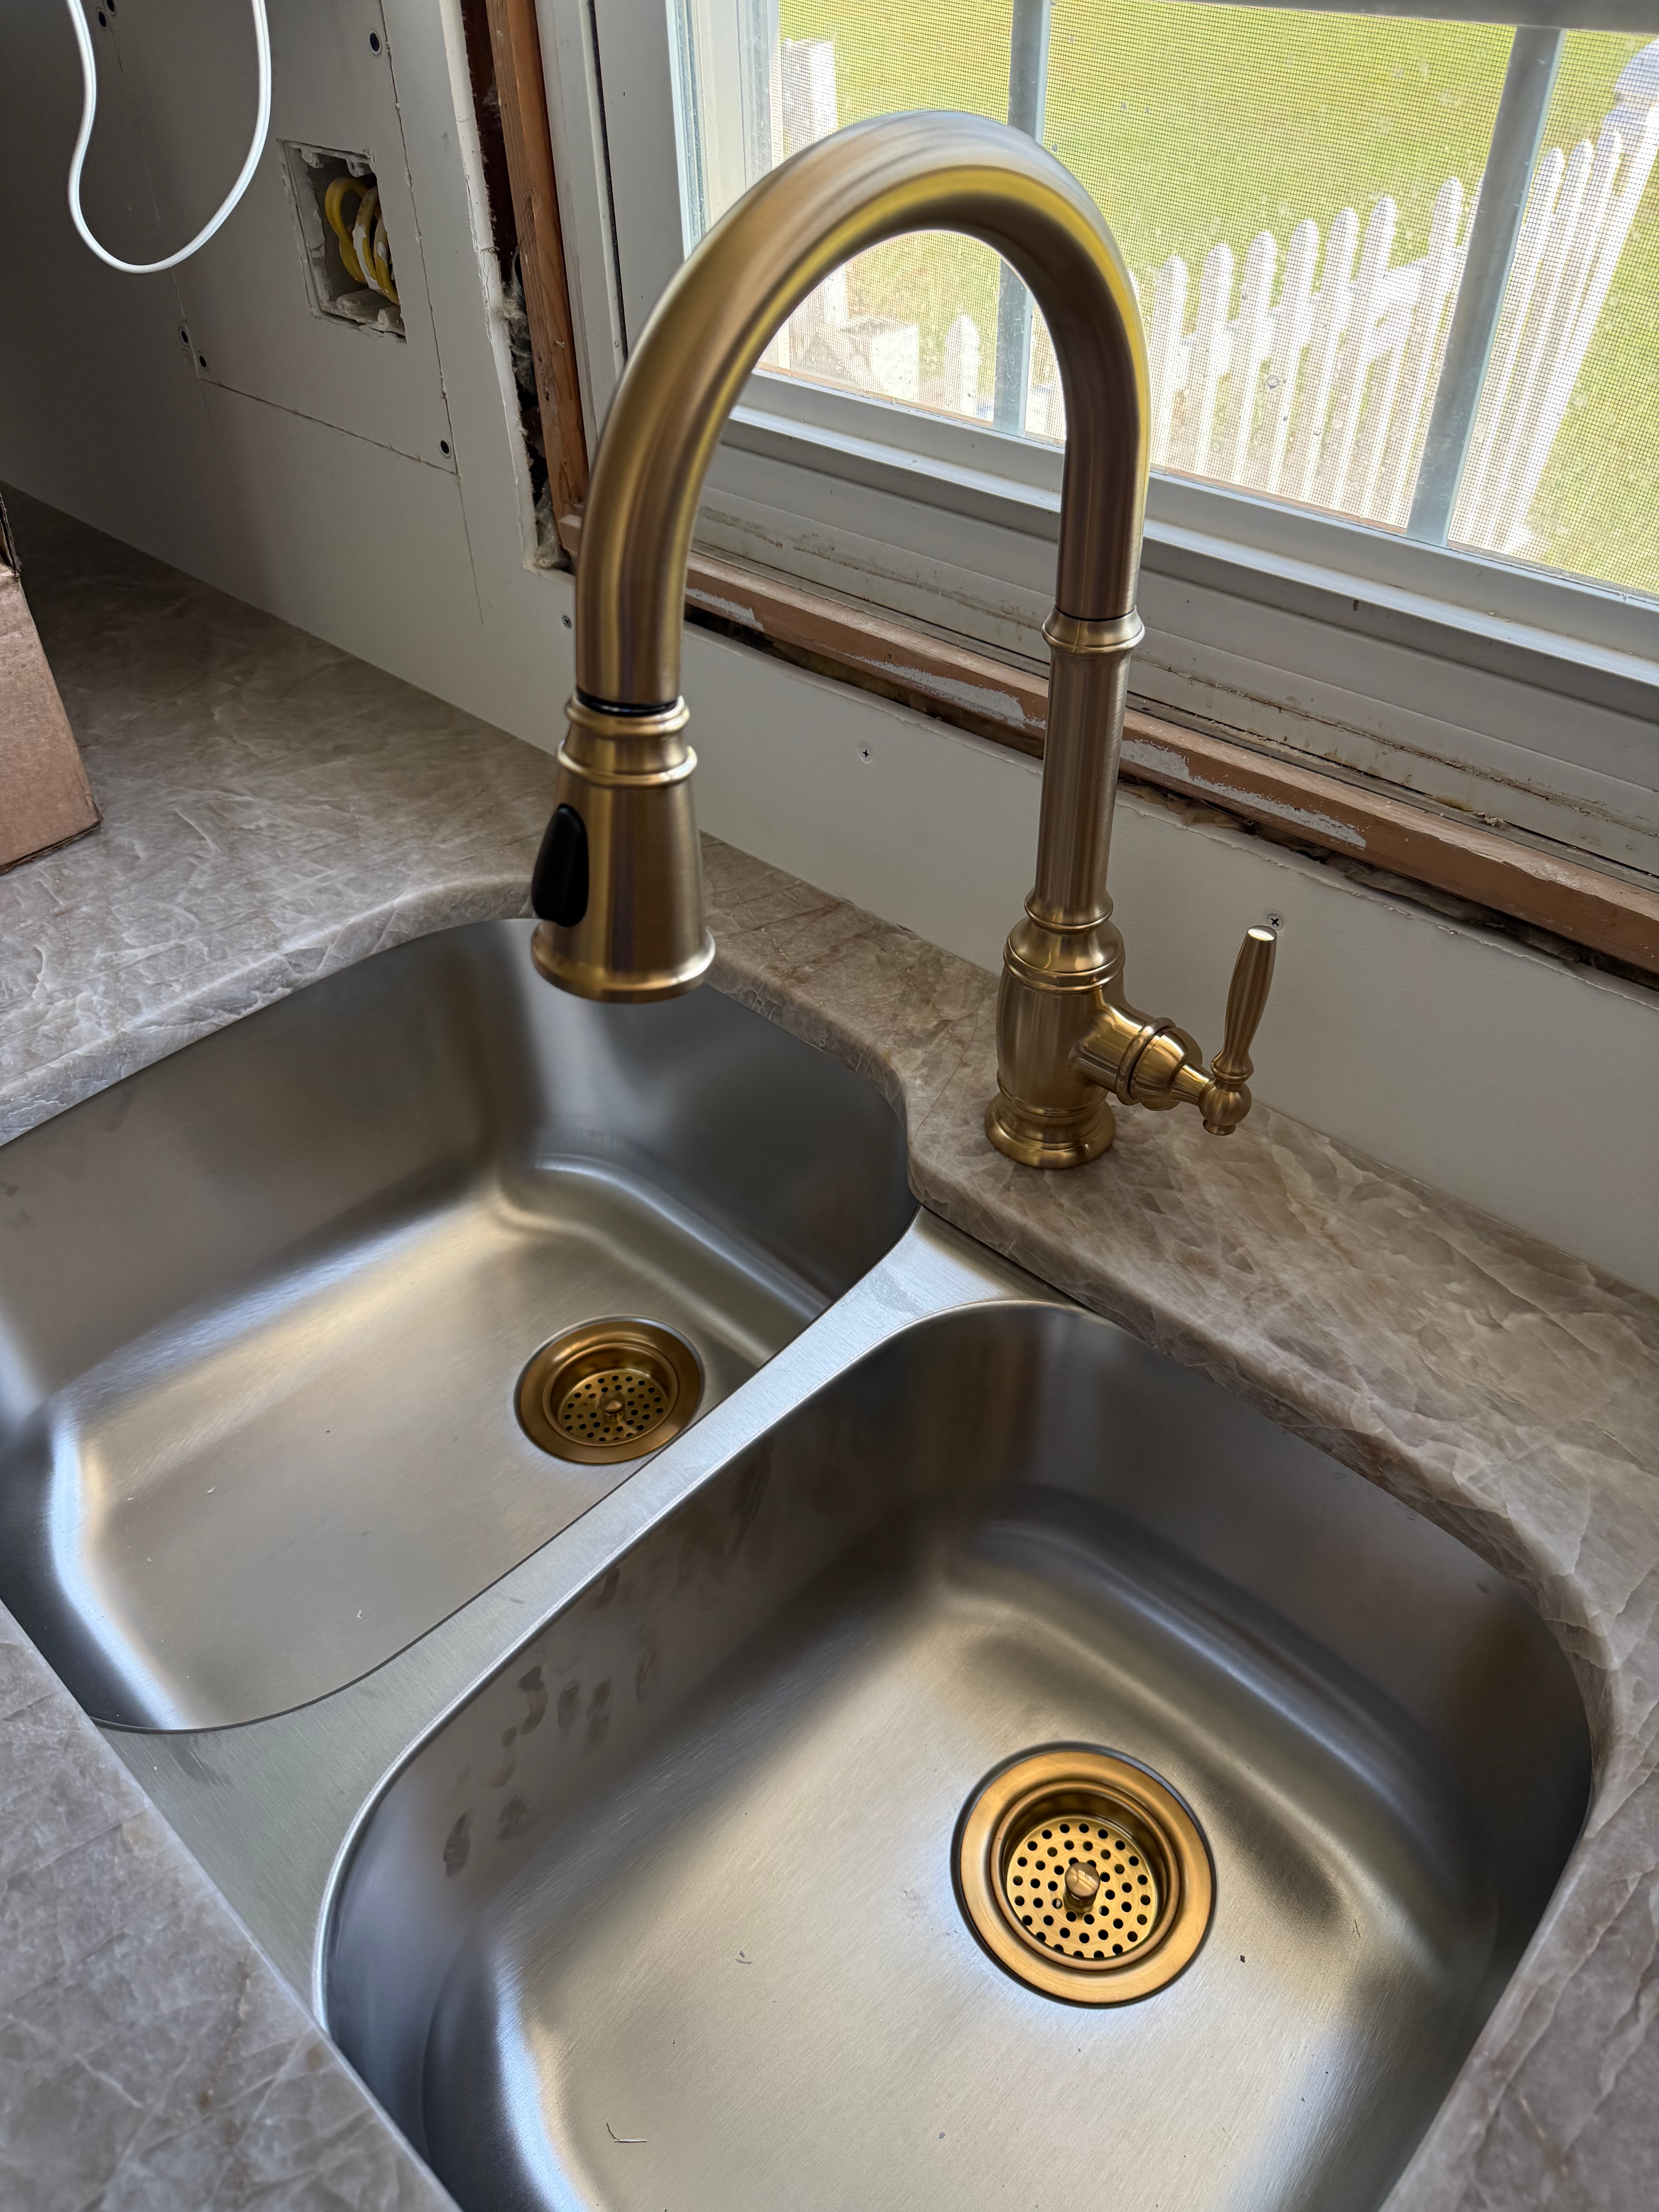
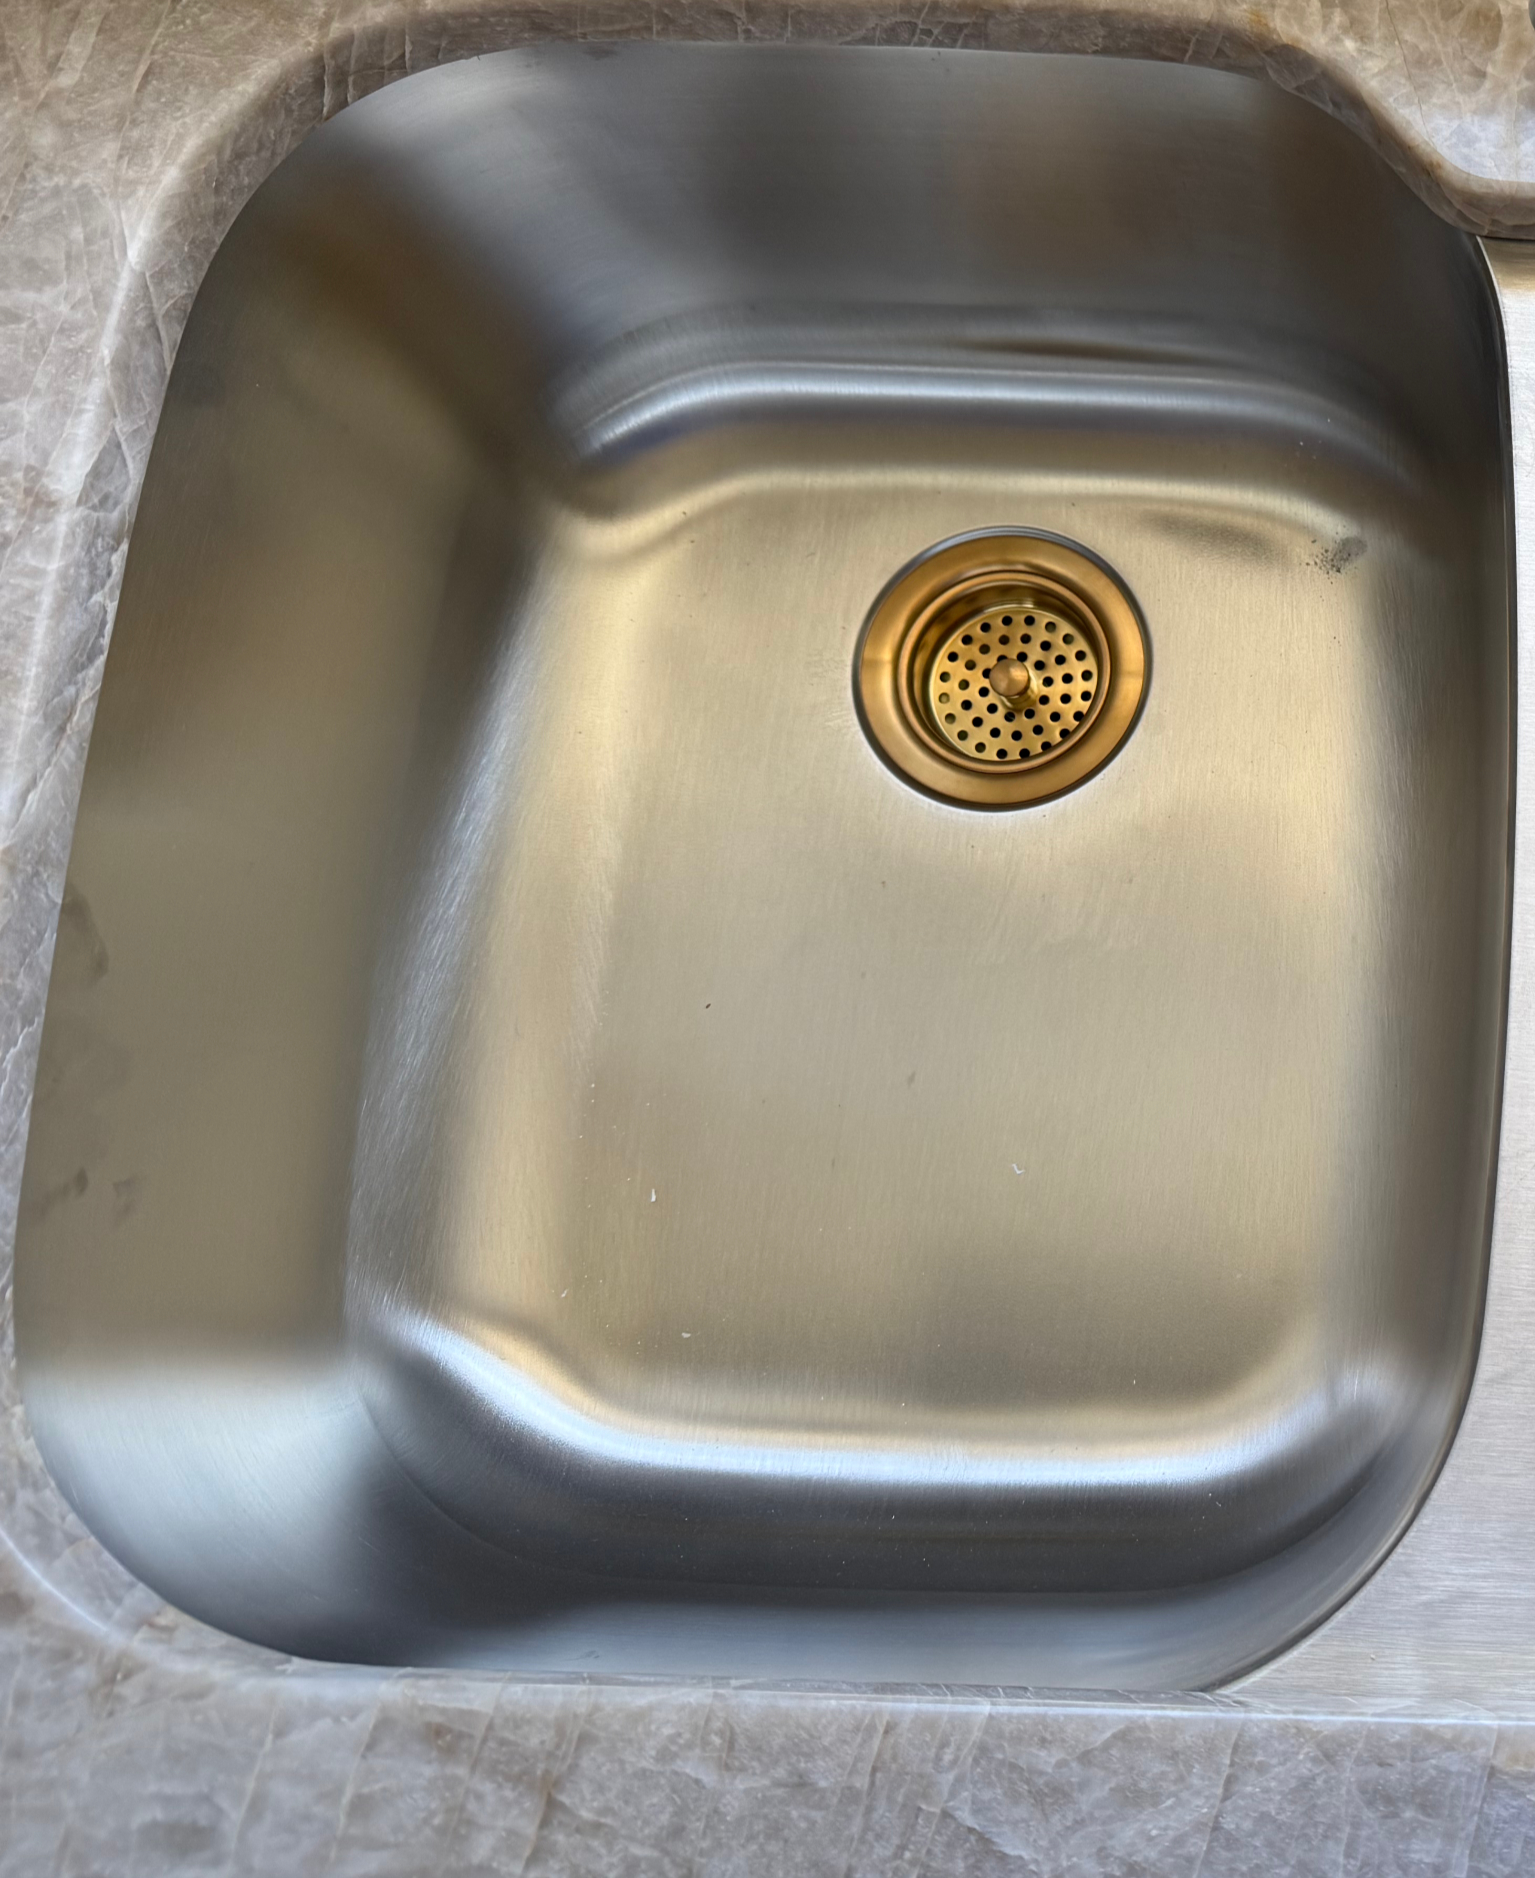
A spacious undermount farmhouse sink is paired with a brushed bronze pull down faucet, creating durable, functional workspace while adding warmth and timeless character to the kitchen.
01 / 16
Original Kitchen
The original kitchen featured a closed layout with limited workspace, dated finishes and an inefficient floor plan that no longer met the homeowners' needs.
01
Original Kitchen
The original kitchen featured a closed layout with limited workspace, dated finishes and an inefficient floor plan that no longer met the homeowners' needs.
02
Existing Dining Area
The dining area adjoined the kitchen, while the living room remained separated by a wall, limiting the home's overall openness and sight lines.
03
Preparing for Demolition
Cabinet removal and demolition preparations were underway as the existing kitchen was readied for its complete transformation.
04
Rough-In Measurements
Careful measurements ensured plumbing, electrical and cabinetry would be precisely positioned before reconstruction began.
05
Opening the Floor Plan
Structural framing established the new open-concept layout, creating a seamless connection between the kitchen and living space.
06
Drywall & Pass-Through Framing
Drywall installation and framing defined the new serving opening, giving the space its updated architectural character.
07
Shaping the New Layout
Wall's openings and finishes continue taking shape as the redesigned floor plan came together.
08
Preparing for Finish Work
With drywall complete, the space was ready for cabinetry trim flooring in the next phase of construction.
09
Cabinet Installation Begins
Cabinet installation gets underway as the new kitchen layout starts to take shape.
10
Cabinetry Installation Progress
Upper and lower cabinetry come together to establish the kitchen's new footprint, revealing the custom layout that will anchor the completed space.
11
Defining the New Kitchen
With the majority of the cabinetry installed, the redesigned kitchen begins to reveal its final proportions, showcasing the improved layout, increased storage and enhanced functionality.
12
Island Installed
The custom kitchen island is set in place, establishing the centerpiece of the new open-concept layout while adding valuable storage, workspace and seating.
13
Statement Island
The newly installed countertop transforms the island into a stunning focal point, combining generous workspace with timeless style and everyday functionality.
14
Kitchen Workspace Coming Together
With the counter tops installed and the undermount sink in place, the primary workspace begins to take shape, combining generous prep space with a highly functional layout.
15
Prep Zone Comes Together
Countertops continue throughout the kitchen as the appliance wall and dedicated prep area come together, highlighting the thoughtful layout and functional workflow before the final backsplash and finishing touches.
16
Farmhouse Sink & Brushed Bronze Faucet
A spacious undermount farmhouse sink is paired with a brushed bronze pull down faucet, creating durable, functional workspace while adding warmth and timeless character to the kitchen.
- Modern open-living kitchen with white cabinets and black appliances
- Modern open-living kitchen with gray walls and dining set
- Open-living kitchen under renovation with tools and wood.
- Measuring a wall for an open-living kitchen renovation.
- Wood framing for a new open-living kitchen renovation.
- Drywall installation for an open-living kitchen layout.
- Renovated open-living kitchen with fresh white drywall.
- Worker installing drywall in an open-living kitchen.
- Contractor installing white cabinets in an open-living kitchen.
- Open-living kitchen under construction with white cabinets.
- Open-living kitchen installation with white cabinets.
- Modern open-living kitchen under renovation with new cabinets.
- Polished marble countertop on grey open-living kitchen island
- Modern open-living kitchen with light countertops and grey cabinets
- Modern grey cabinets in an open-living kitchen renovation.
- Gold faucet and double sink in an open-living kitchen.
tHE fINISHED sPACE
Explore the completed kitchen from every angle, where custom design, premium finishes, and thoughtful details come together.

01
Completed Kitchen Design
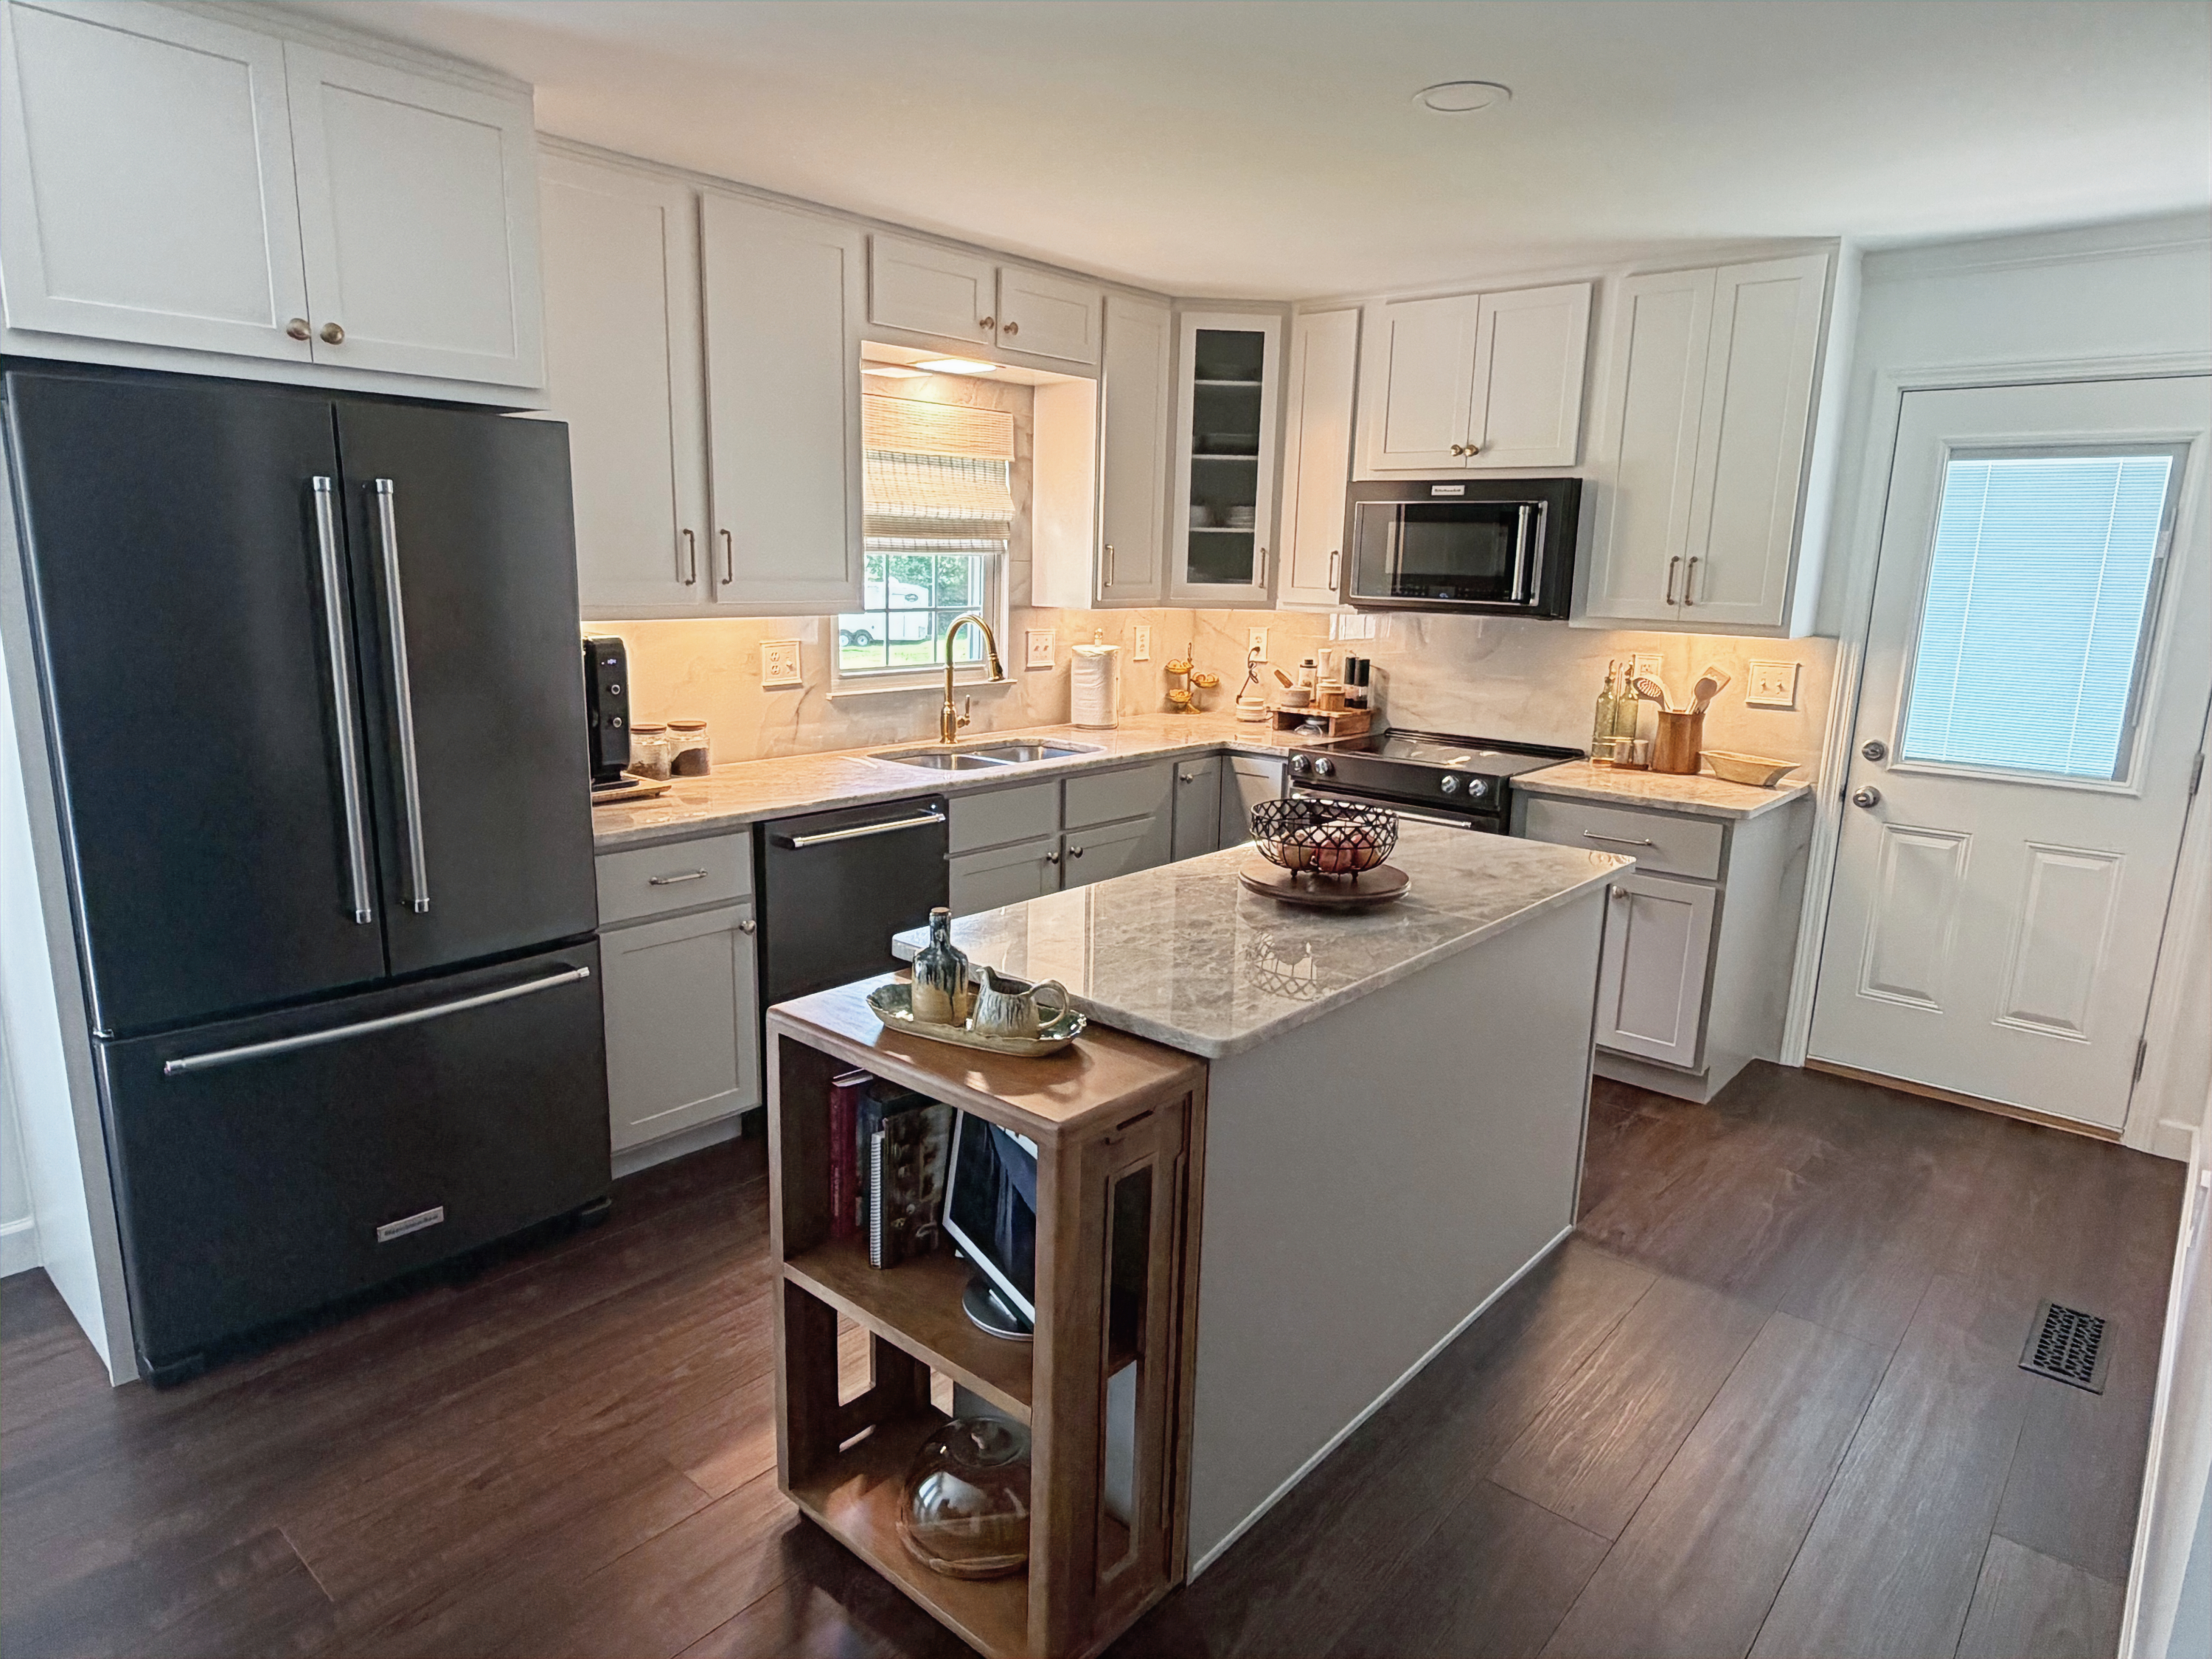
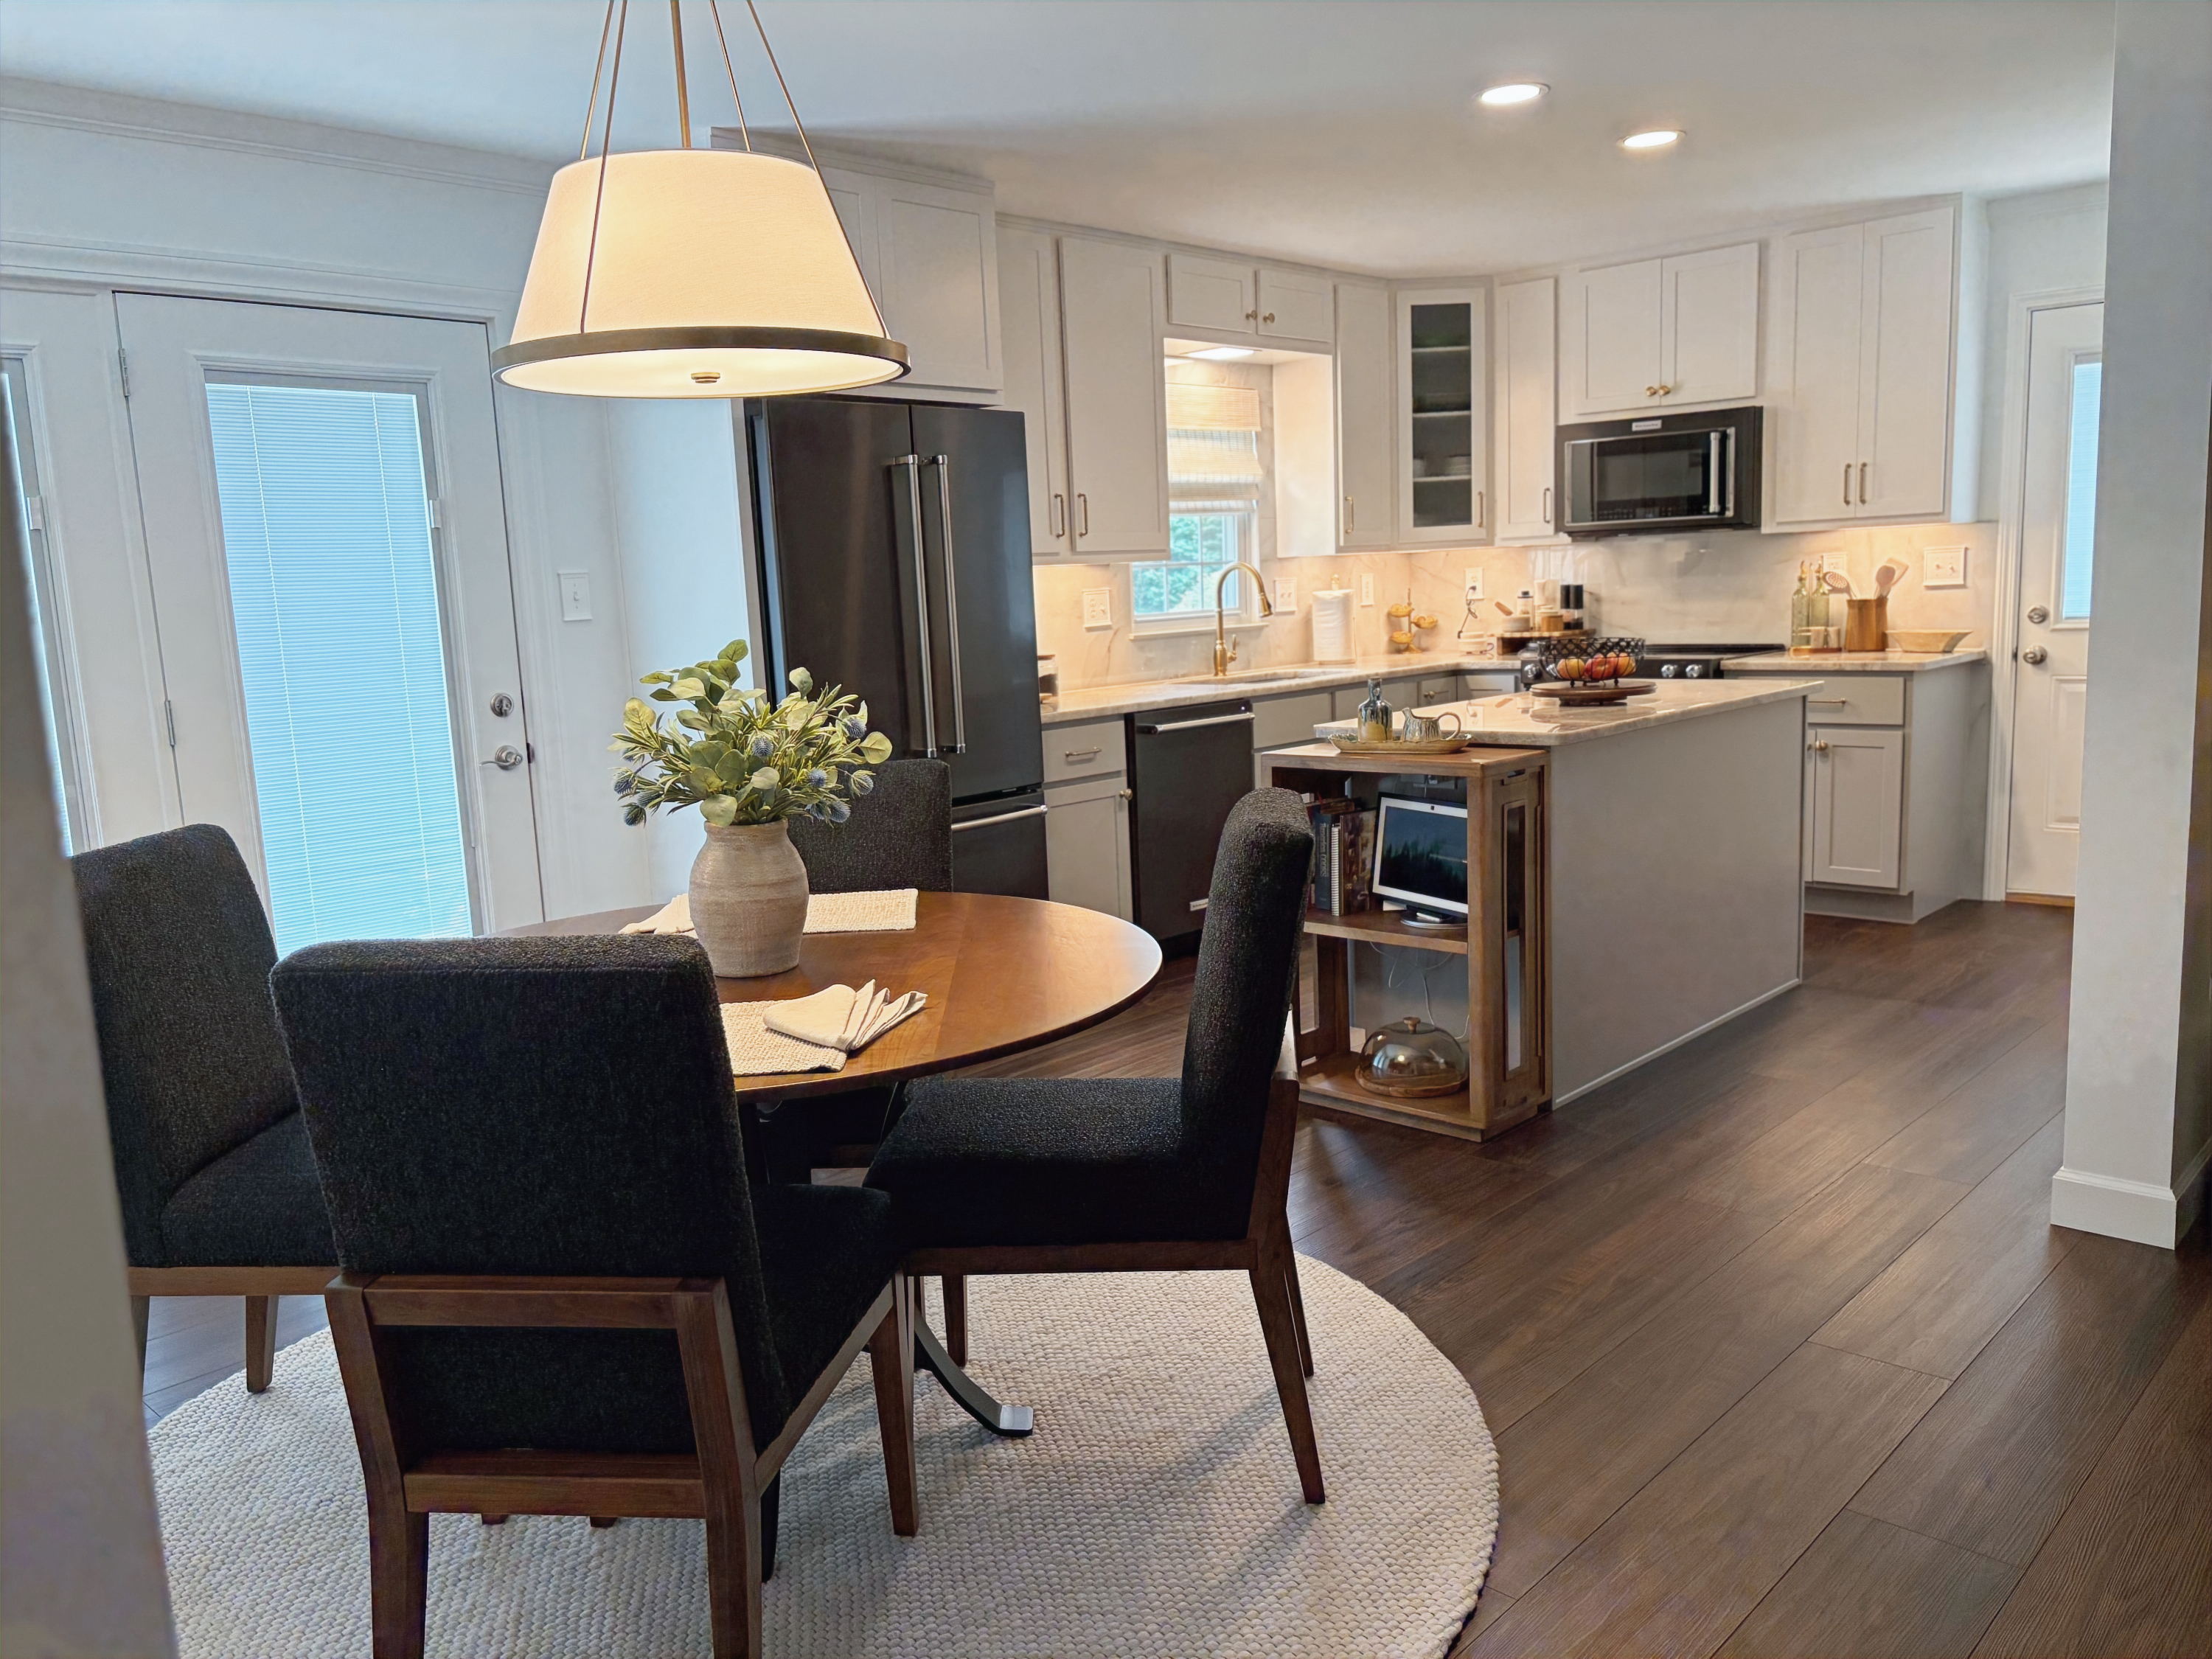
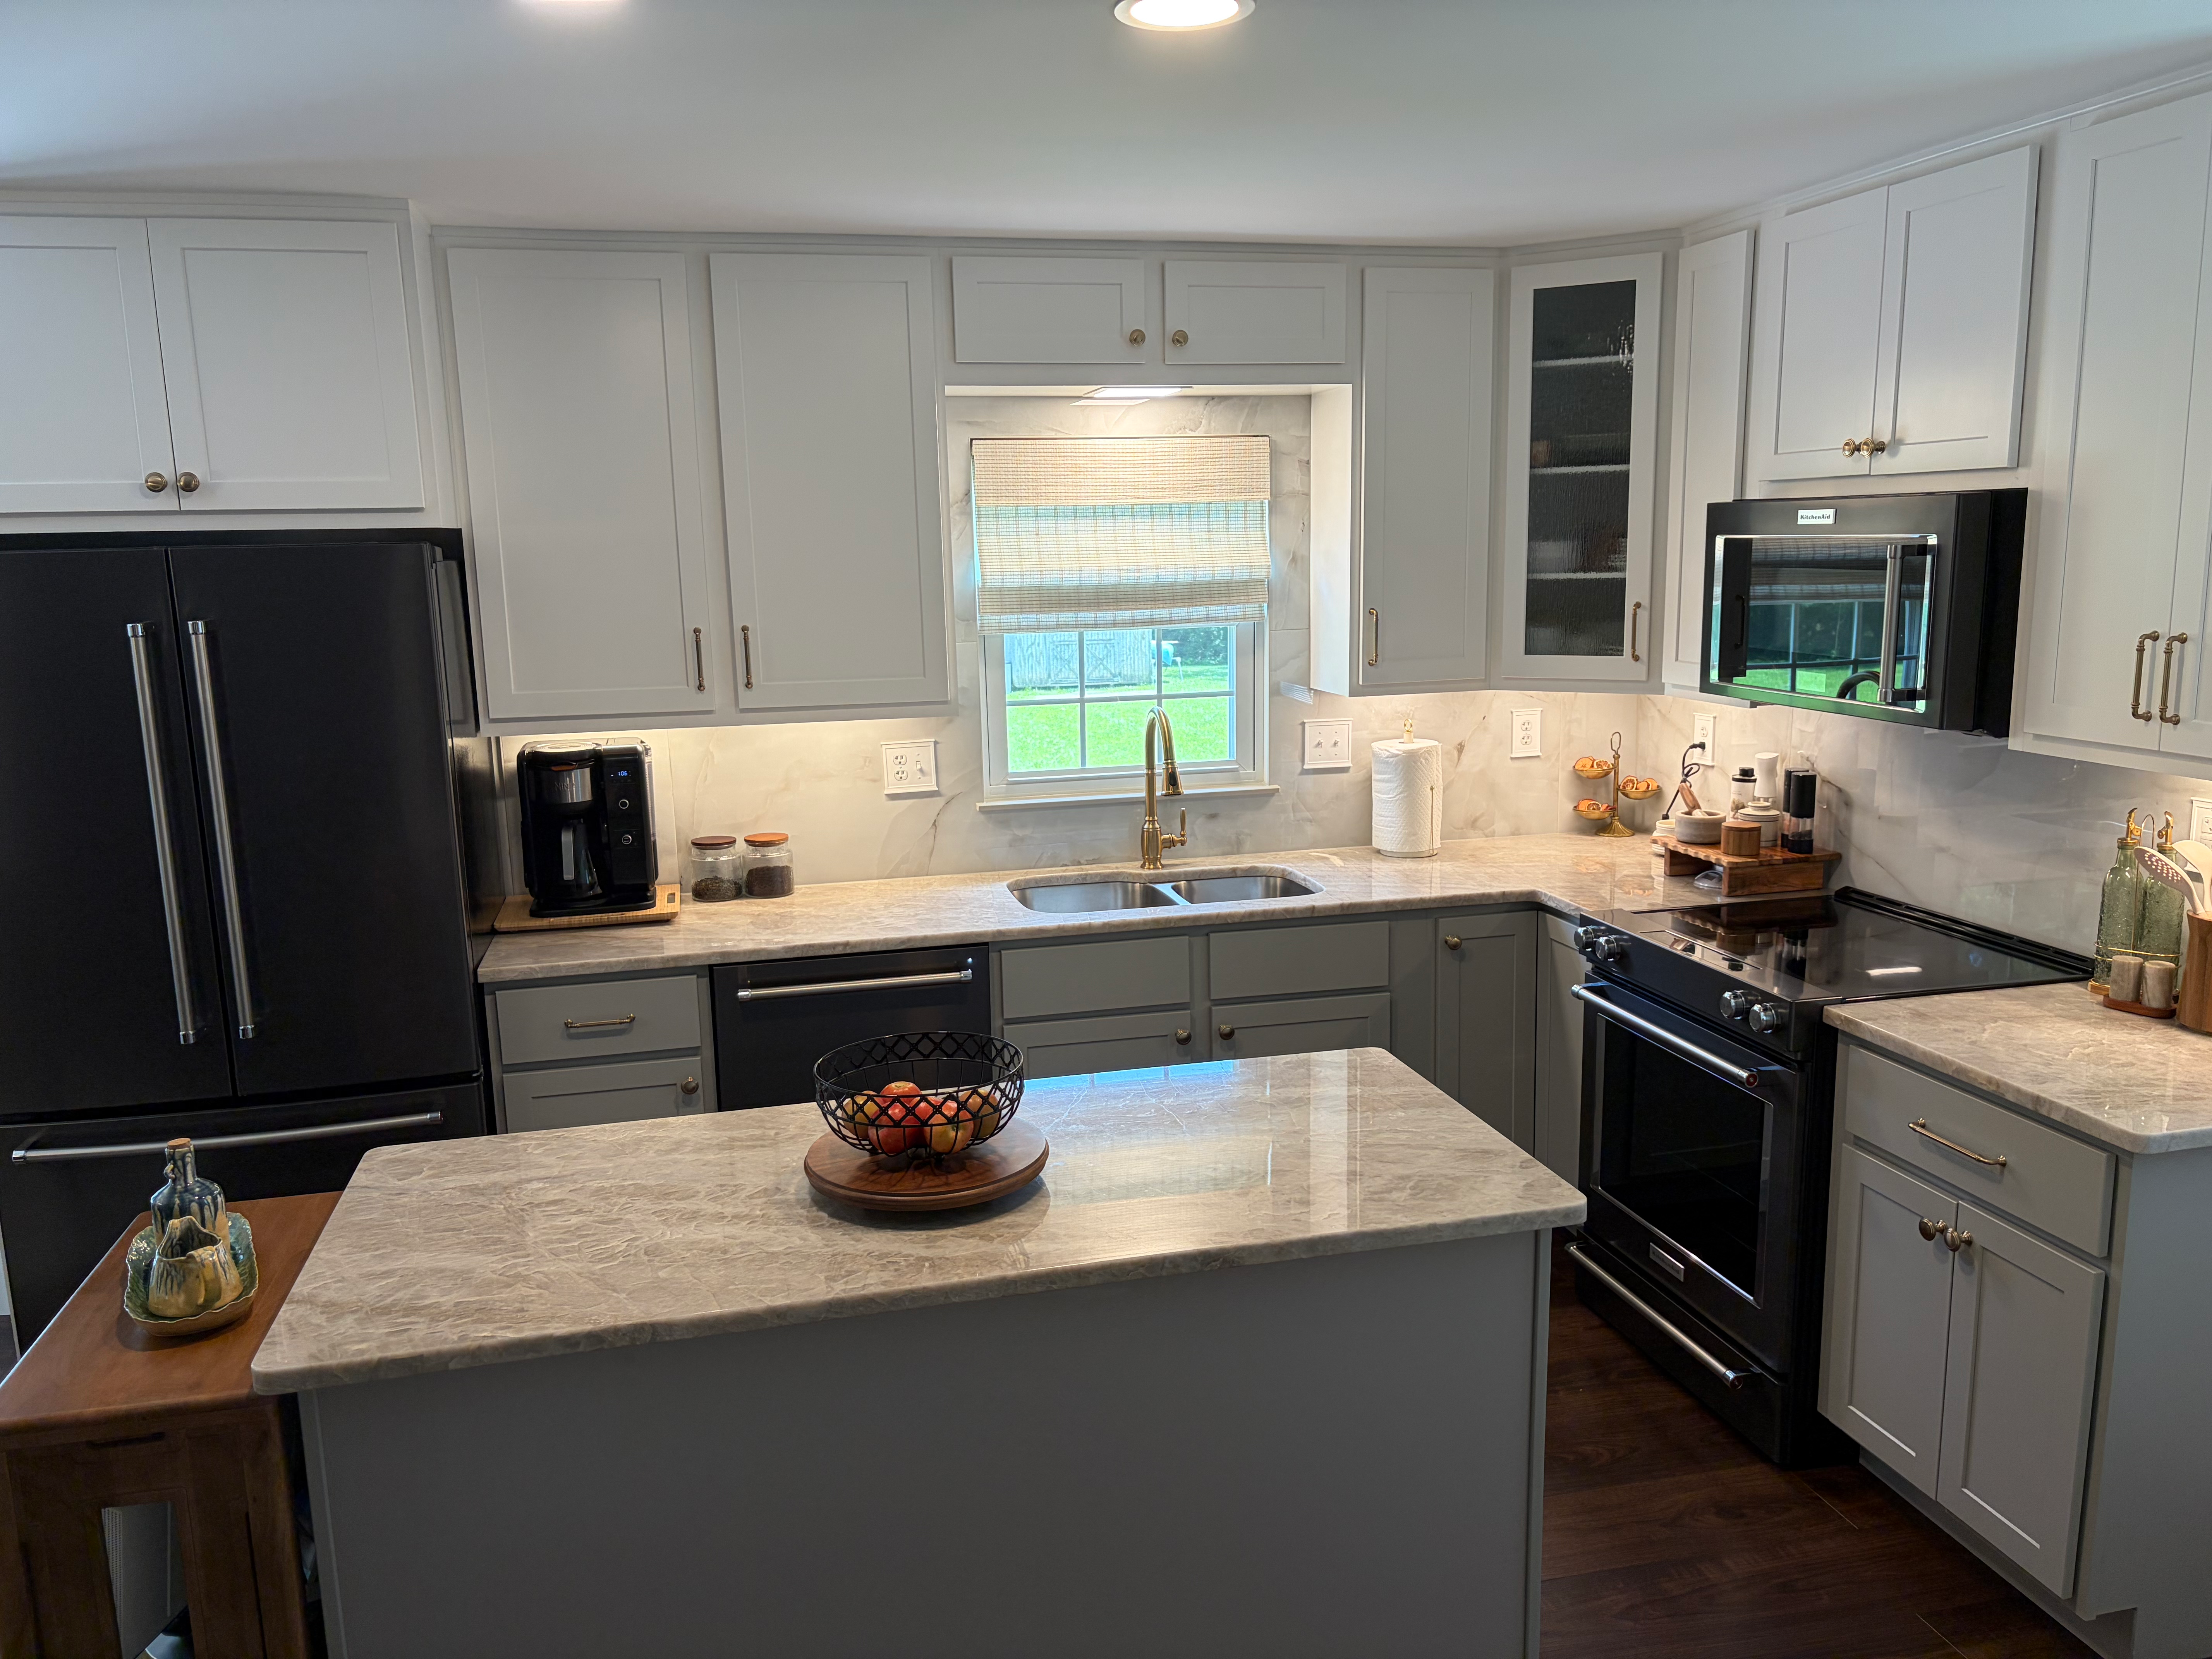
The finished kitchen features custom cabinetry a spacious center island premium countertops and thoughtfully selected finishes designed for everyday functionality.

02
Dining Area
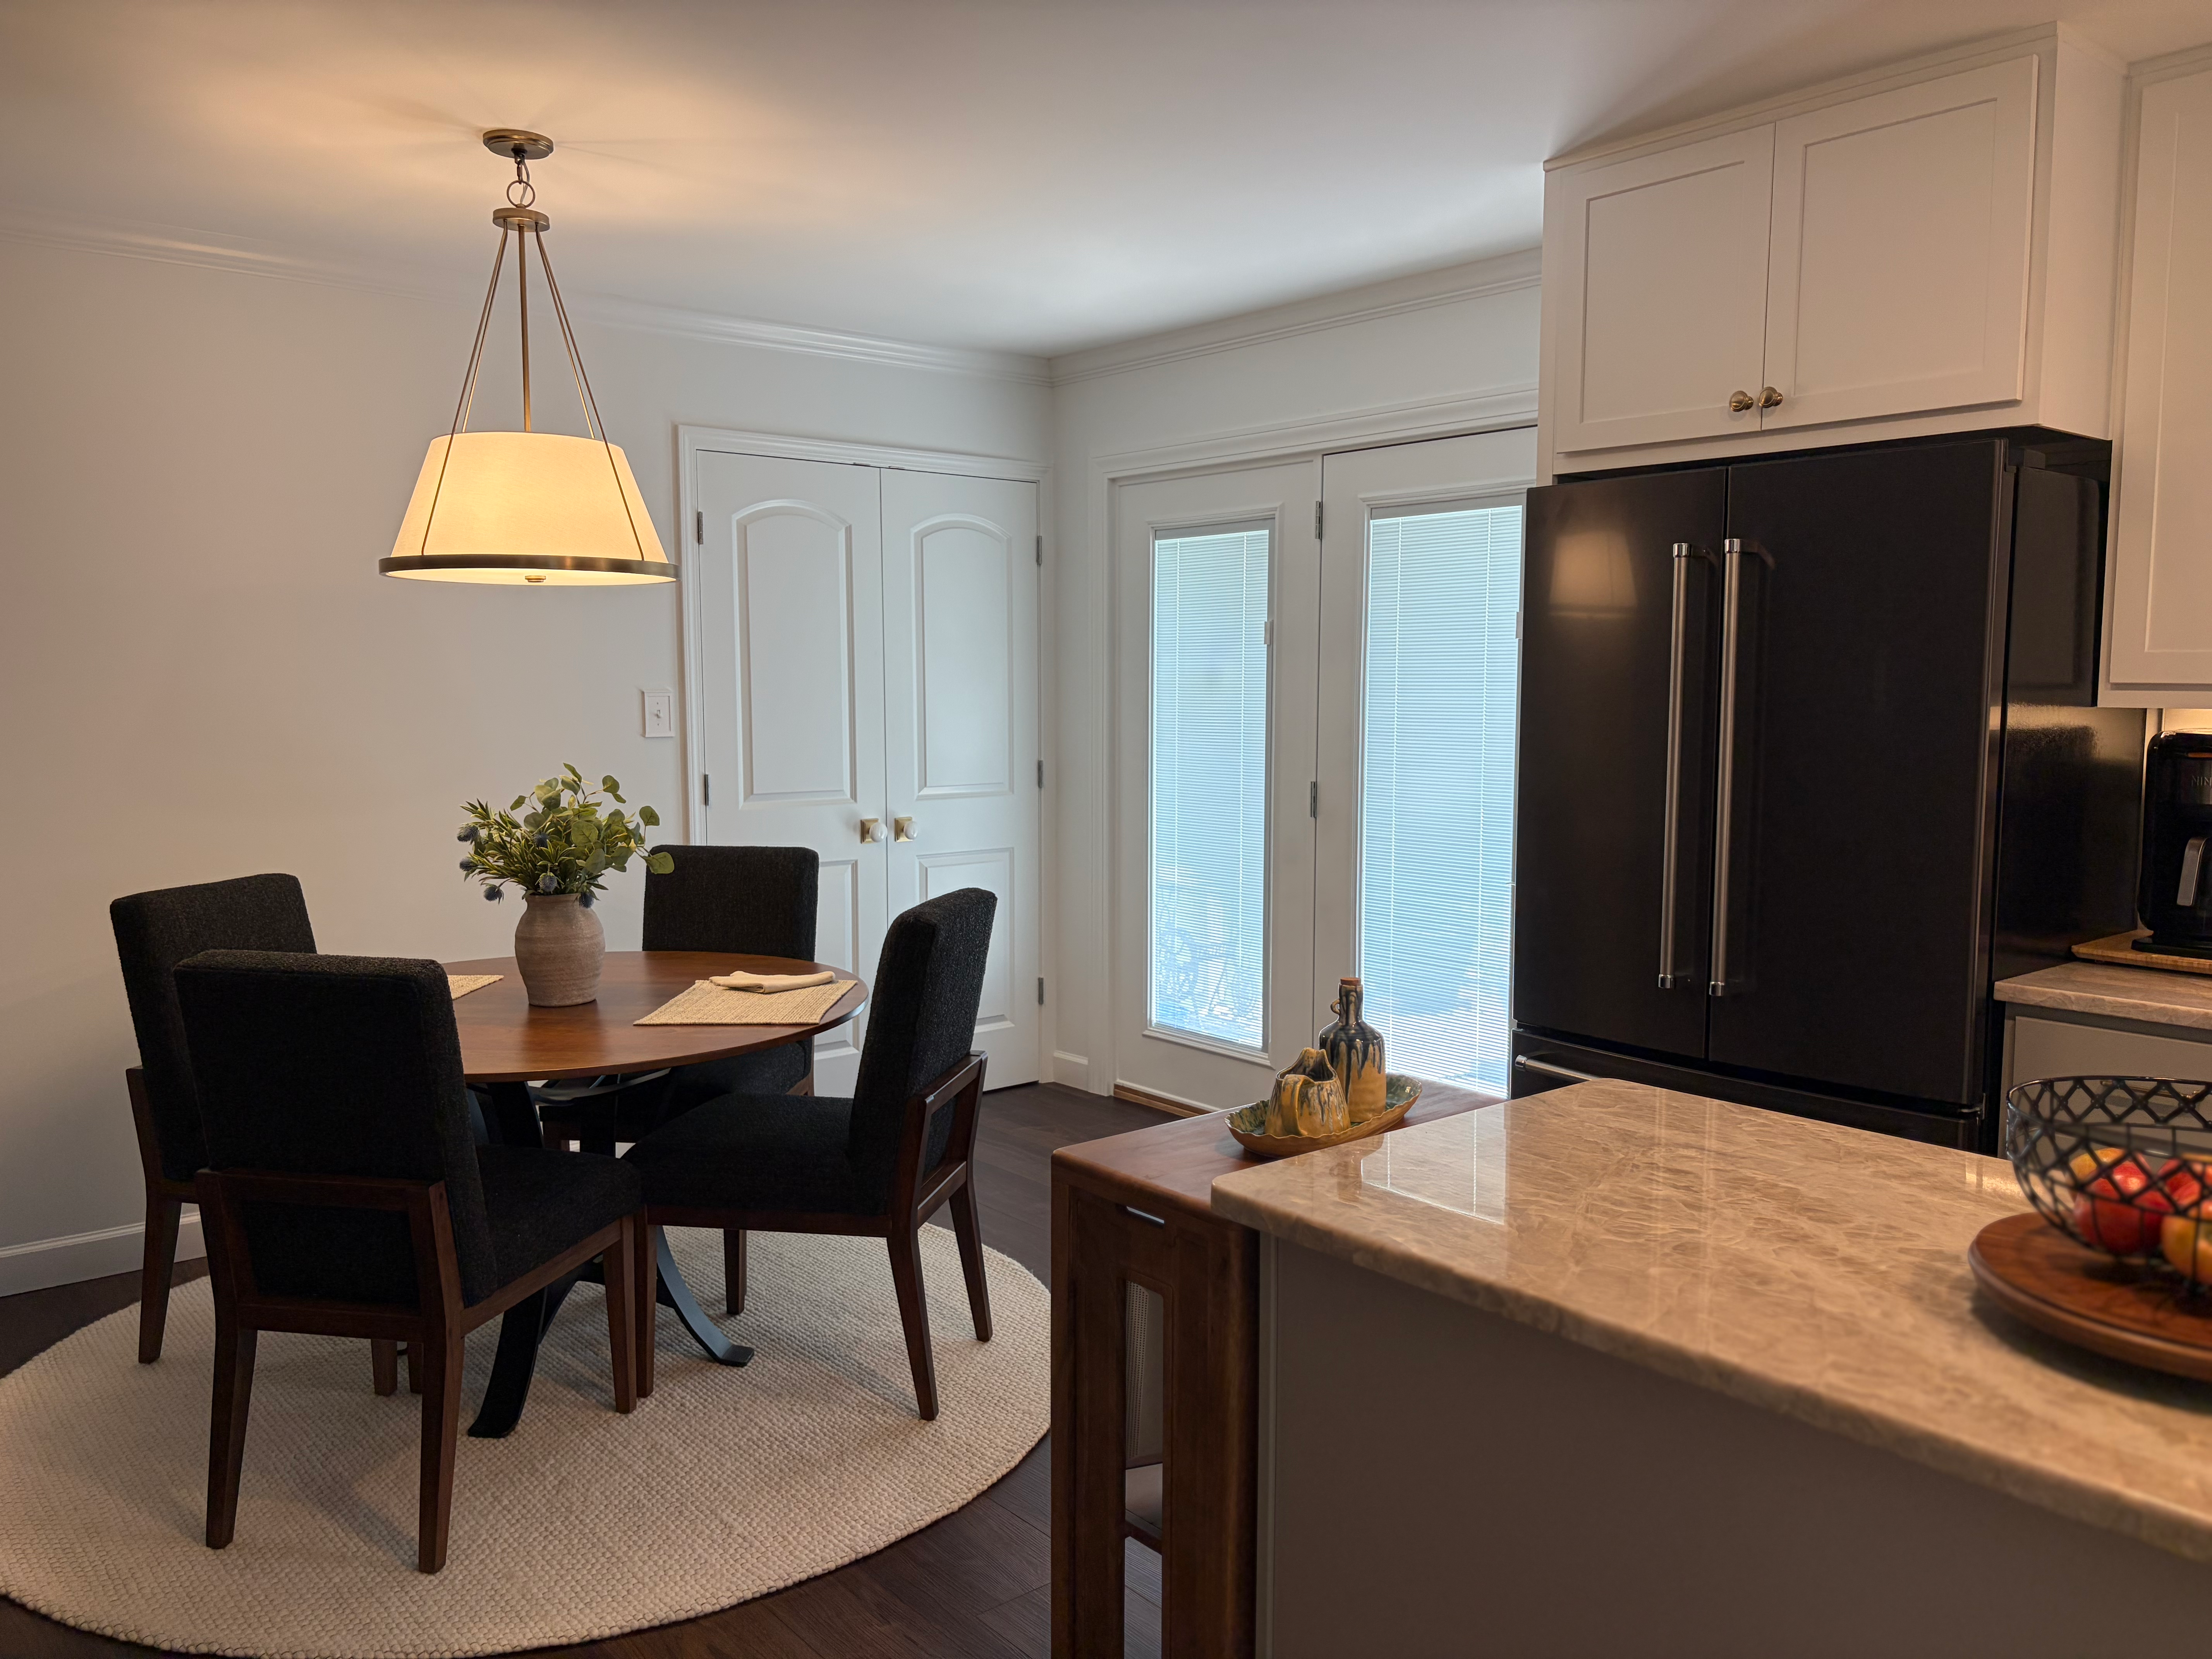
The refreshed dining space complements the renovated kitchen with updated finishes, improved lighting and a clean, cohesive design.

03
Kitchen & Dining View
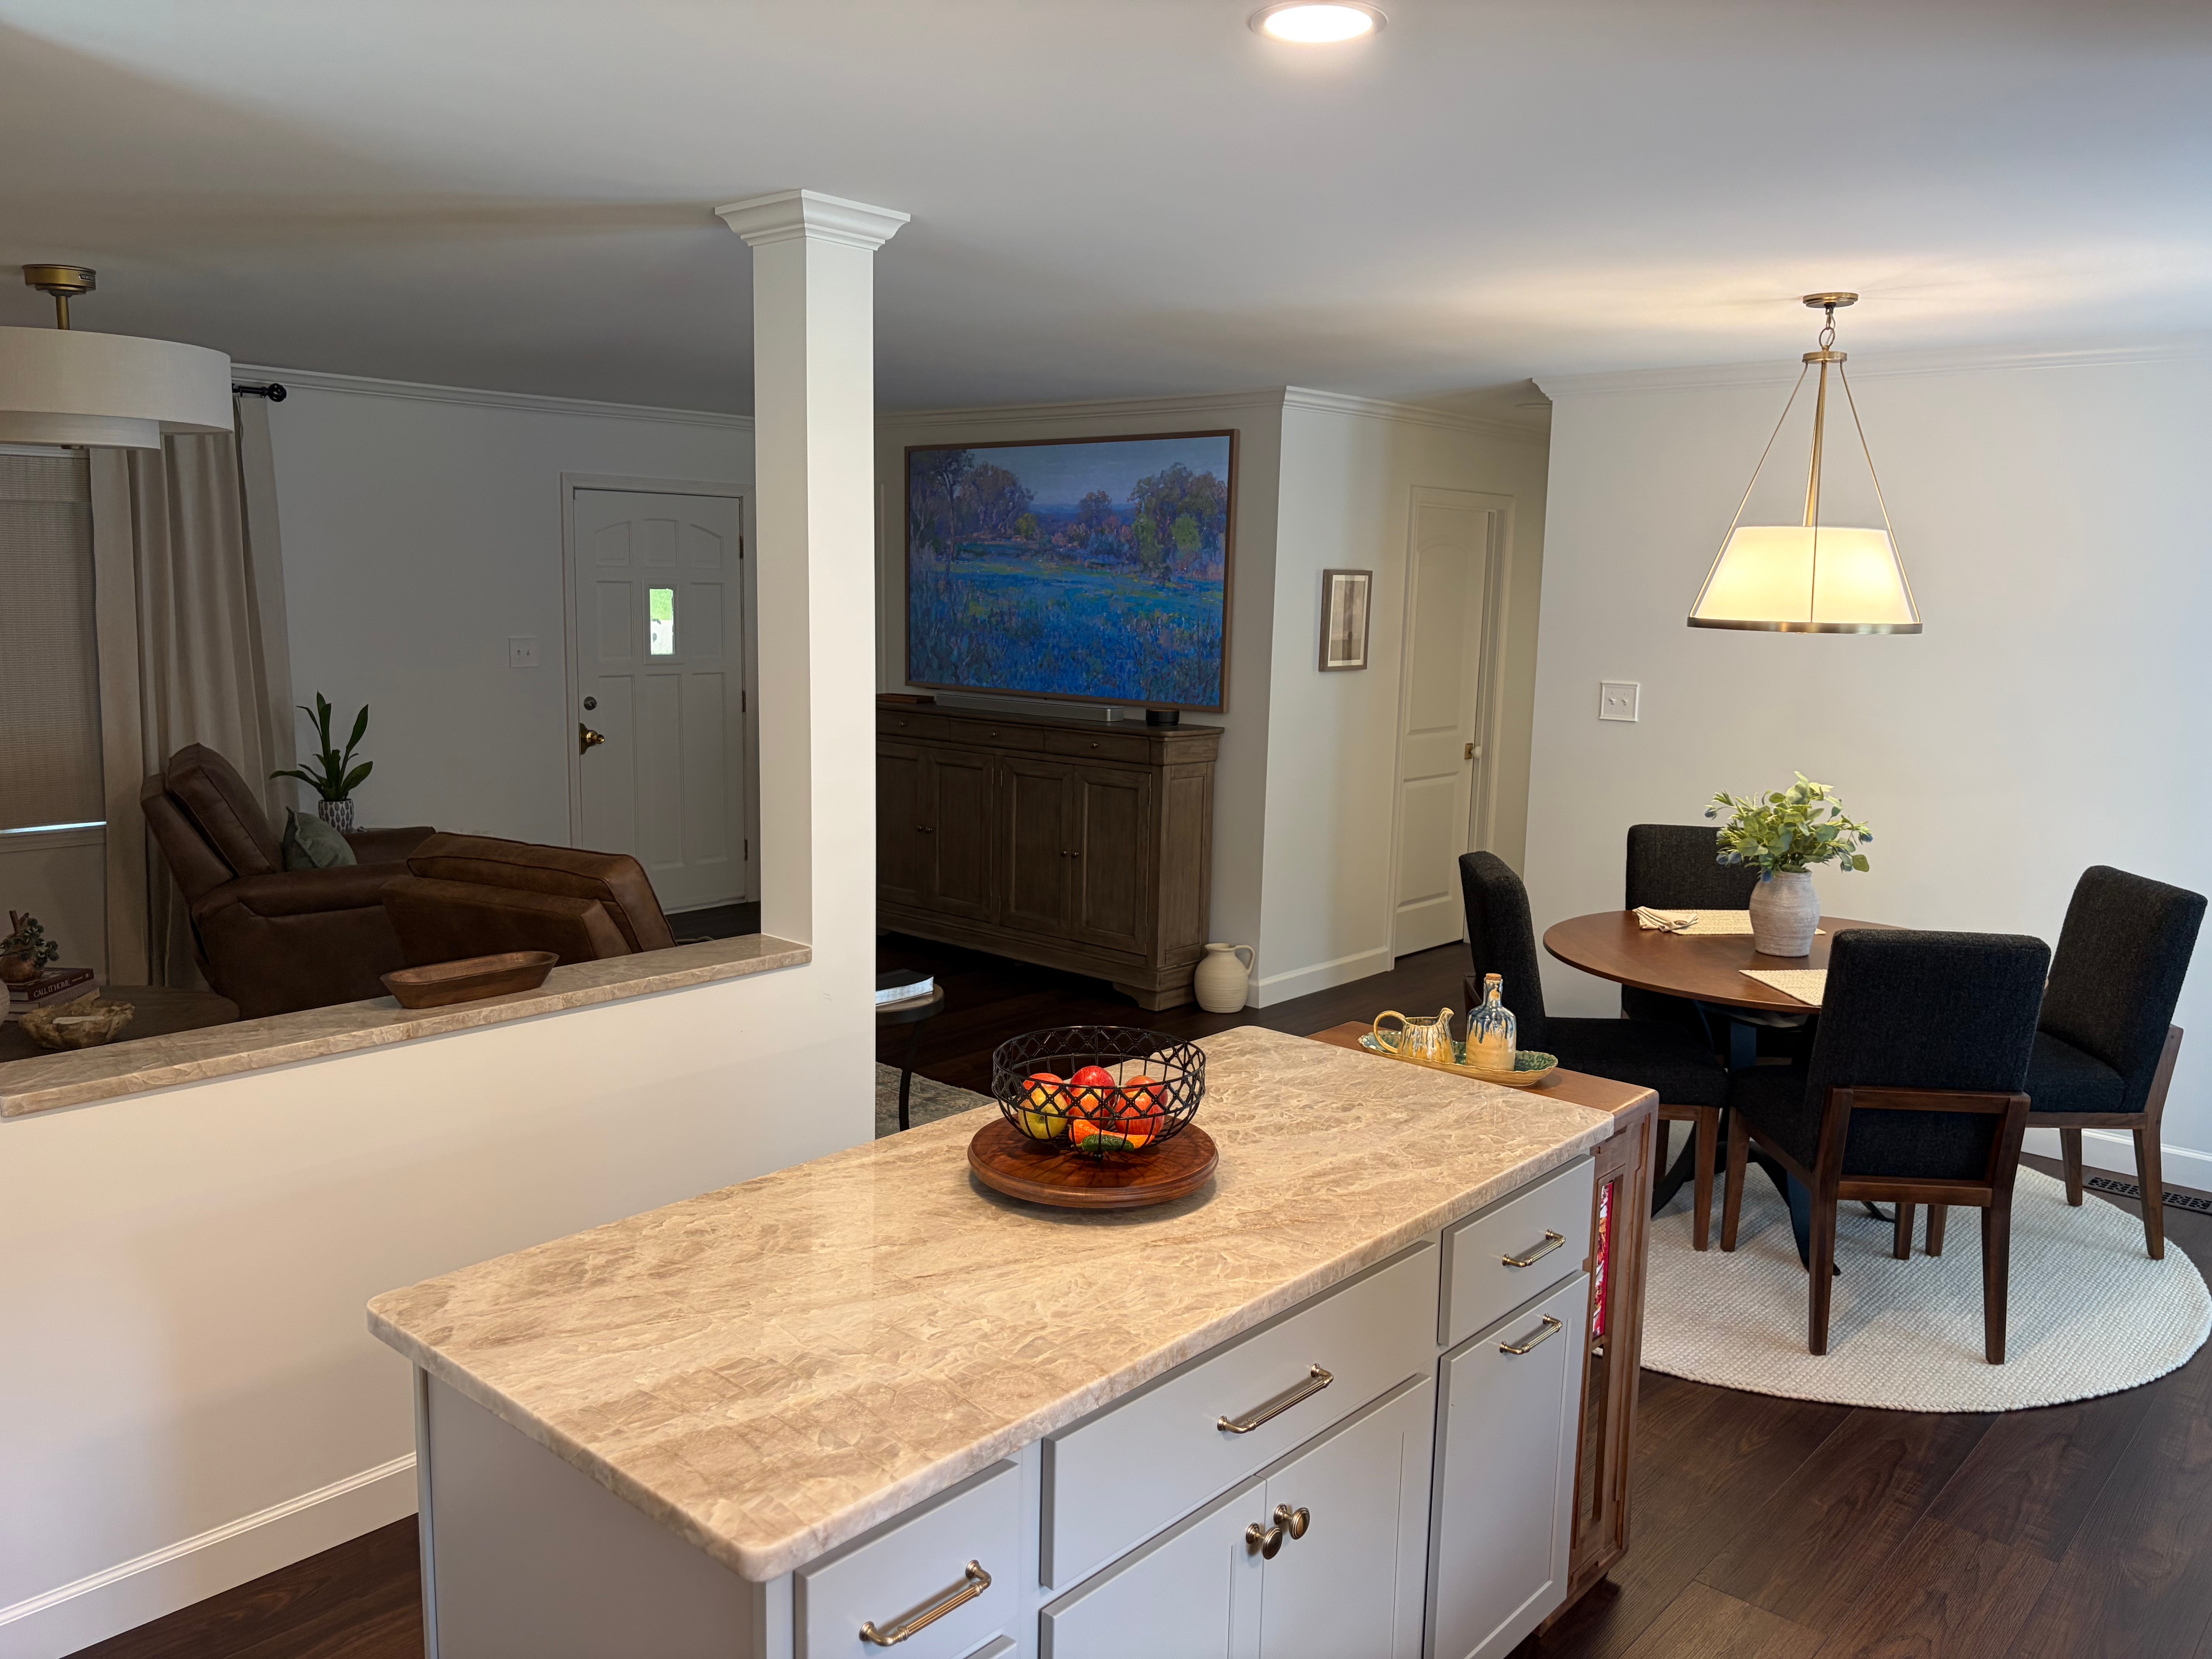
From the dining area, the completed kitchen showcases an efficient layout, custom storage and a cohesive design that complements the adjoining space.

04
Main Kitchen Workspace
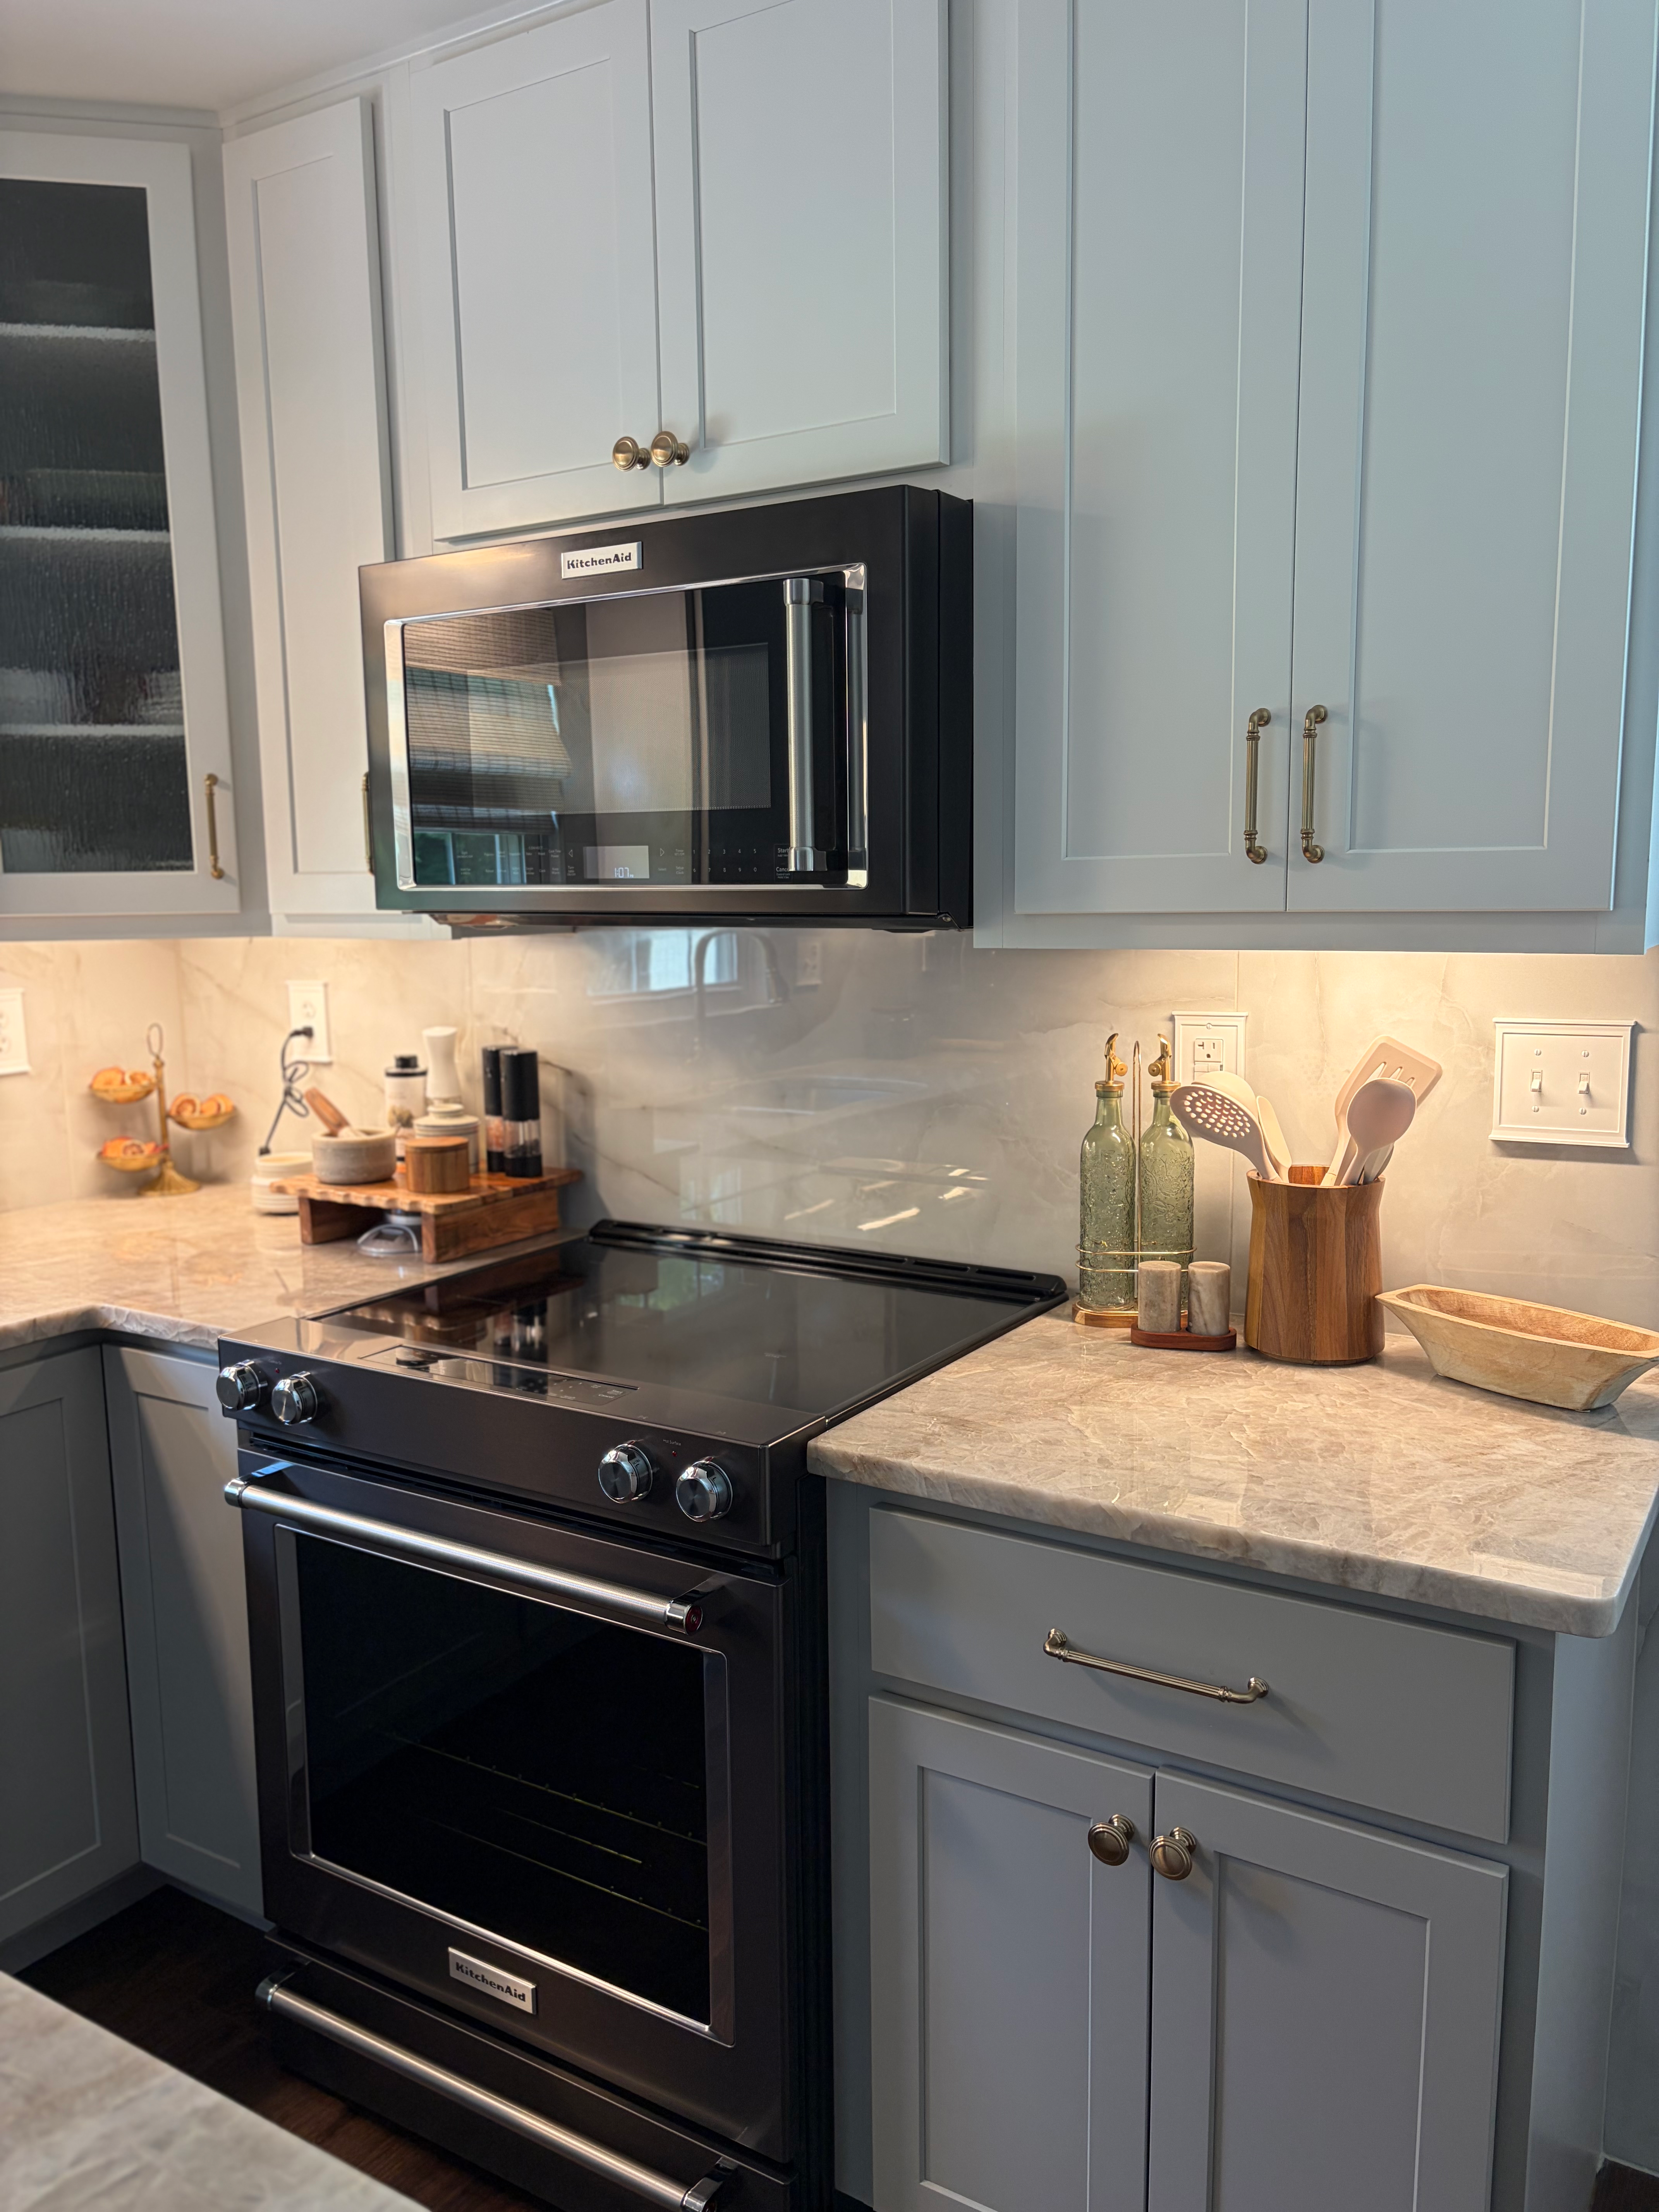
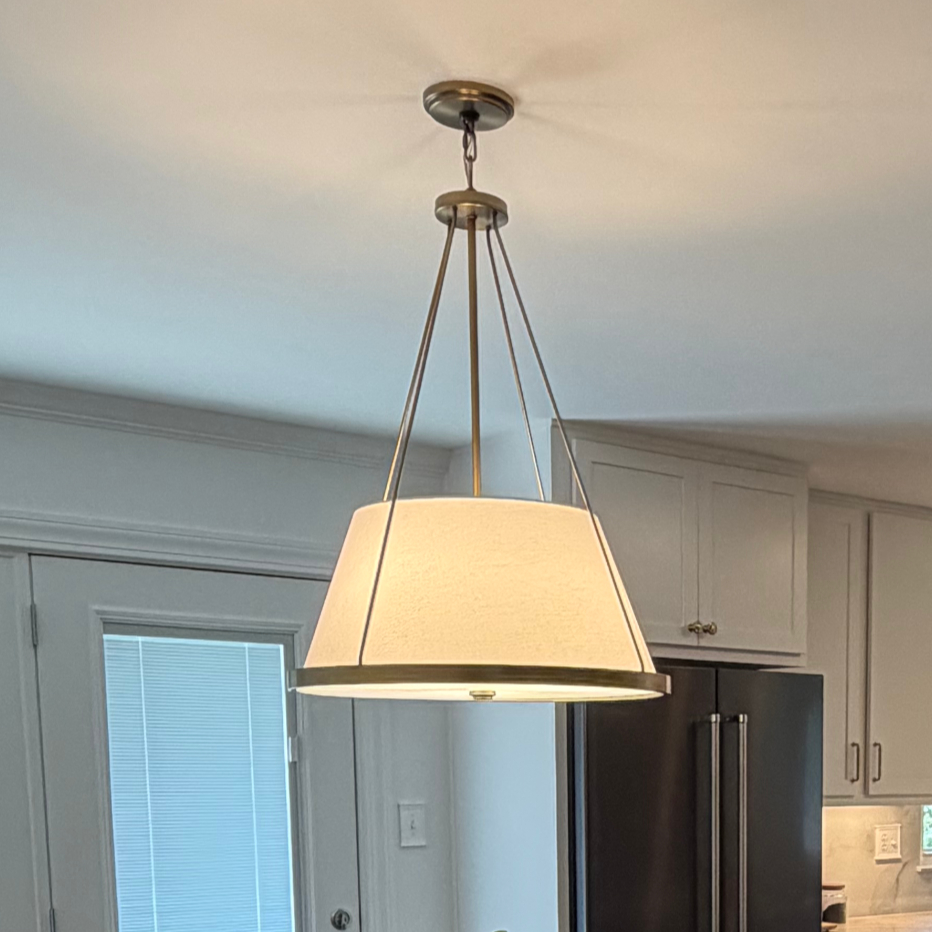
The primary workspace combines generous prep space, quality fixtures, integrated lighting and custom cabinetry to support everyday cooking and entertaining.

05
Kitchen to Living
Removing the wall between the kitchen and living room transformed the homes layout, creating a brighter, more connected living space while preserving the existing dining area.
06
Open-Living Kitchen Tour
Take a complete tour of the finished Open-Living Kitchen renovation and experience the transformation from every angle. This walkthrough showcases the custom cabinetry; spacious center island premium finishes and the open connection created between the kitchen and living room.
01 / 06
Completed Kitchen Design
The finished kitchen features custom cabinetry a spacious center island premium countertops and thoughtfully selected finishes designed for everyday functionality.
01
Completed Kitchen Design
The finished kitchen features custom cabinetry a spacious center island premium countertops and thoughtfully selected finishes designed for everyday functionality.
02
Dining Area
The refreshed dining space complements the renovated kitchen with updated finishes, improved lighting and a clean, cohesive design.
03
Kitchen & Dining View
From the dining area, the completed kitchen showcases an efficient layout, custom storage and a cohesive design that complements the adjoining space.
04
Main Kitchen Workspace
The primary workspace combines generous prep space, quality fixtures, integrated lighting and custom cabinetry to support everyday cooking and entertaining.
05
Kitchen to Living
Removing the wall between the kitchen and living room transformed the homes layout, creating a brighter, more connected living space while preserving the existing dining area.
0:00/0:00
06
Open-Living Kitchen Tour
Take a complete tour of the finished Open-Living Kitchen renovation and experience the transformation from every angle. This walkthrough showcases the custom cabinetry; spacious center island premium finishes and the open connection created between the kitchen and living room.
- Modern open-living kitchen with white cabinets and island
- Modern open-living kitchen with round dining table and black chairs
- Modern open-living kitchen with dining area and island.
- Modern open-living kitchen with white cabinets and island
- Modern open-living kitchen with marble island and dining area.
- Open-Living Kitchen Tour
Precision in the Details

01

02
IMG_4024_edited.jpg

03

04
01 / 04
01
02
IMG_4024_edited.jpg
03
04

bottom of page